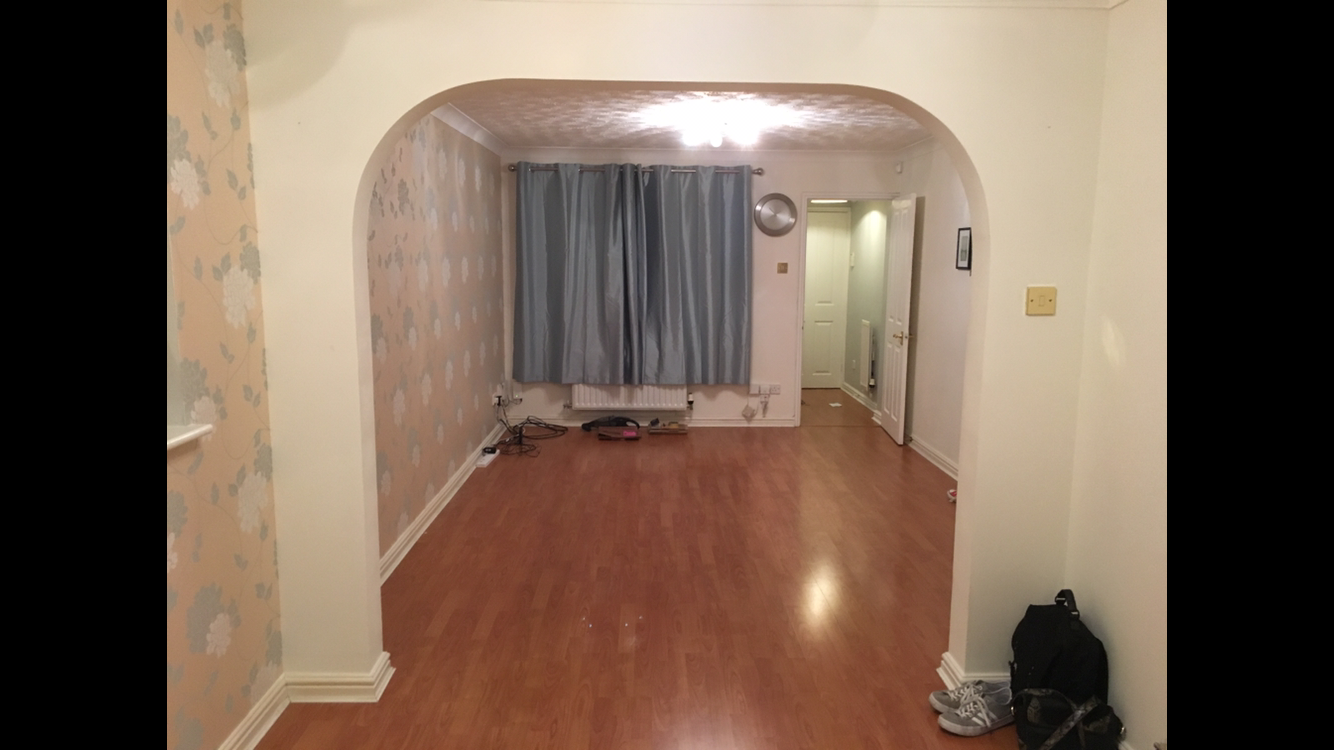
I’ve been living in my house for a good 3 years now and during that time there has been a constant conversation taking place – what on earth were the previous occupants thinking laying a bright orange floor throughout the lounge and dining room!? In fact it stretched beyond that, into a lobby by the stairs and also the front door lobby, a real eye sore!
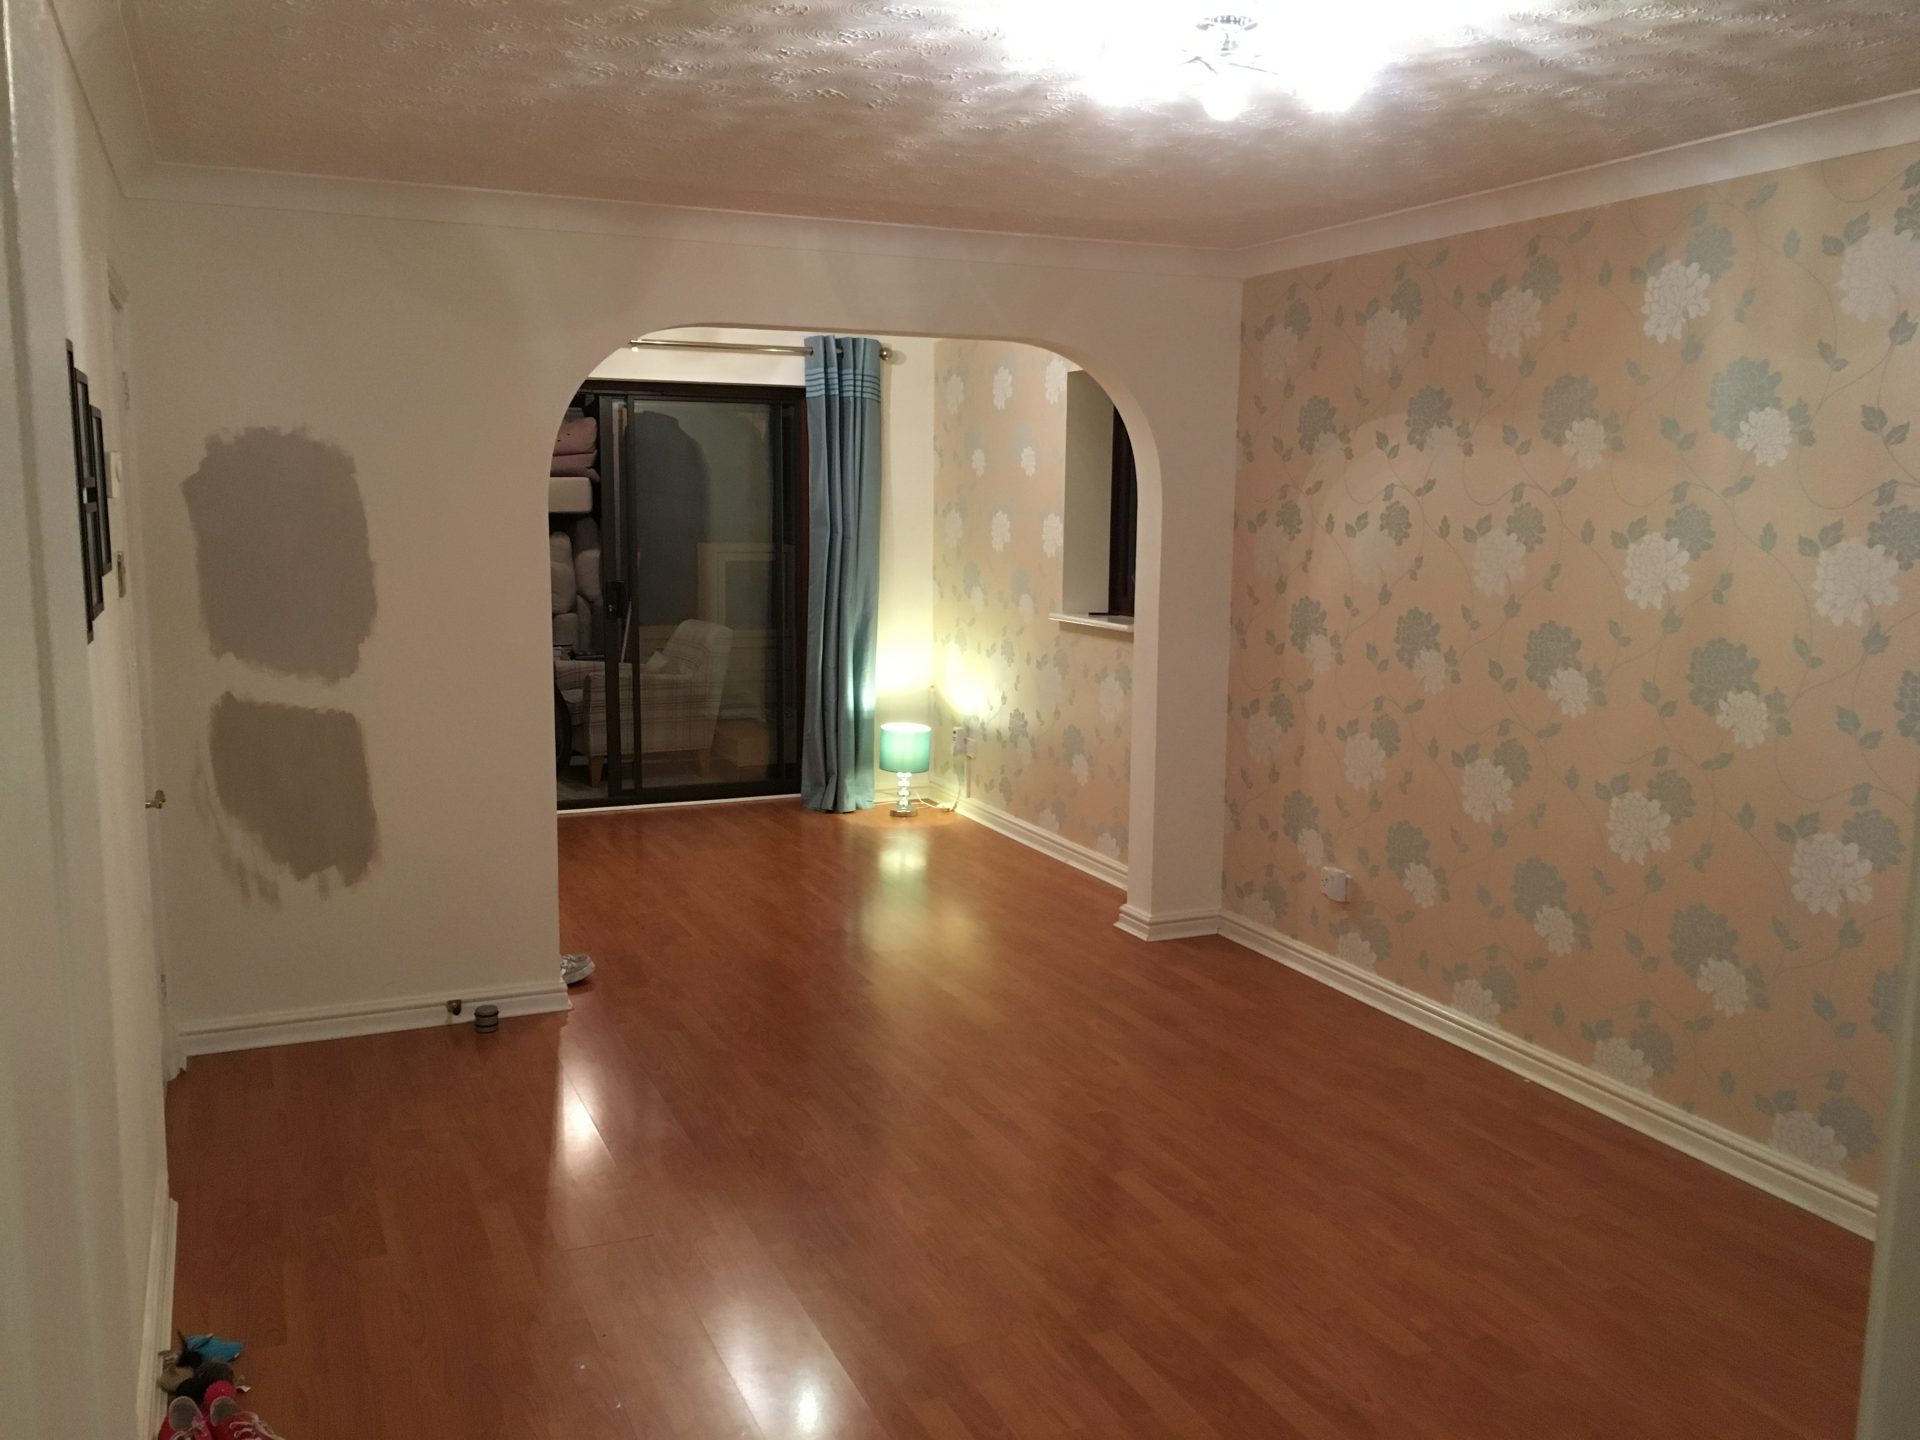
After far too long discussing the scuffed up orange floor, enough was enough, it had to go!
Now at this point I had a long discussion with myself trying to decide how best to approach the job. Should I pay someone hundreds of pounds to do it for me? Should I tackle it myself? Should I use beading around the edges or rip off the skirting boards and put it underneath?
Being a massive perfectionist I realised no one would do as good a job as me and so I decided to take it on myself, all 34m2 of it! Not only that but as I’ve been doing a complete refurb of my downstairs with the ceilings being reskimmed, walls being sanded back and repainted and all doors coming off I figured I’d do things properly by taking off all the skirting boards too. This was going to be a big job.
Things you will need:
- Insulating foil tape (Buy on Amazon)
- Laminate saw (Buy on Amazon)
- Jigsaw (Buy on Amazon)
- Laminate jigsaw blades (Buy on Amazon)
- Laminate floor fitting kit (Buy on Amazon)
- Hammer (Buy on Amazon)
- Workbench (Buy on Amazon)
- Tape measure (Buy on Amazon)
- White caulk (Buy on Amazon)
- Caulk gun (Buy on Amazon)
- No more nails adhesive (Buy on Amazon)
- Pencil (Buy on Amazon)
Step 1: Clear the room!
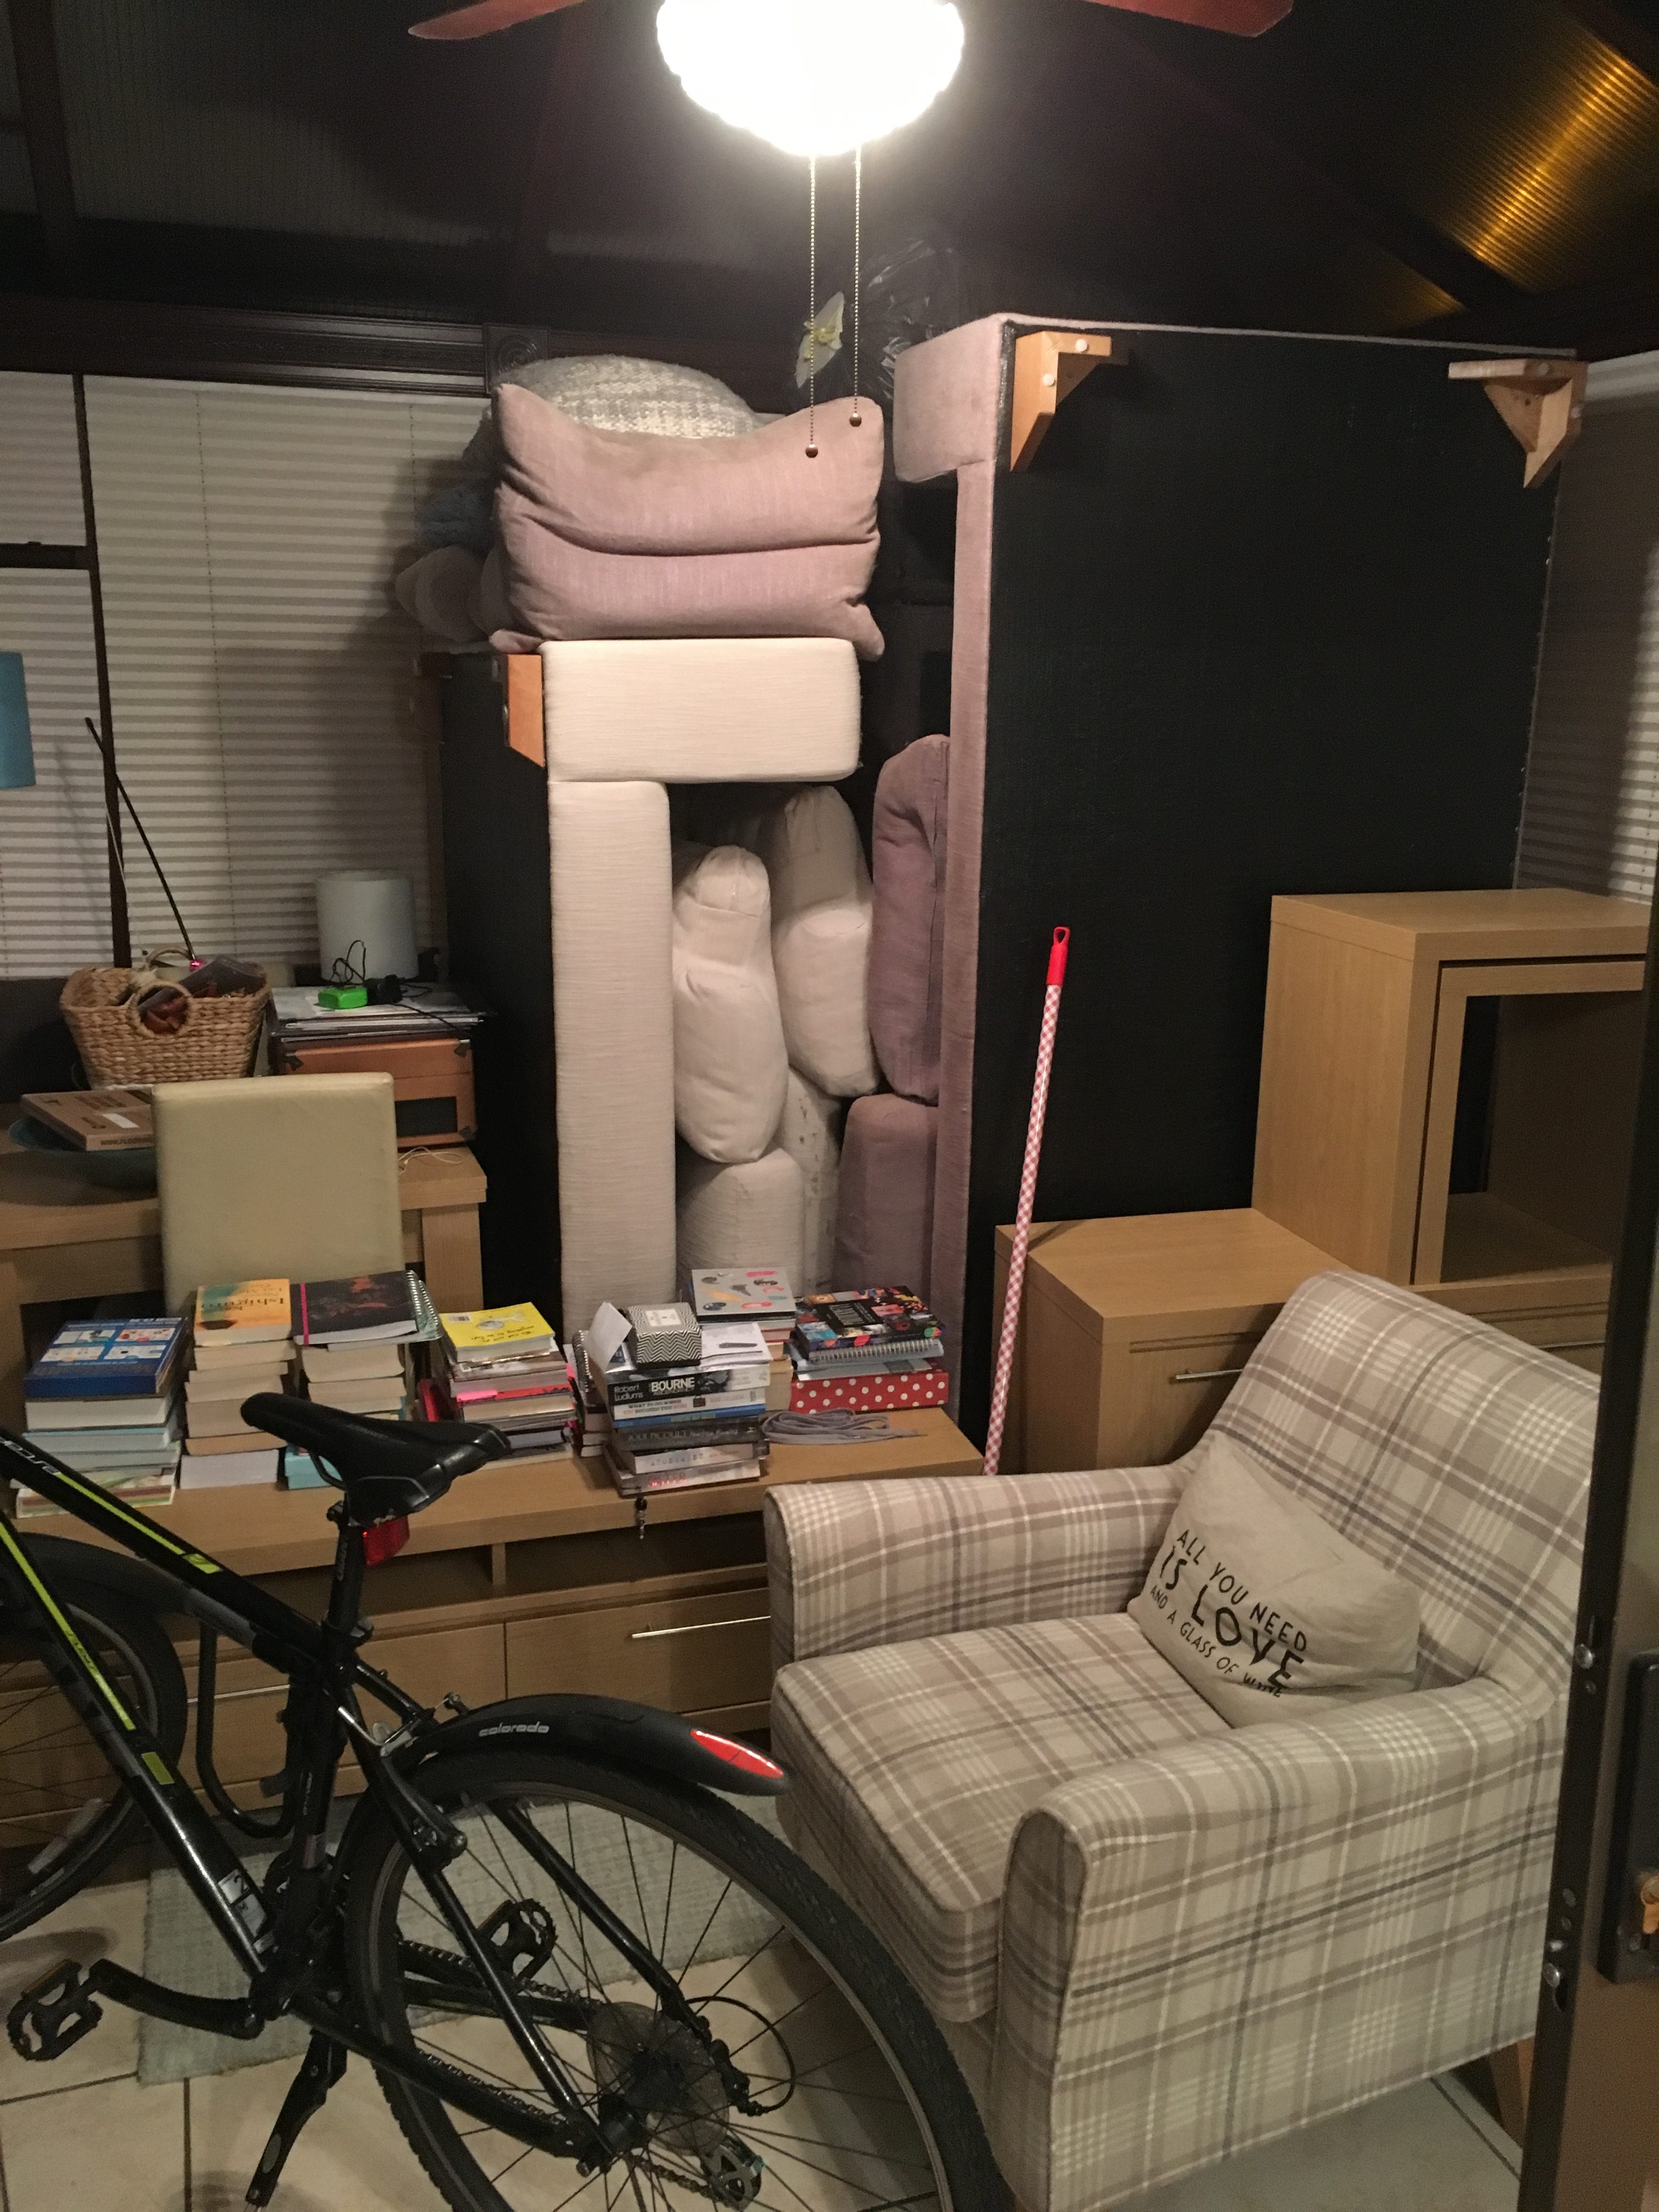
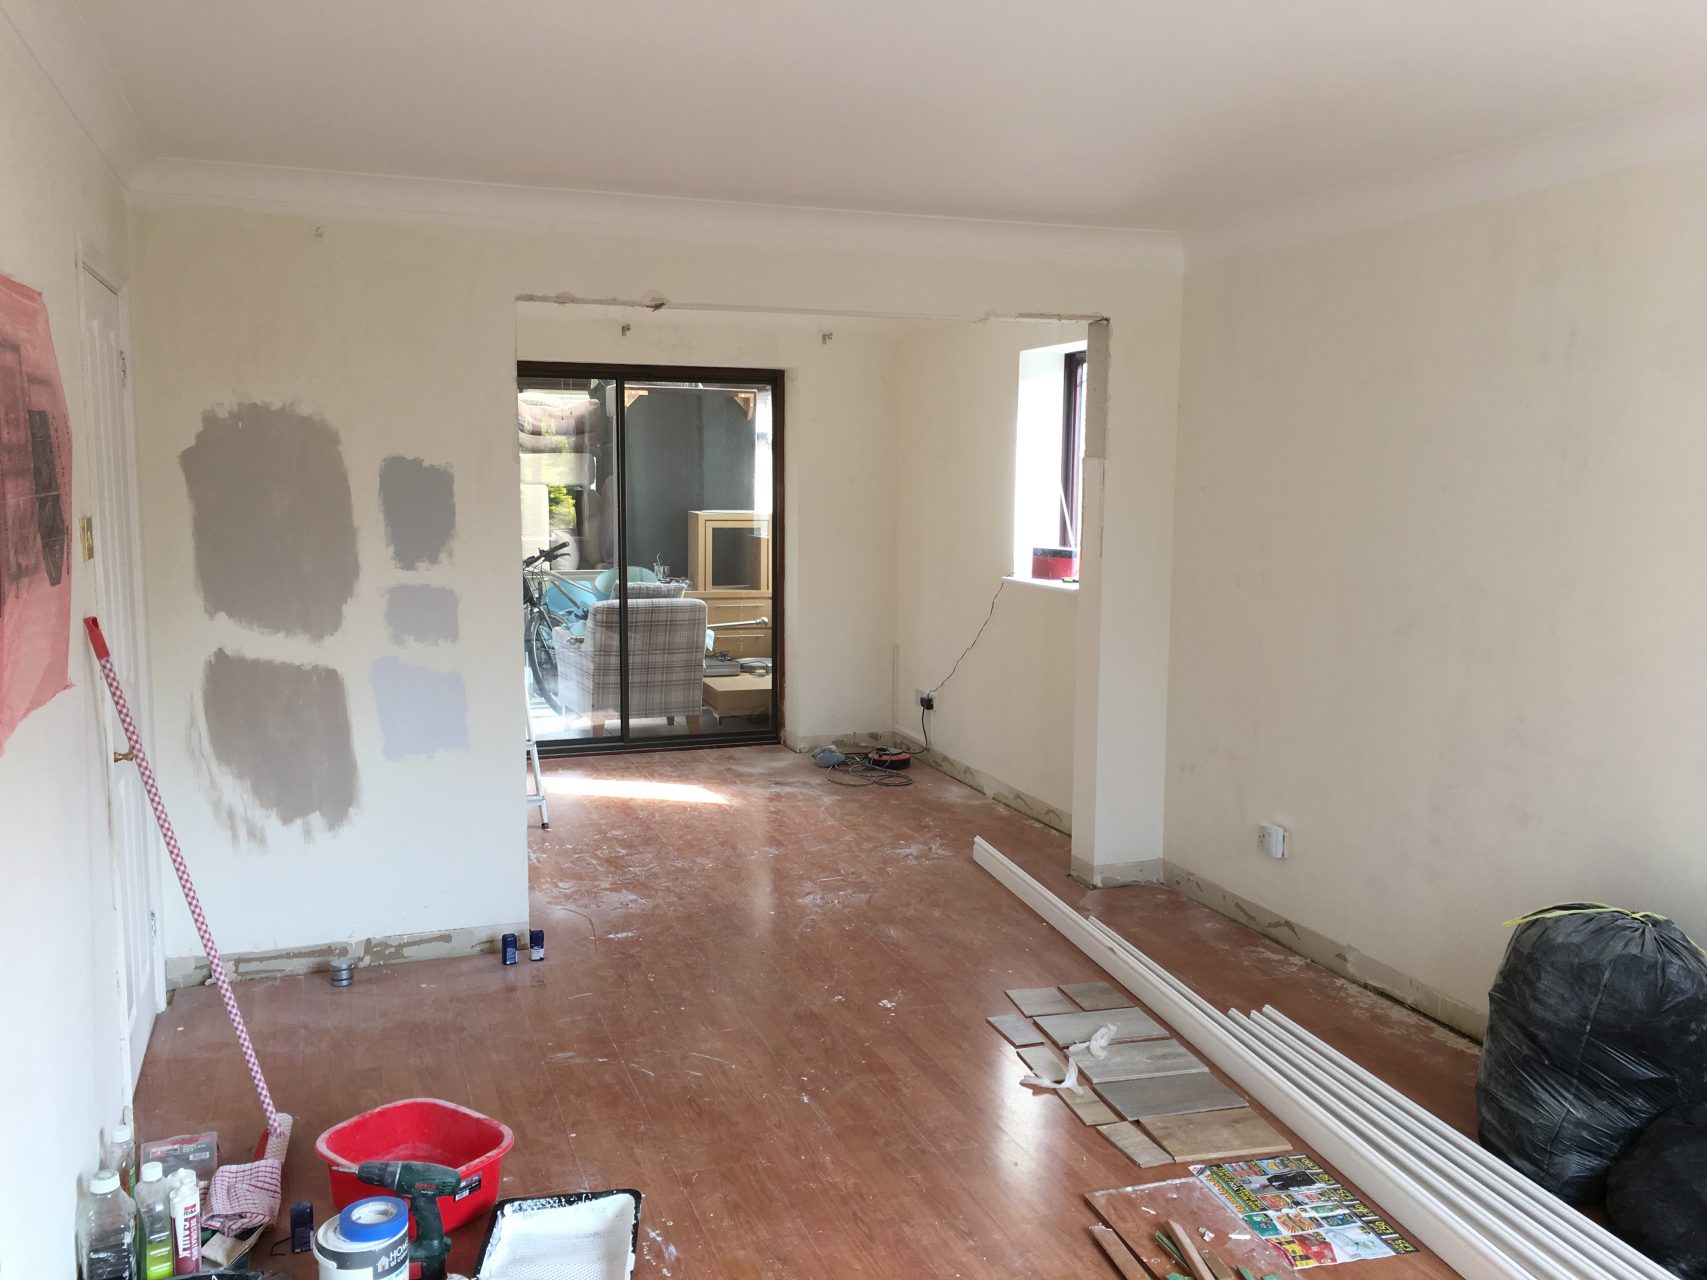
This in itself was a right pain. With 2 sofas, lounge and dining room furniture to be relocated that takes up a huge amount of space. The solution? Pile it up to the rafters in the conservatory!
Step 2: Buy the flooring
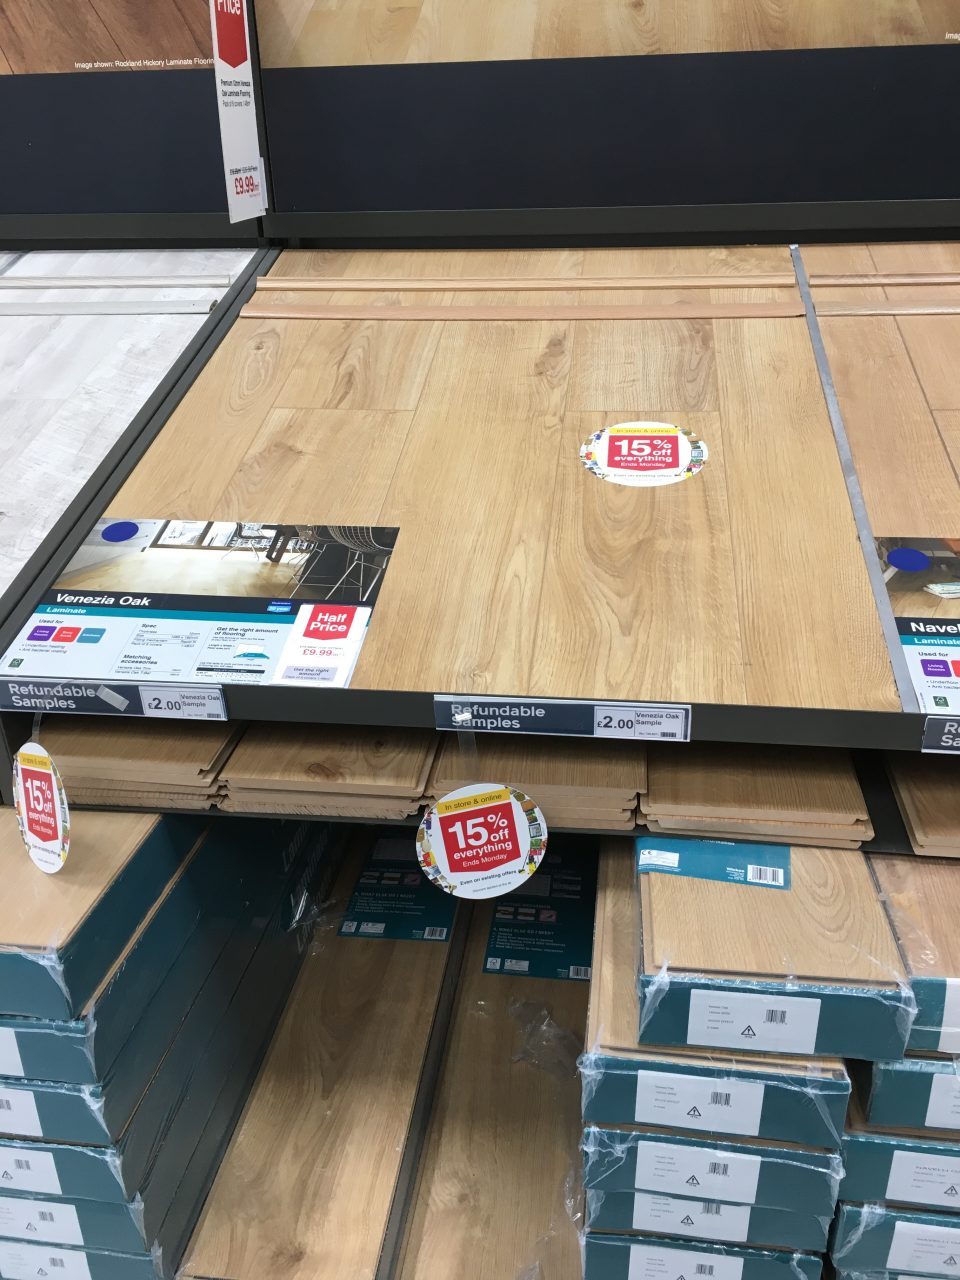
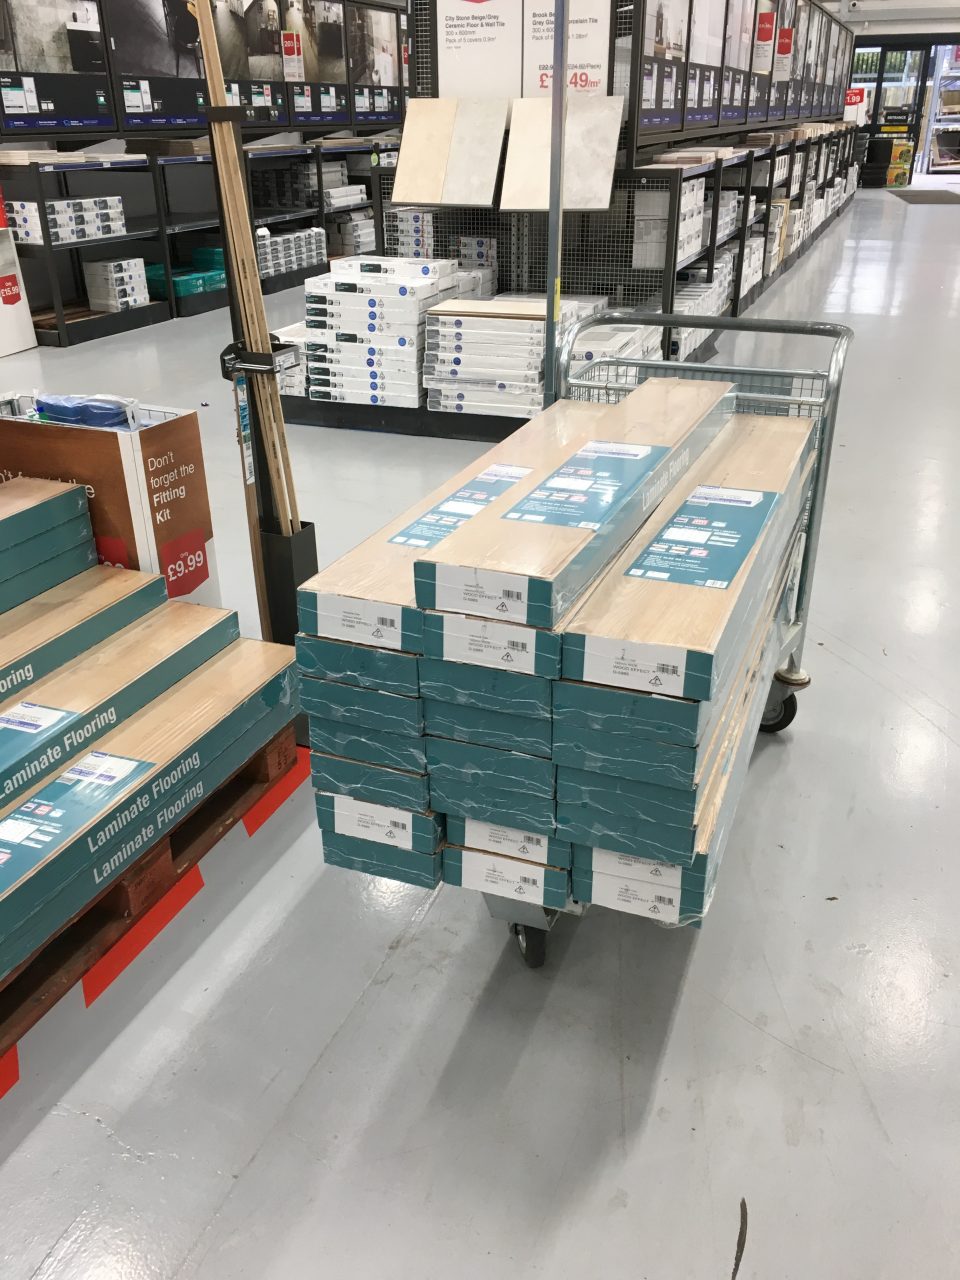
For this I shopped around a lot considering the usual home improvement stores like Homebase and B&Q. Eventually however I settled on 22 packs of Venezia Oak flooring from Wickes, loaded up the trolley and filled the car – who needs a dropped sports suspension when you have over 20 packs of laminate flooring.
Step 3: Remove the existing flooring
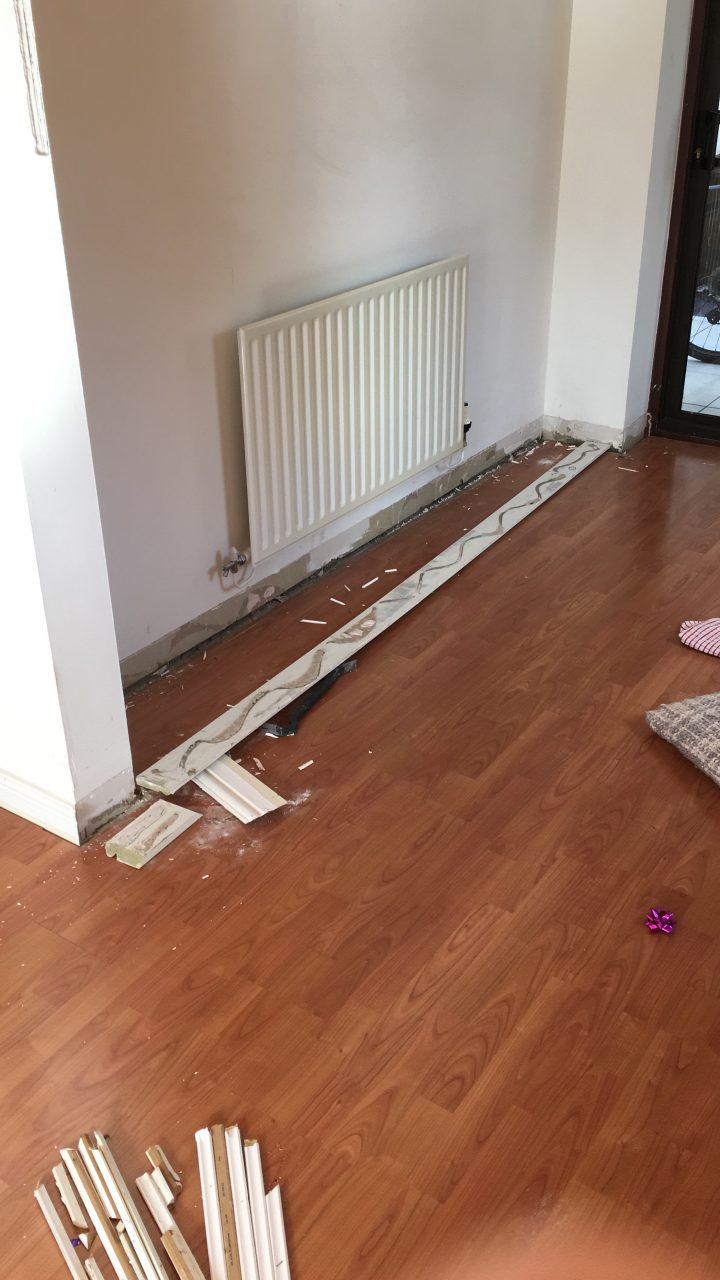
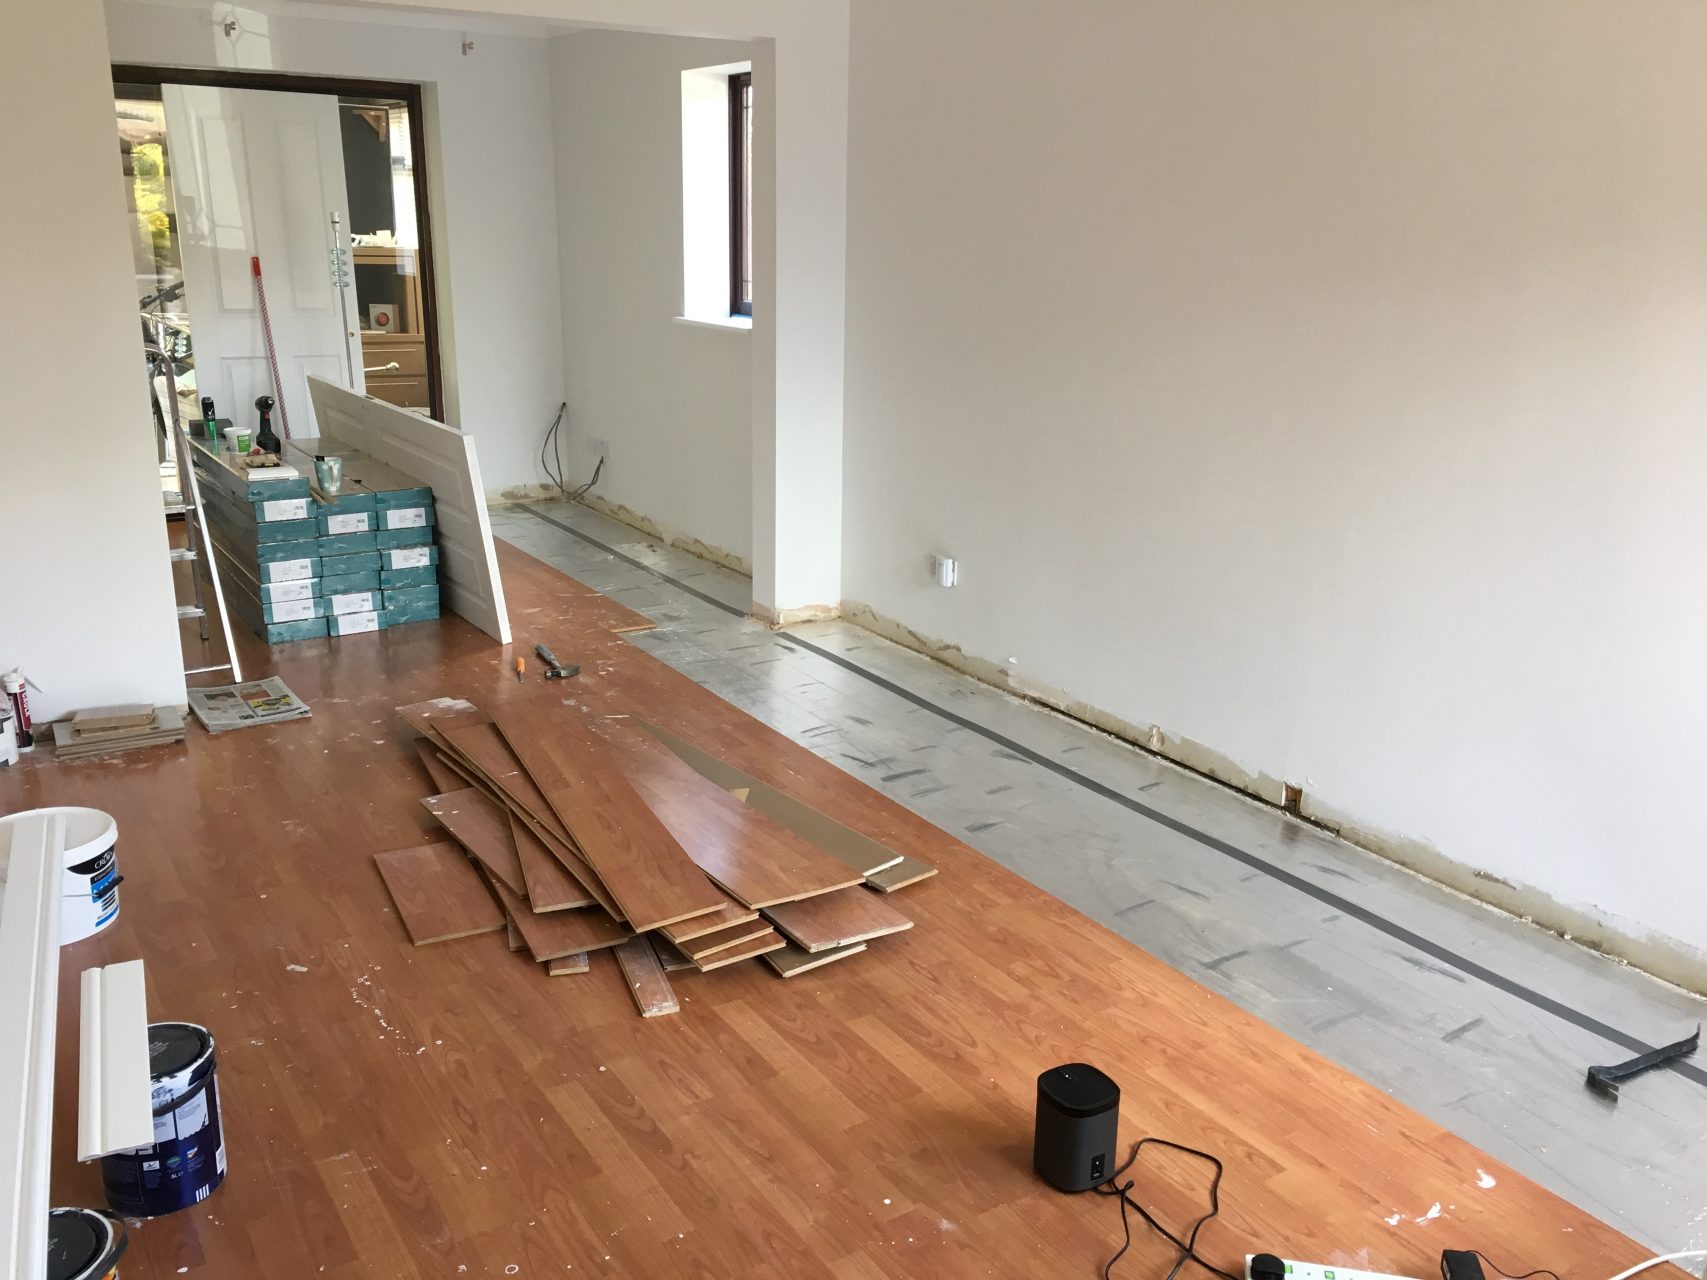
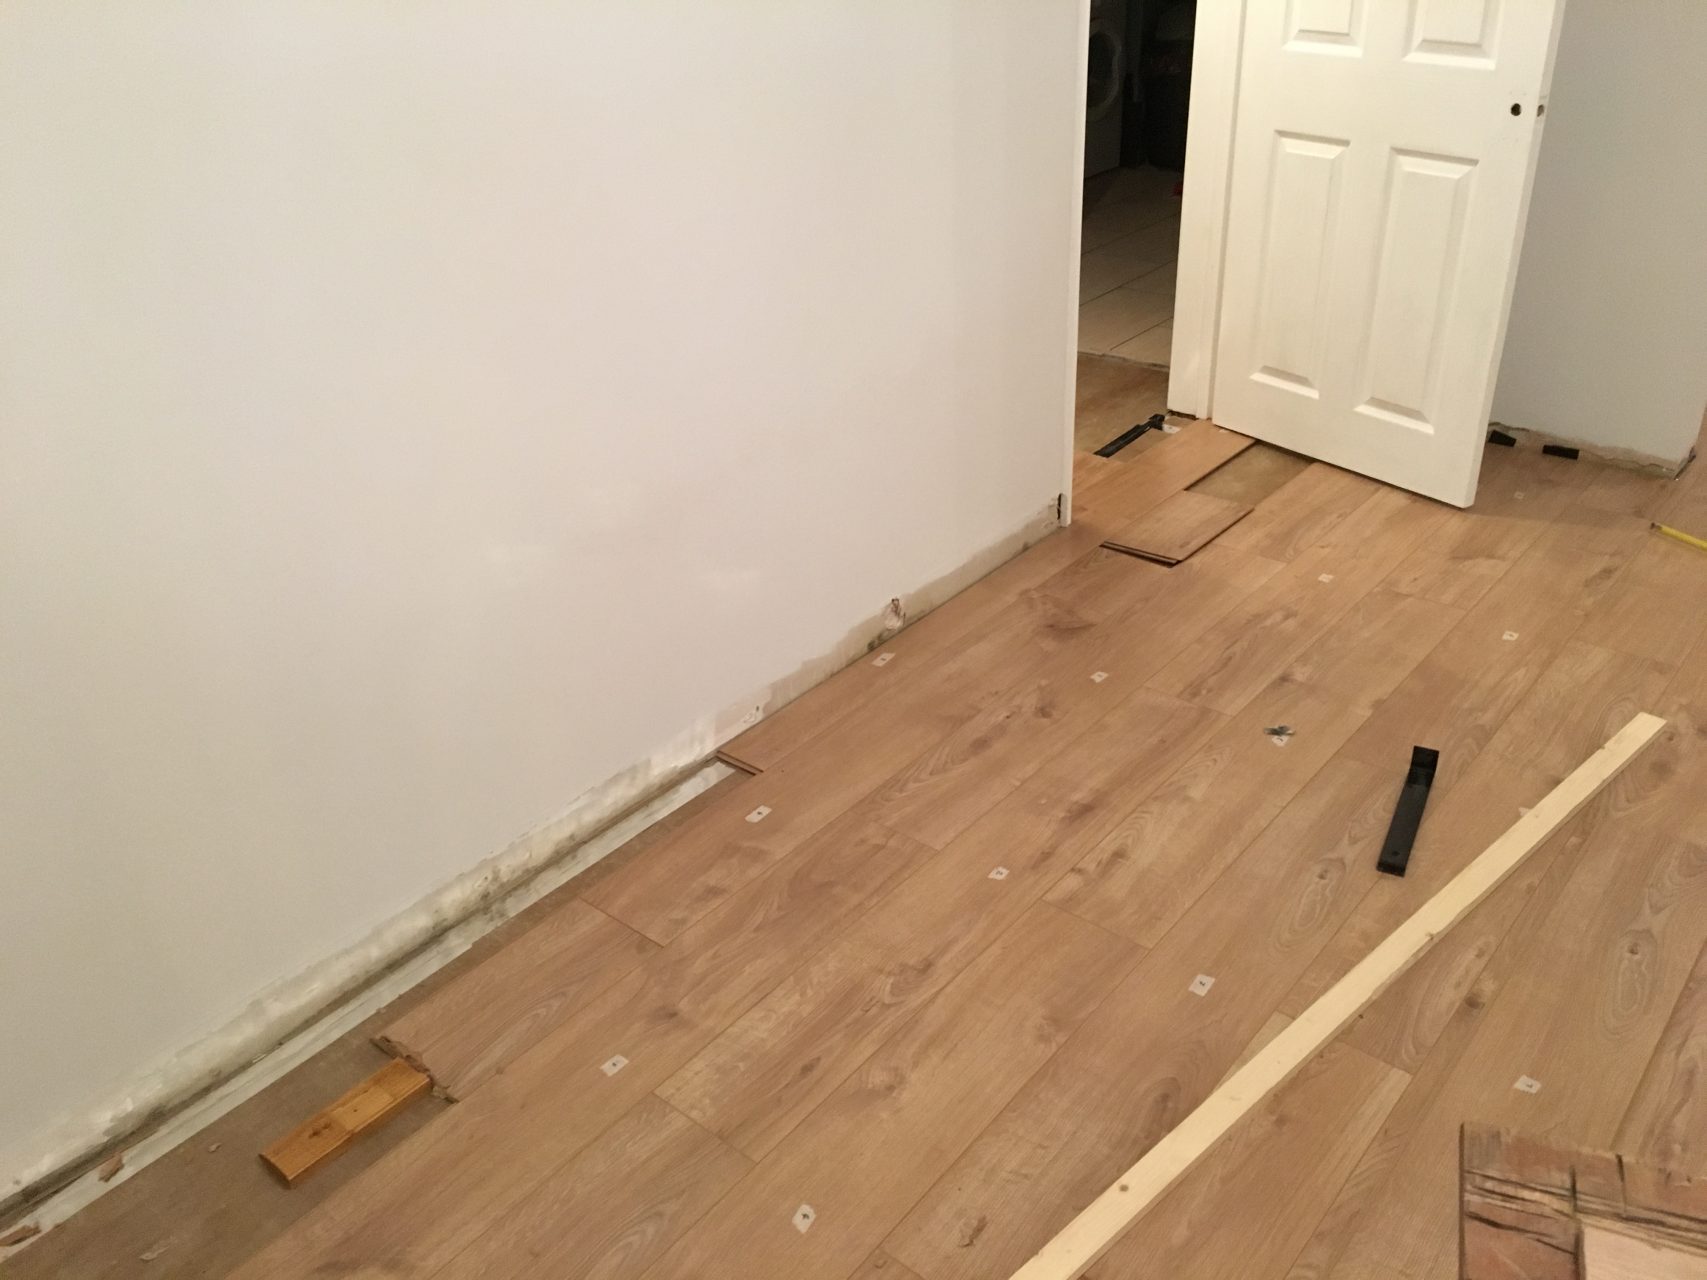
With the room empty it was time to start pulling things up. I crow-barred the skirting boards off, trying not to rip half the walls off with them and then made a start on taking up the flooring.
Step 4: Lay the underlay
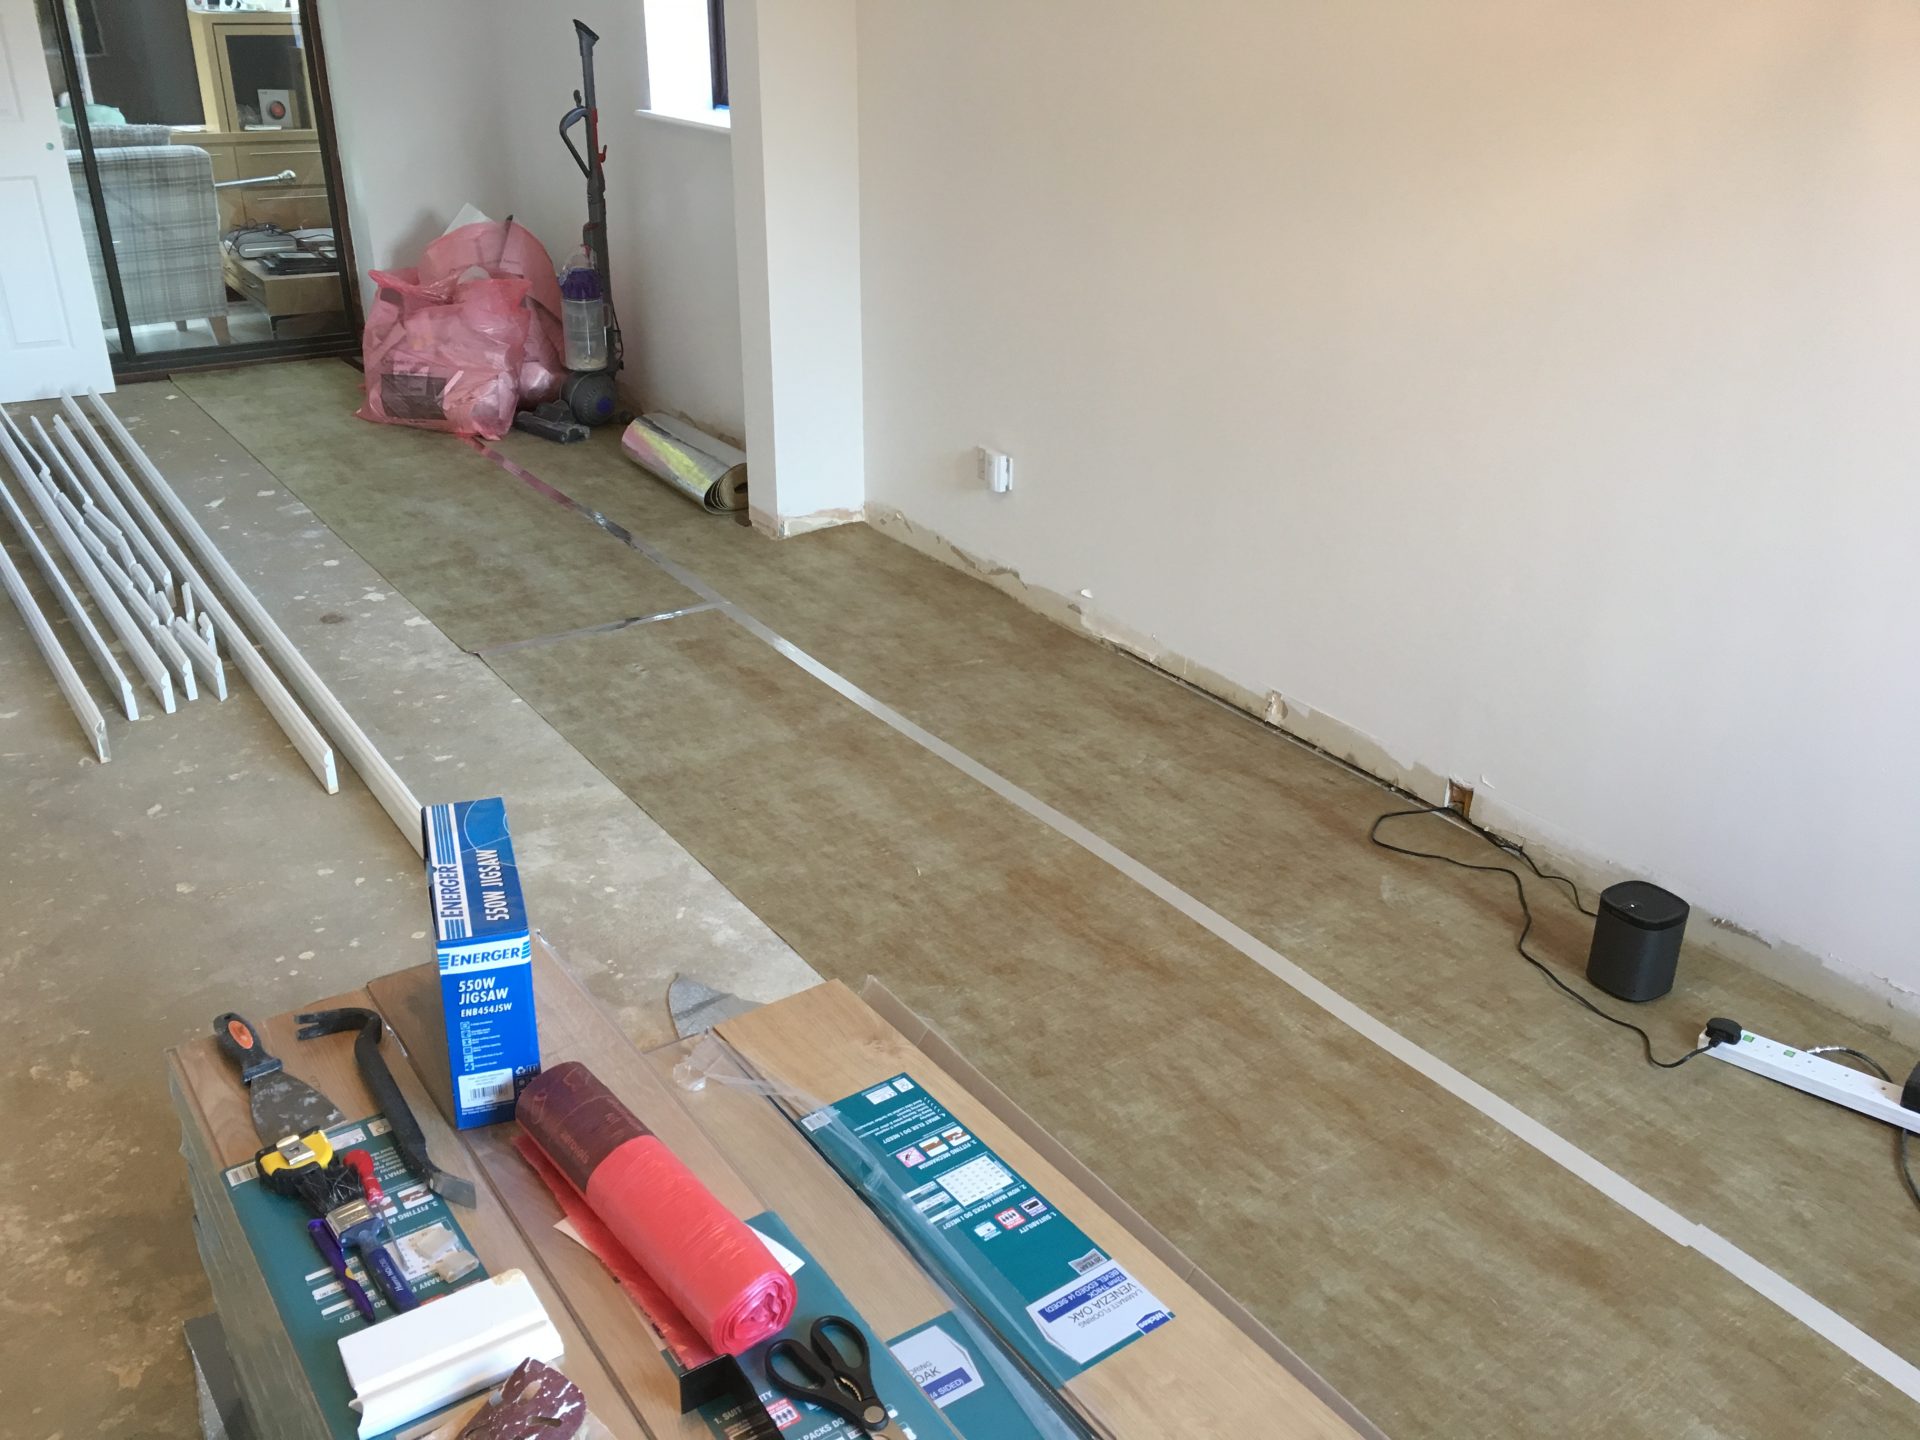
With underlay, prices can vary a lot. You can pick up the cheap white foam that offers little in the way of quality or functionality or as I did, invest a little more. As I was laying the laminate down on over 30m2 of concrete substrate on my ground floor I wanted extra protection from any damp that may come up through the concrete, something that would provide insulation to save on energy bills and something which would reduce noise from the floor.
I settled for a couple of packs of underlay from Wickes which were at the top end of the range.
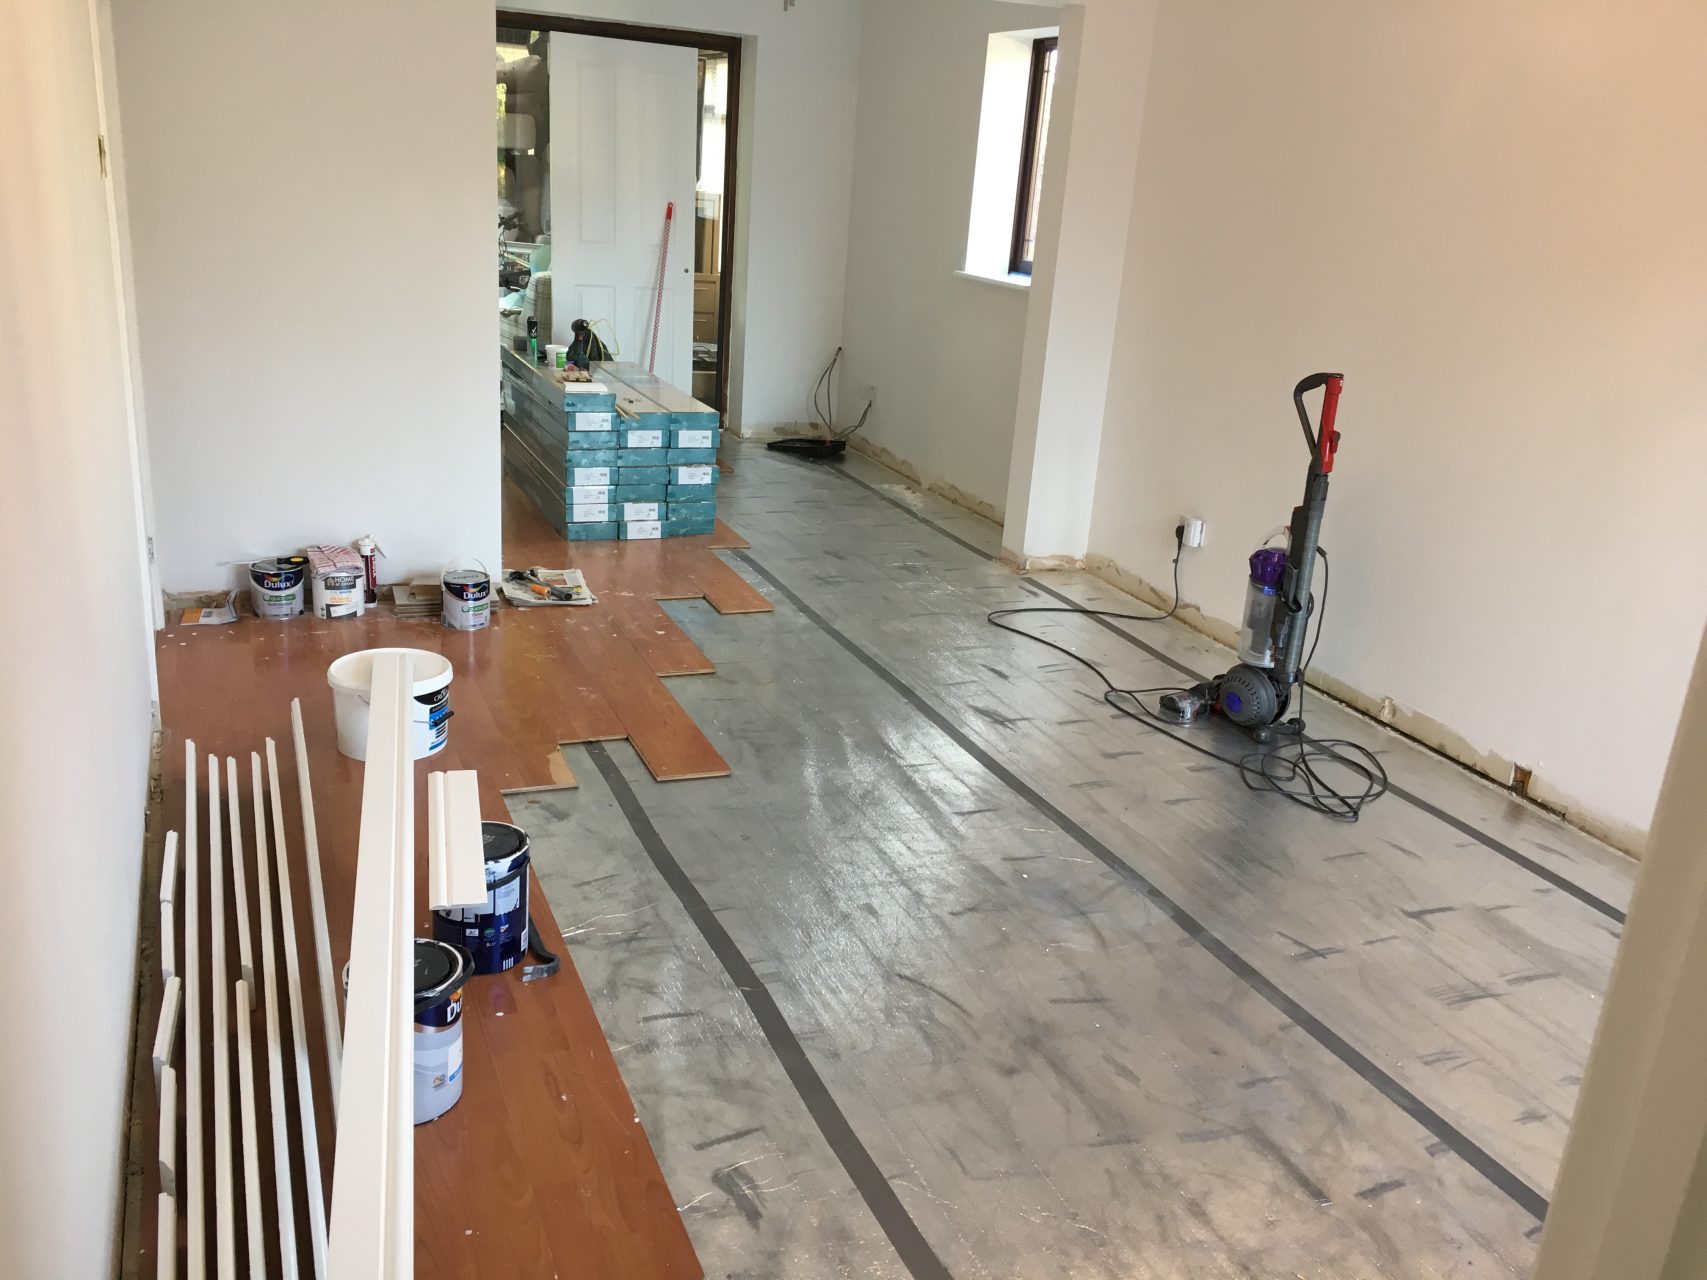
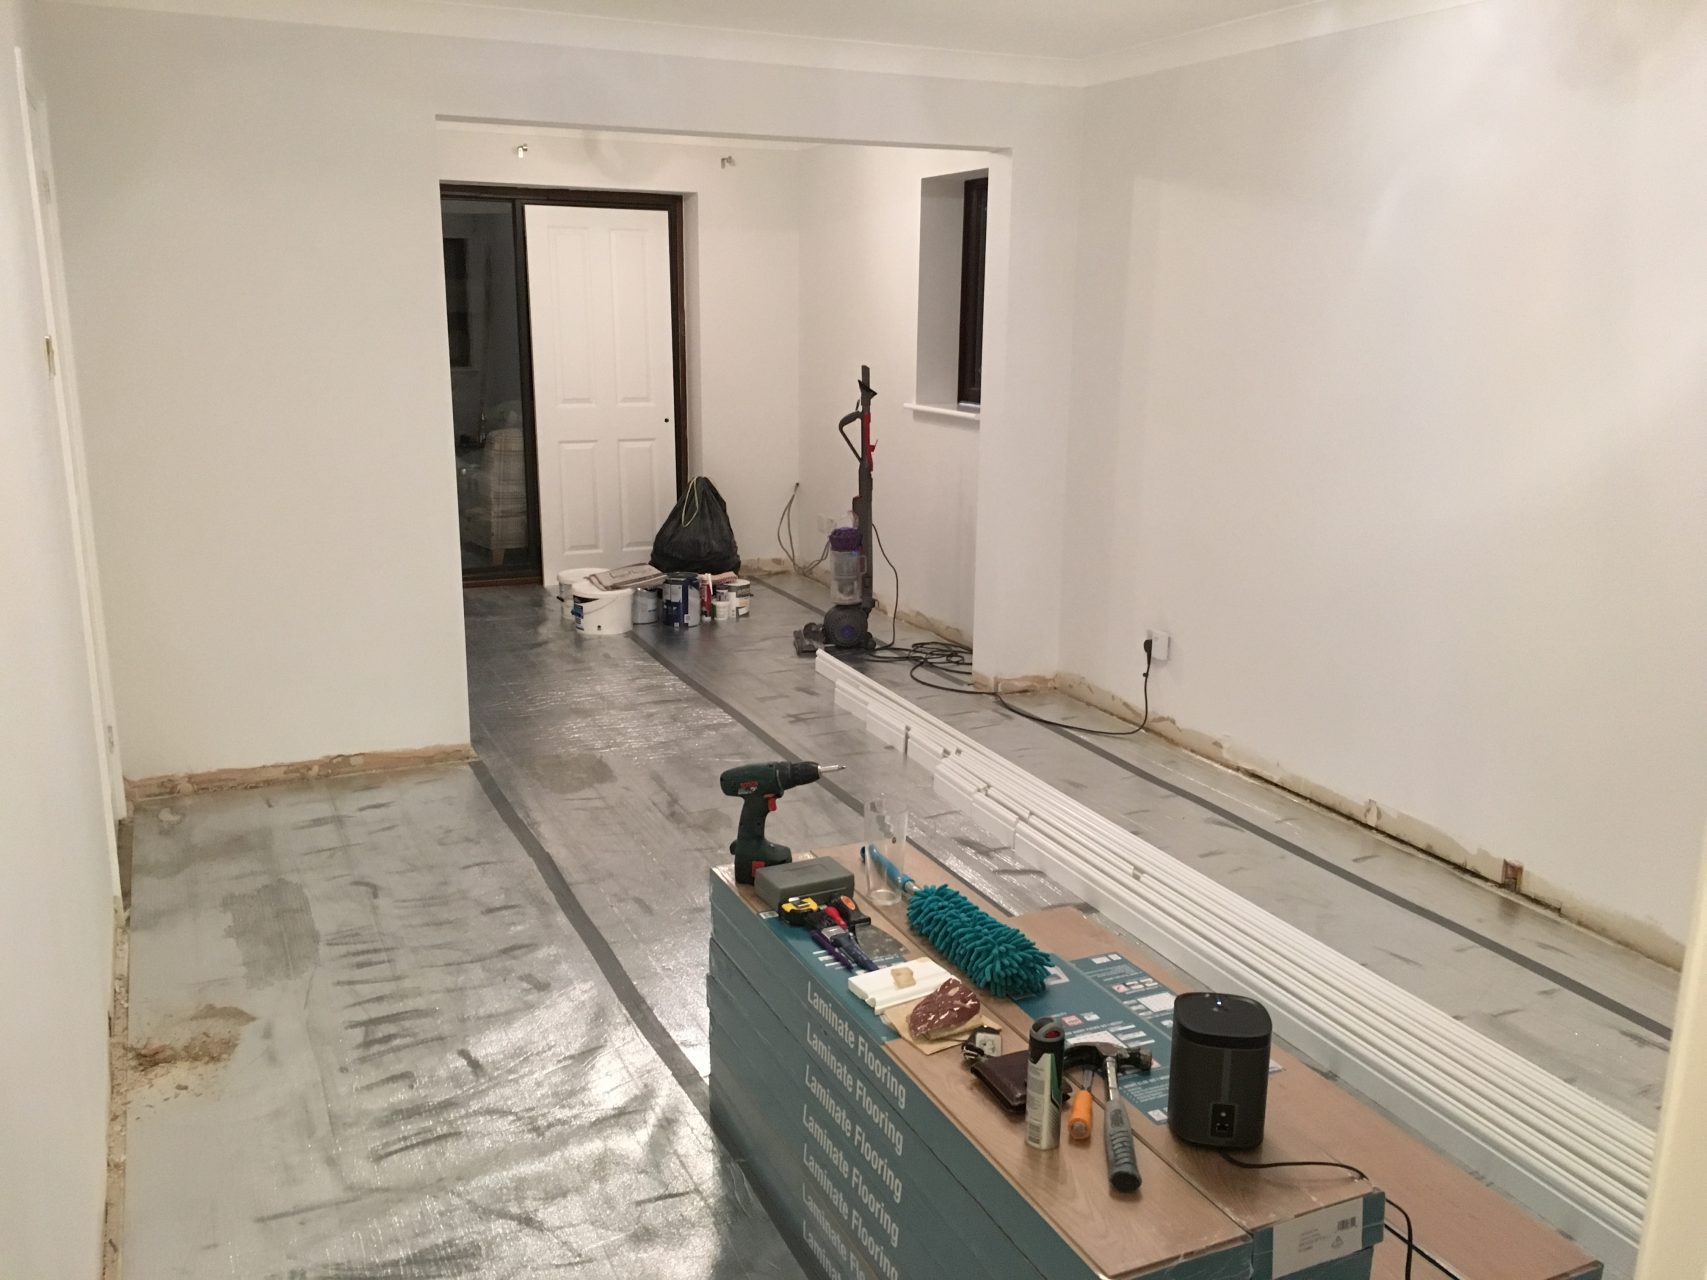
The underlay was laid and all joints taped together with insulating tape so I was ready to get started with the boards.
Step 5: Setting out
With the flooring unloaded into the house the next major job was the setting out. That being to ensure I didn’t end up with a long 1cm slither needing to be cut along any edges, and that where I was going to be running the floor through doorways it transitioned perfectly. To do this I measured up the boards, measured the dimensions of the room and drew myself a floor plan with all of the boards drawn on so I knew exactly how things would sit.
Step 6: Randomise the boards
With any laminate flooring they typically come in packs of 5-7 boards. This means you may only have 7 different board patterns to work with. To avoid this I opened 2 or 3 packs to see what patterns were in the set, identifying 10 unique styles.
This was useful because as I was then laying the flooring I could ensure no 2 patterns were laid next to/near each other – I wanted to avoid having a patch of the floor where 4 printed boards would be laid next to each.
When I then laid the flooring I always kept the next 2 rows set out in parallel to ensure the patterns appeared different.
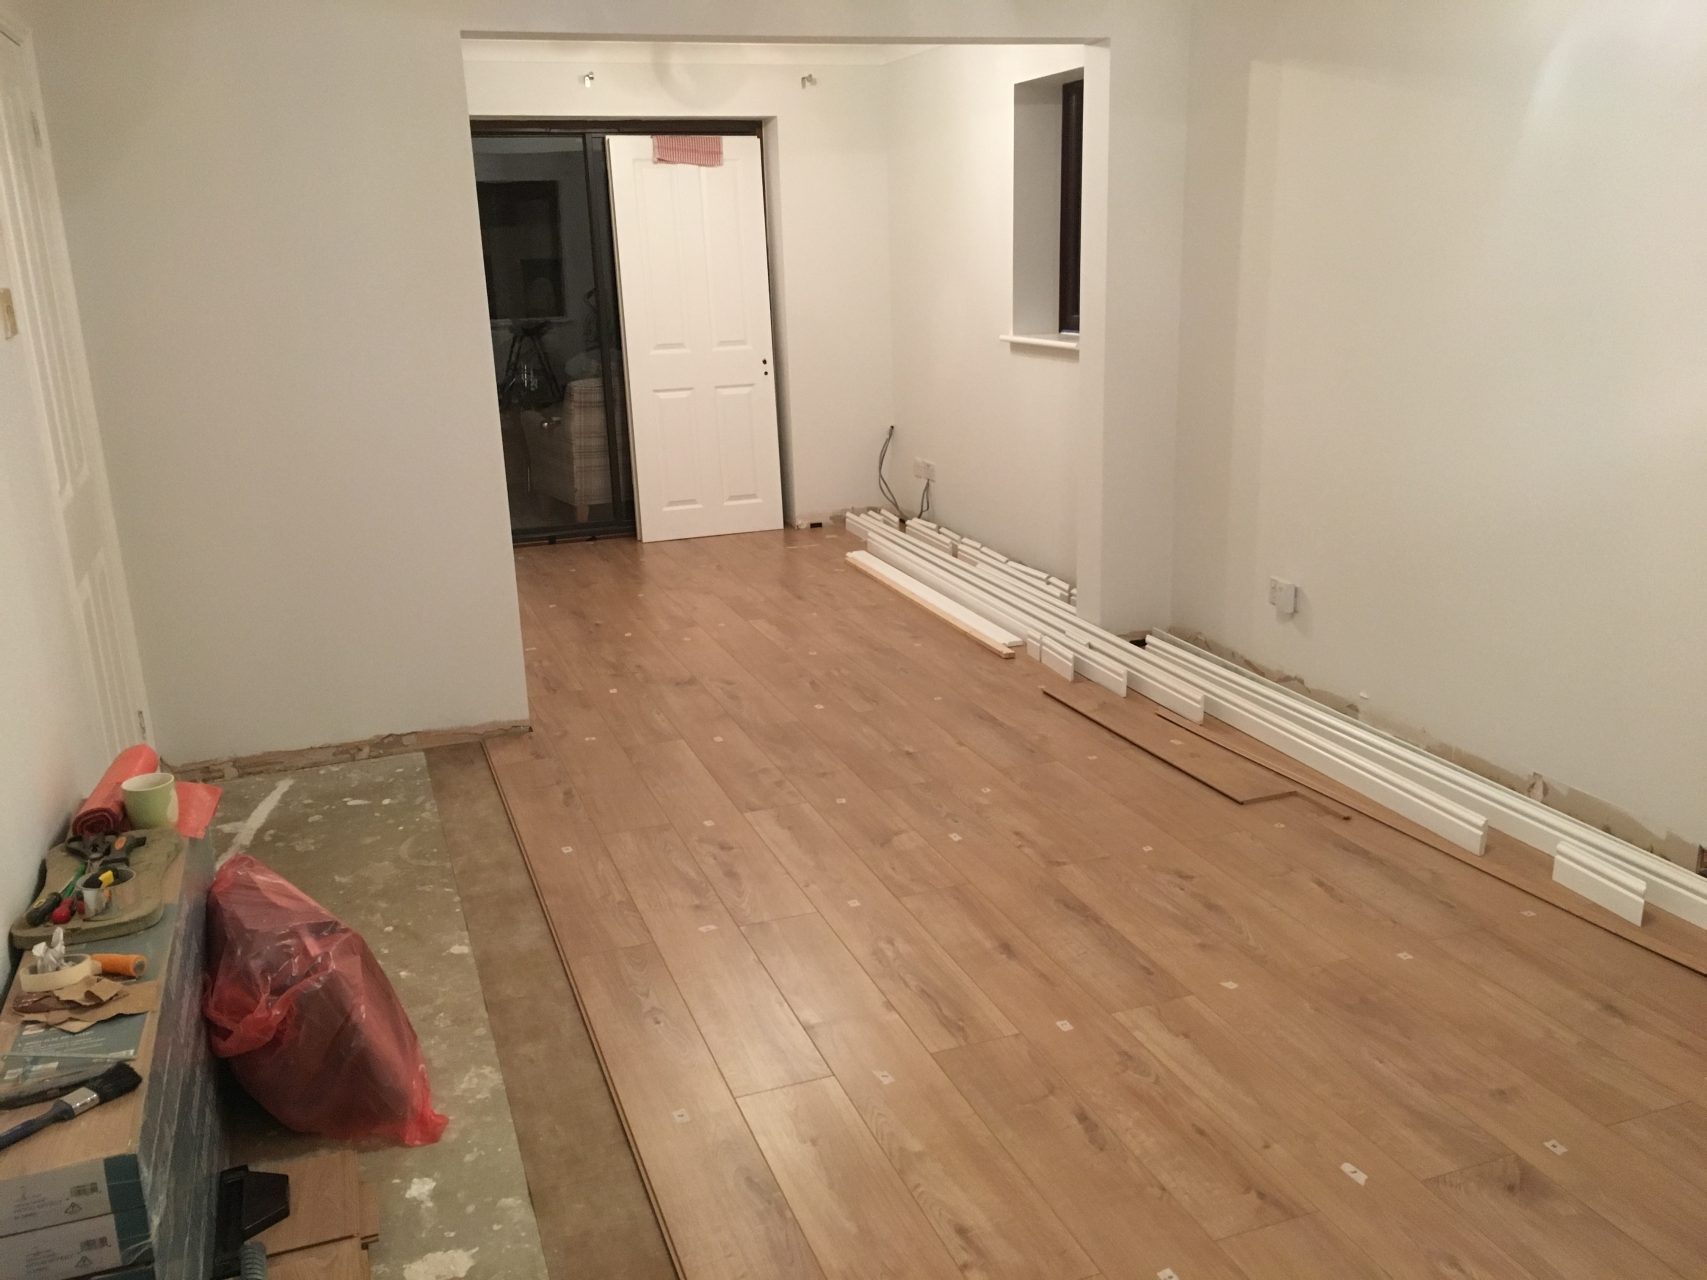
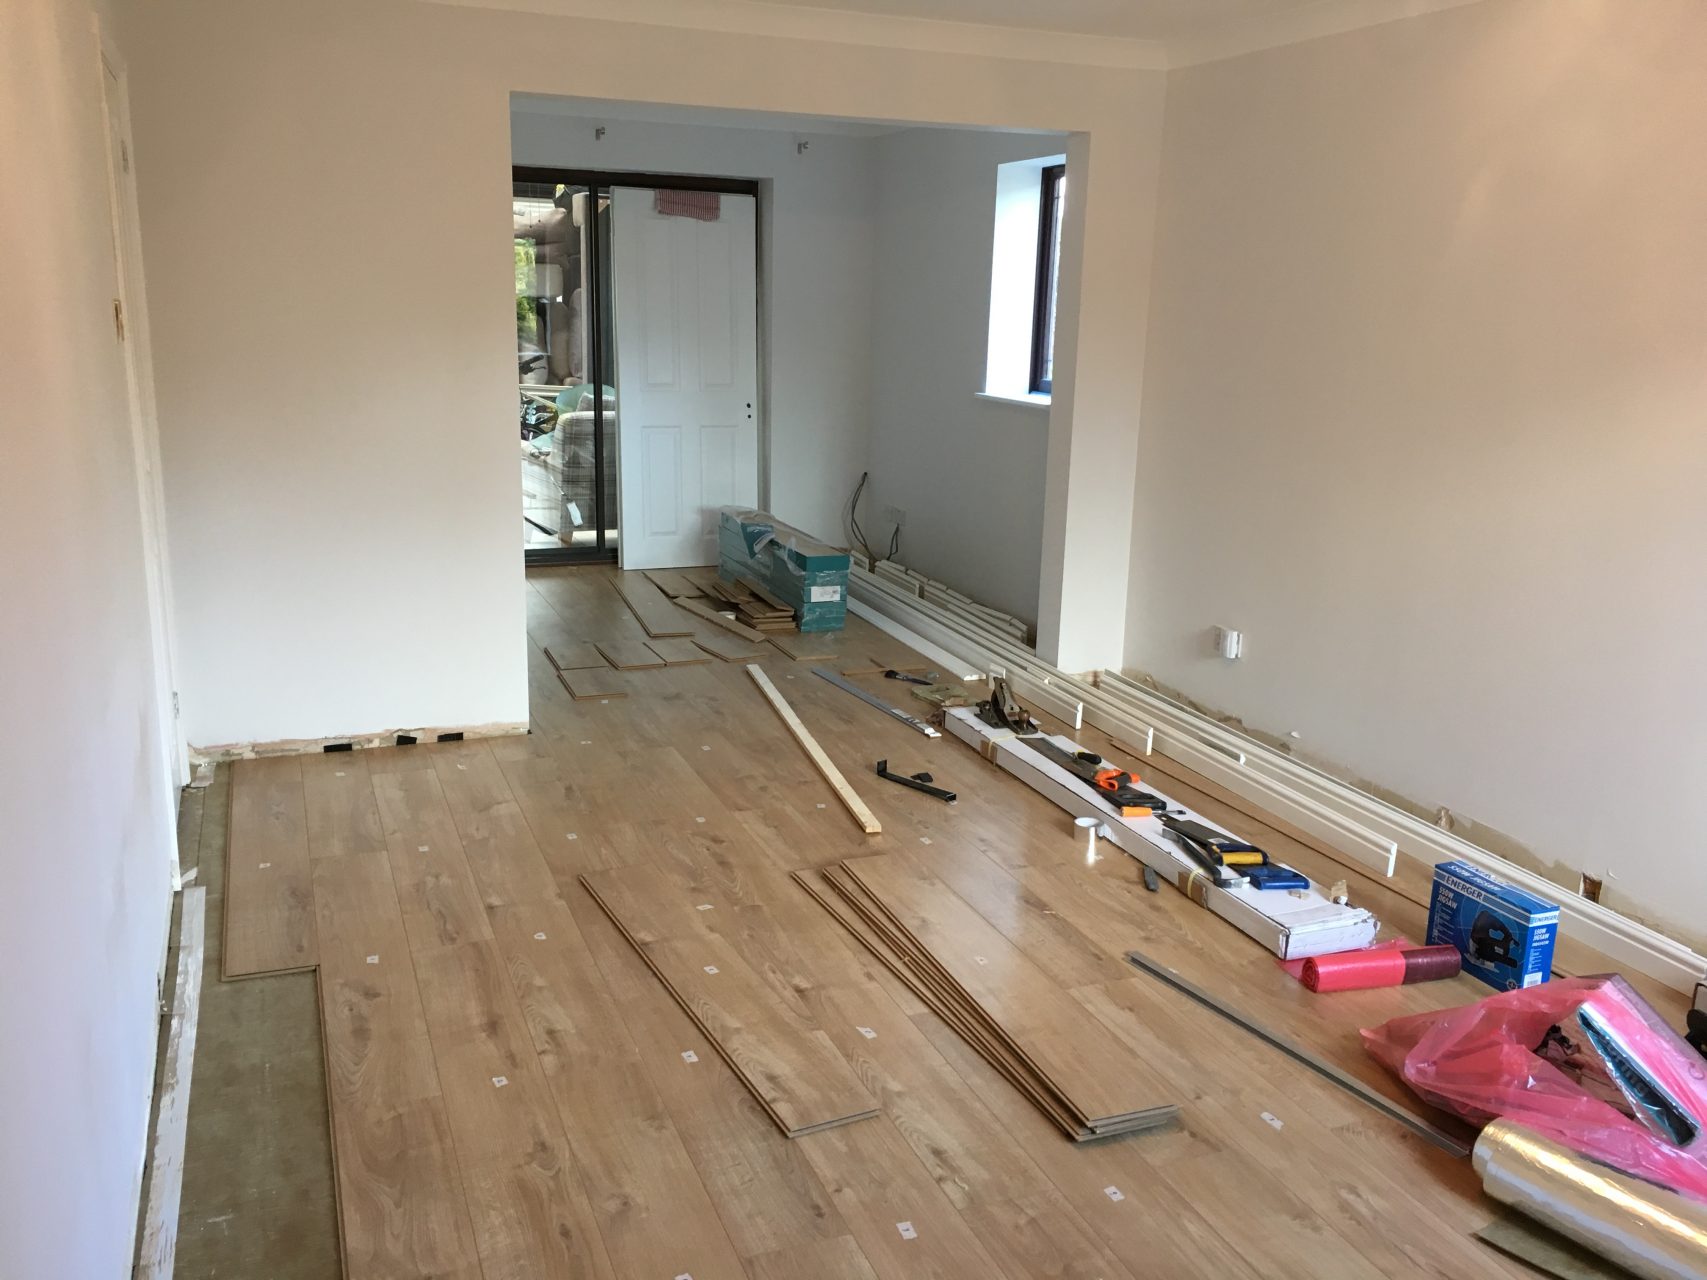
Step 7: Lay the flooring
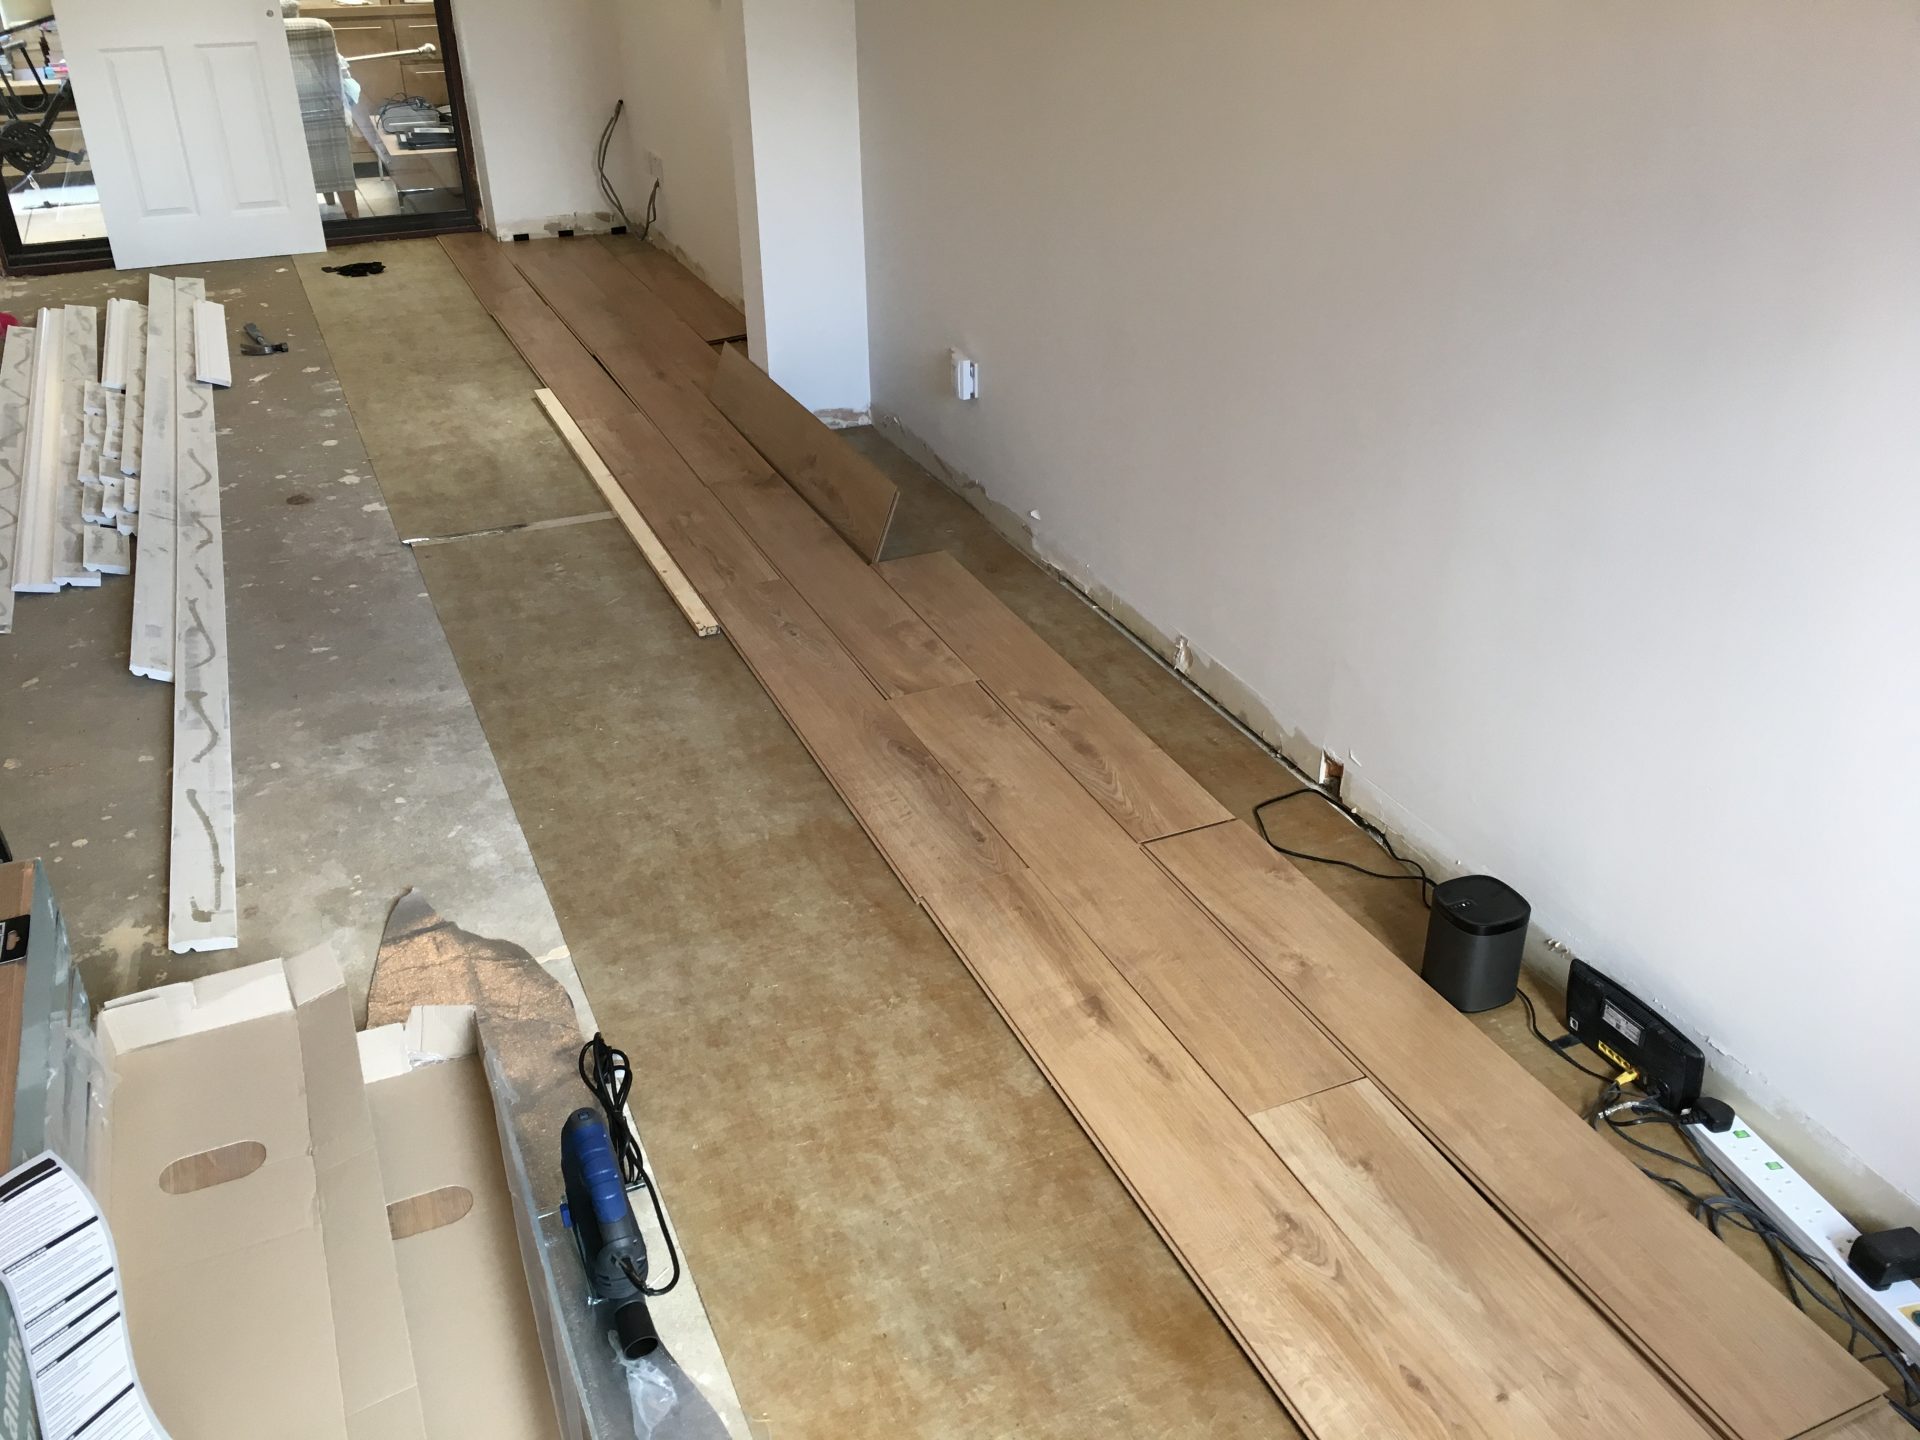
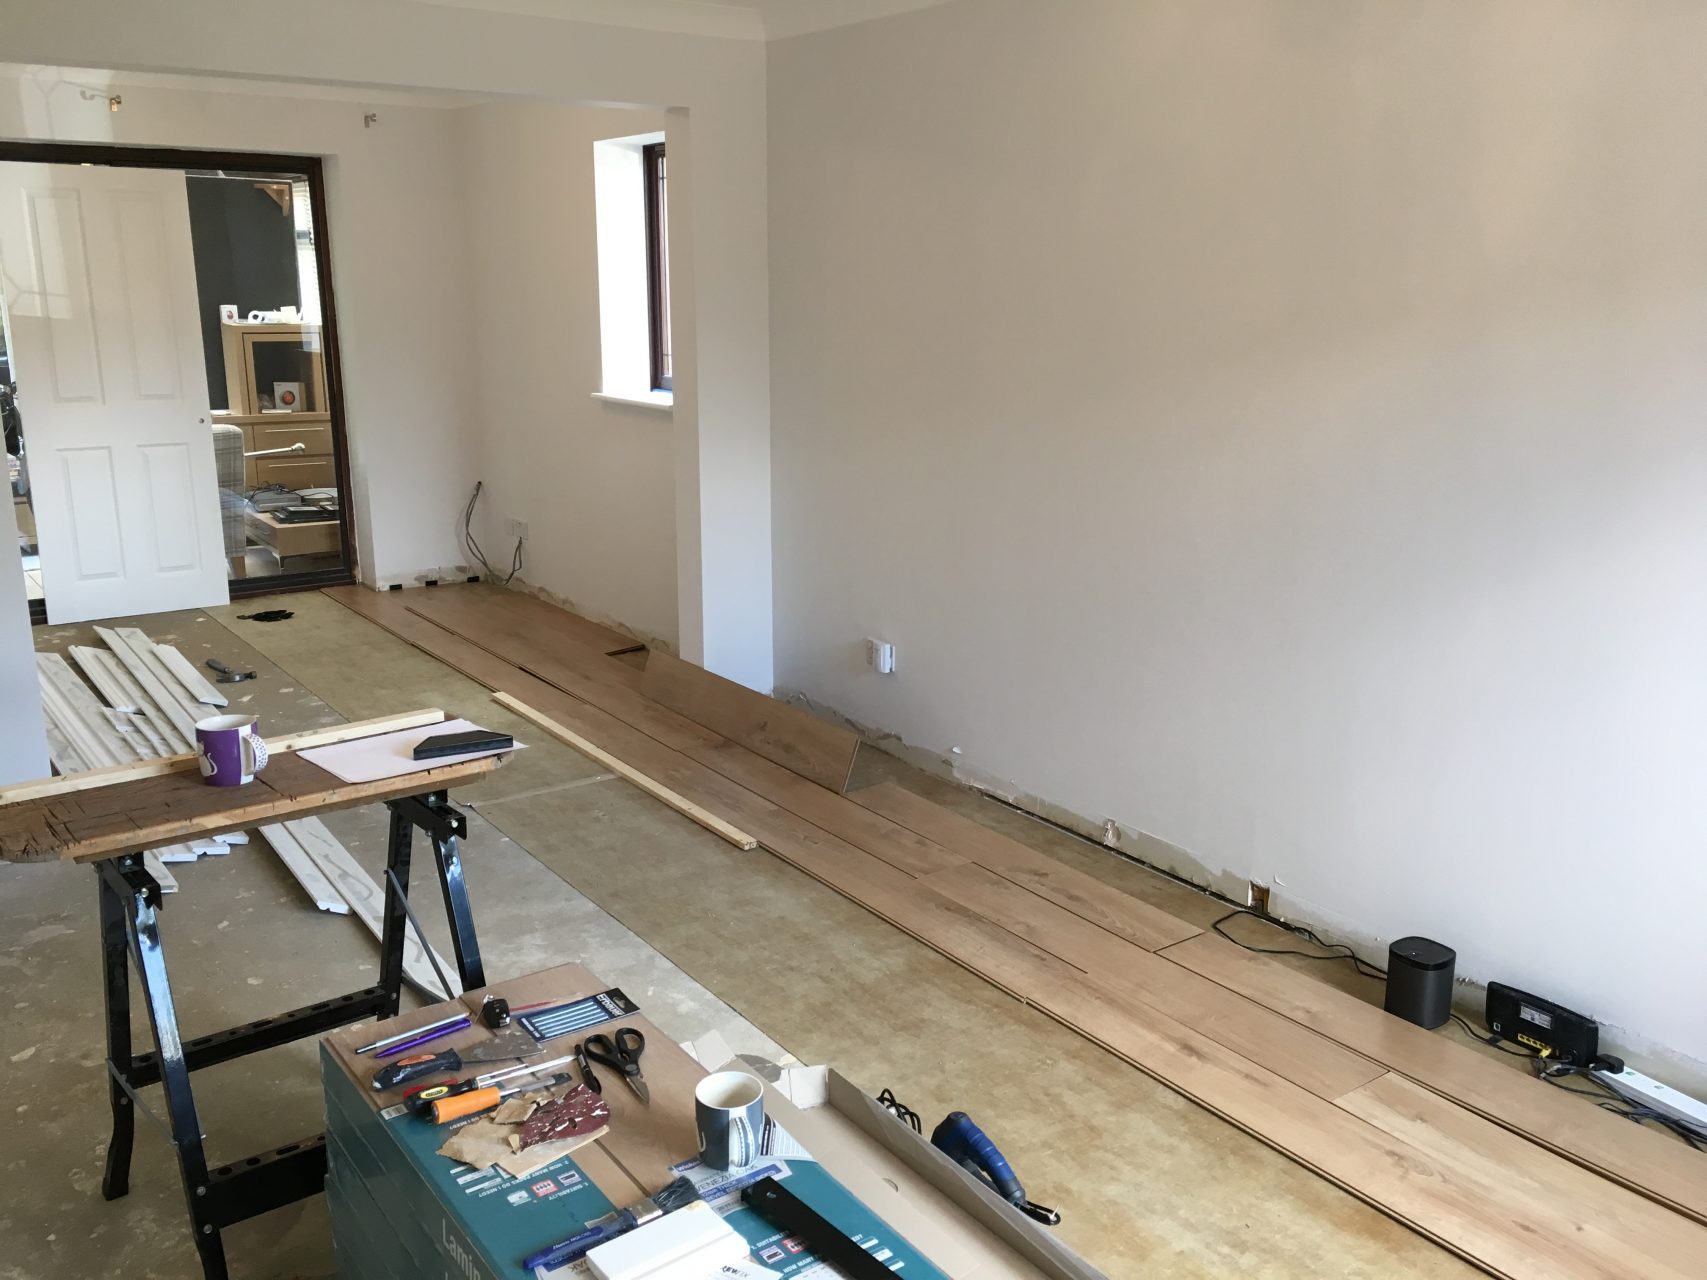
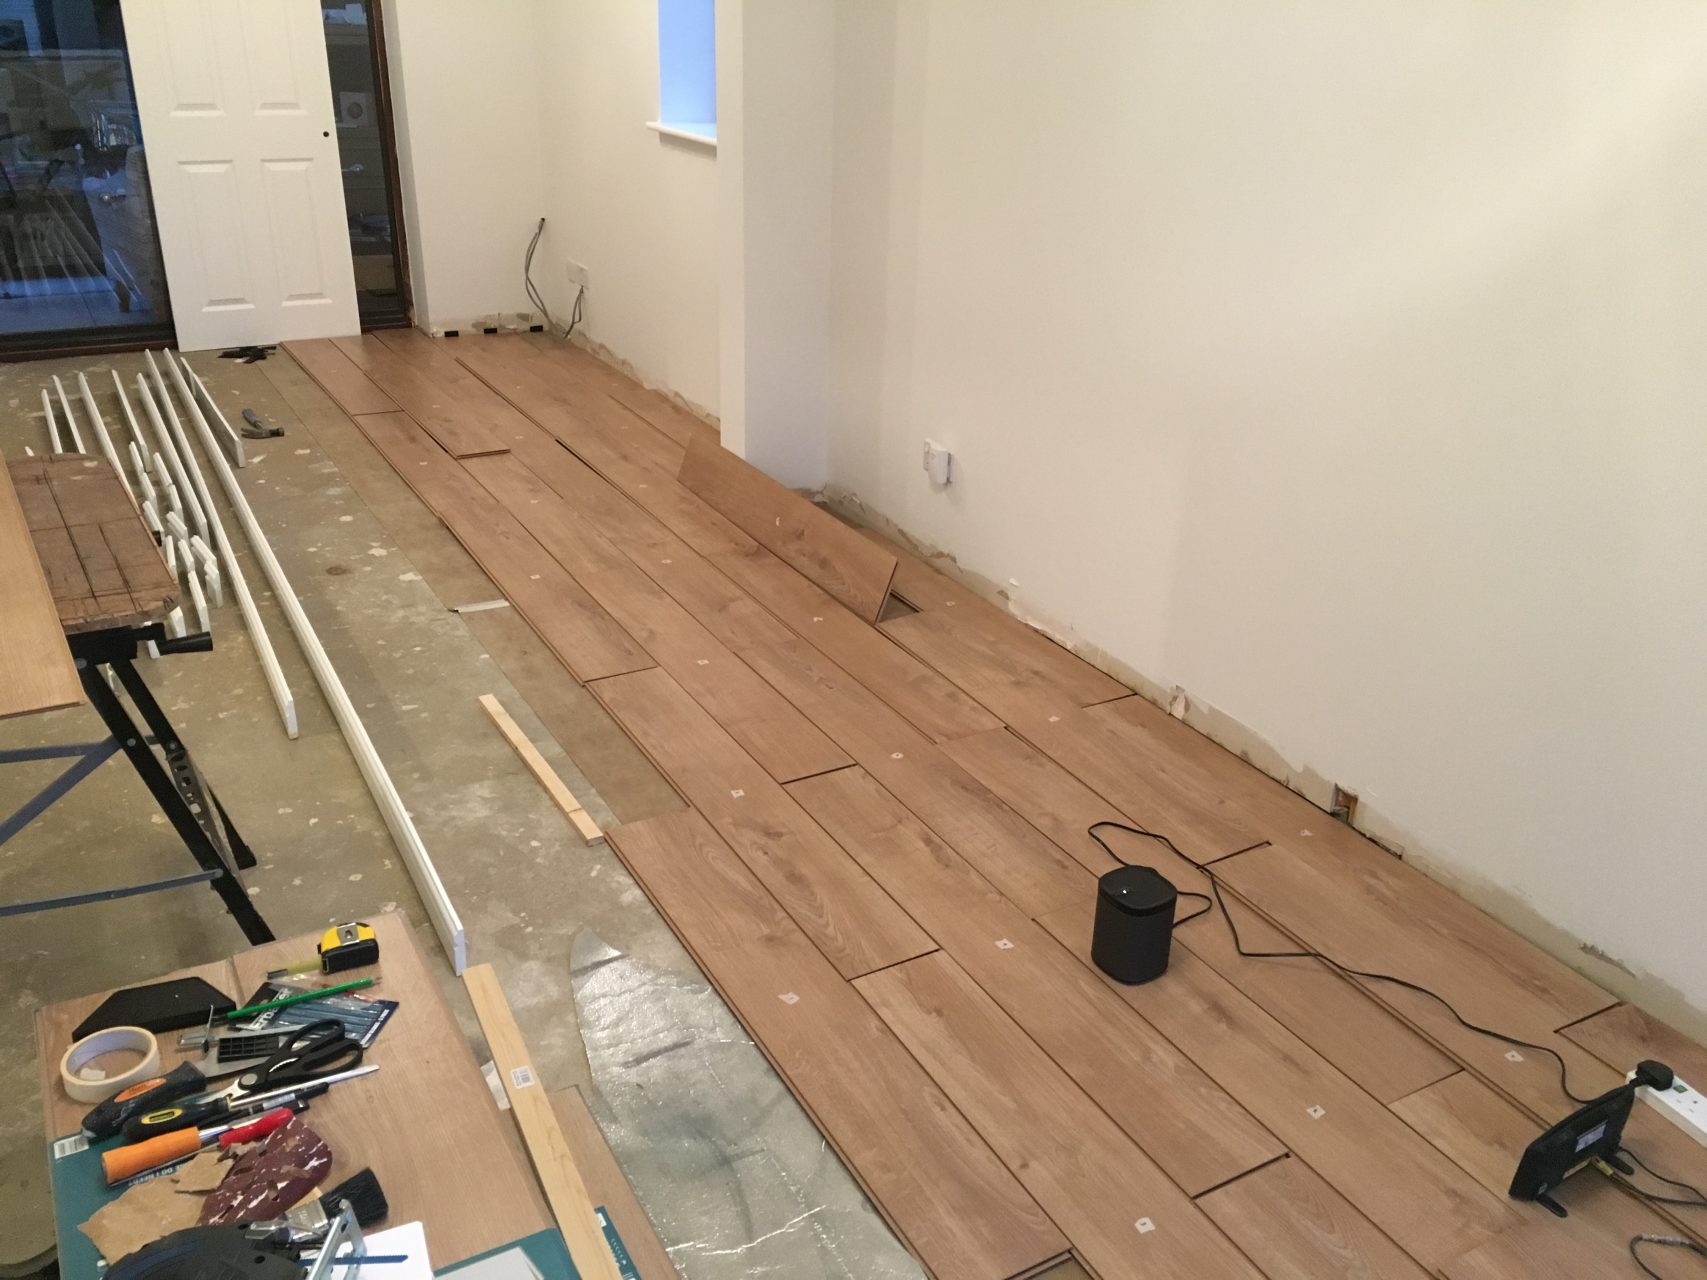
With the Wickes laminate it was snap together boards so each board could join into the next one simply by pushing it in at a 45 degree angle. This meant I had to start at the furthest corner of the room and work towards the opposite corner to allow the click together system to work.
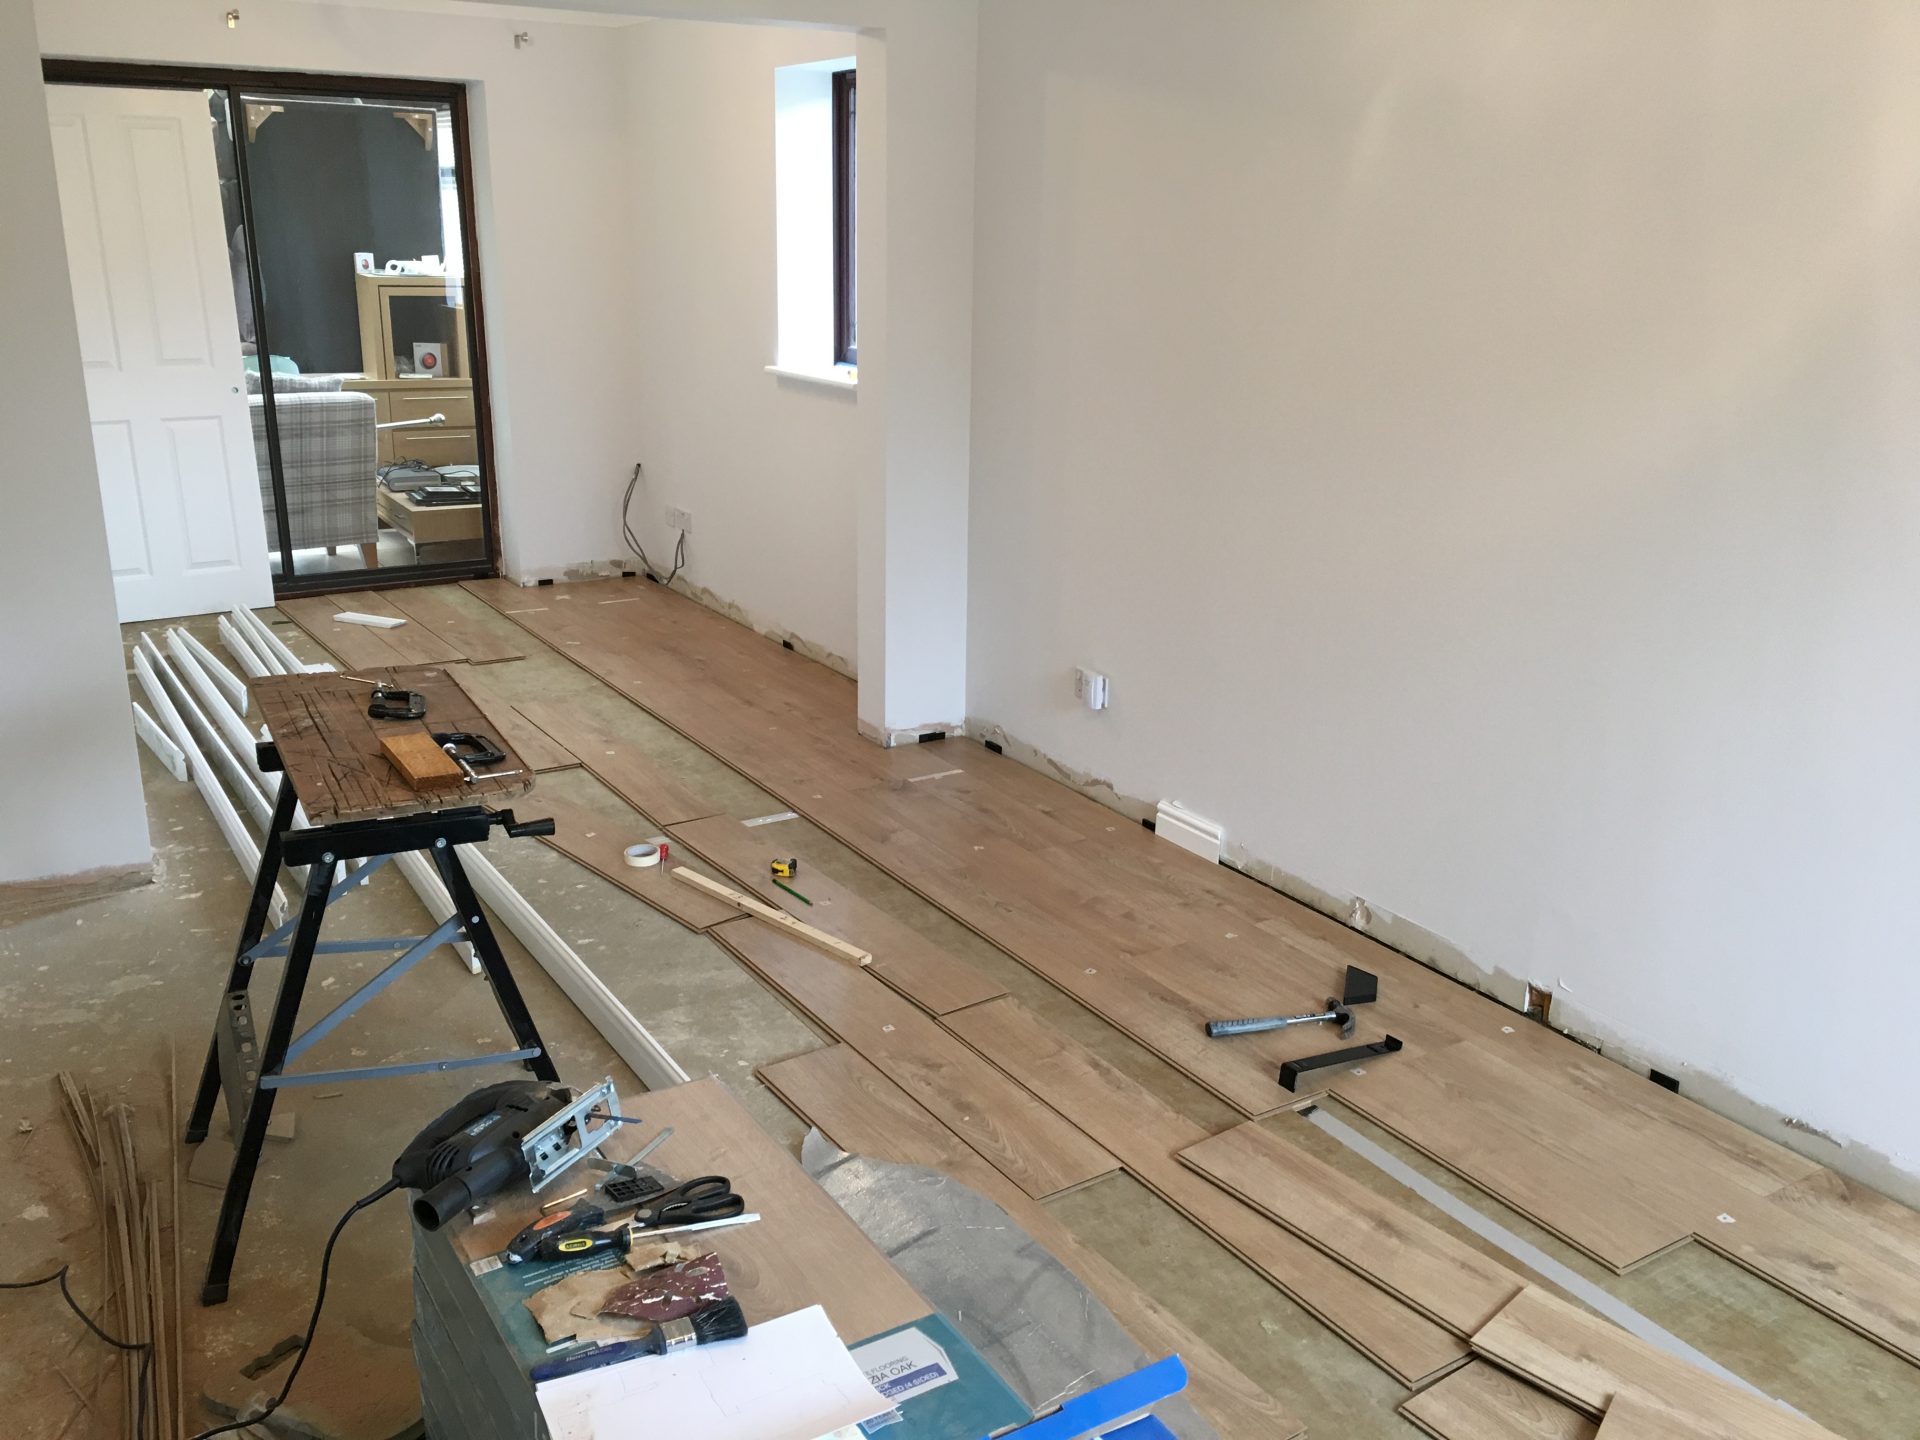
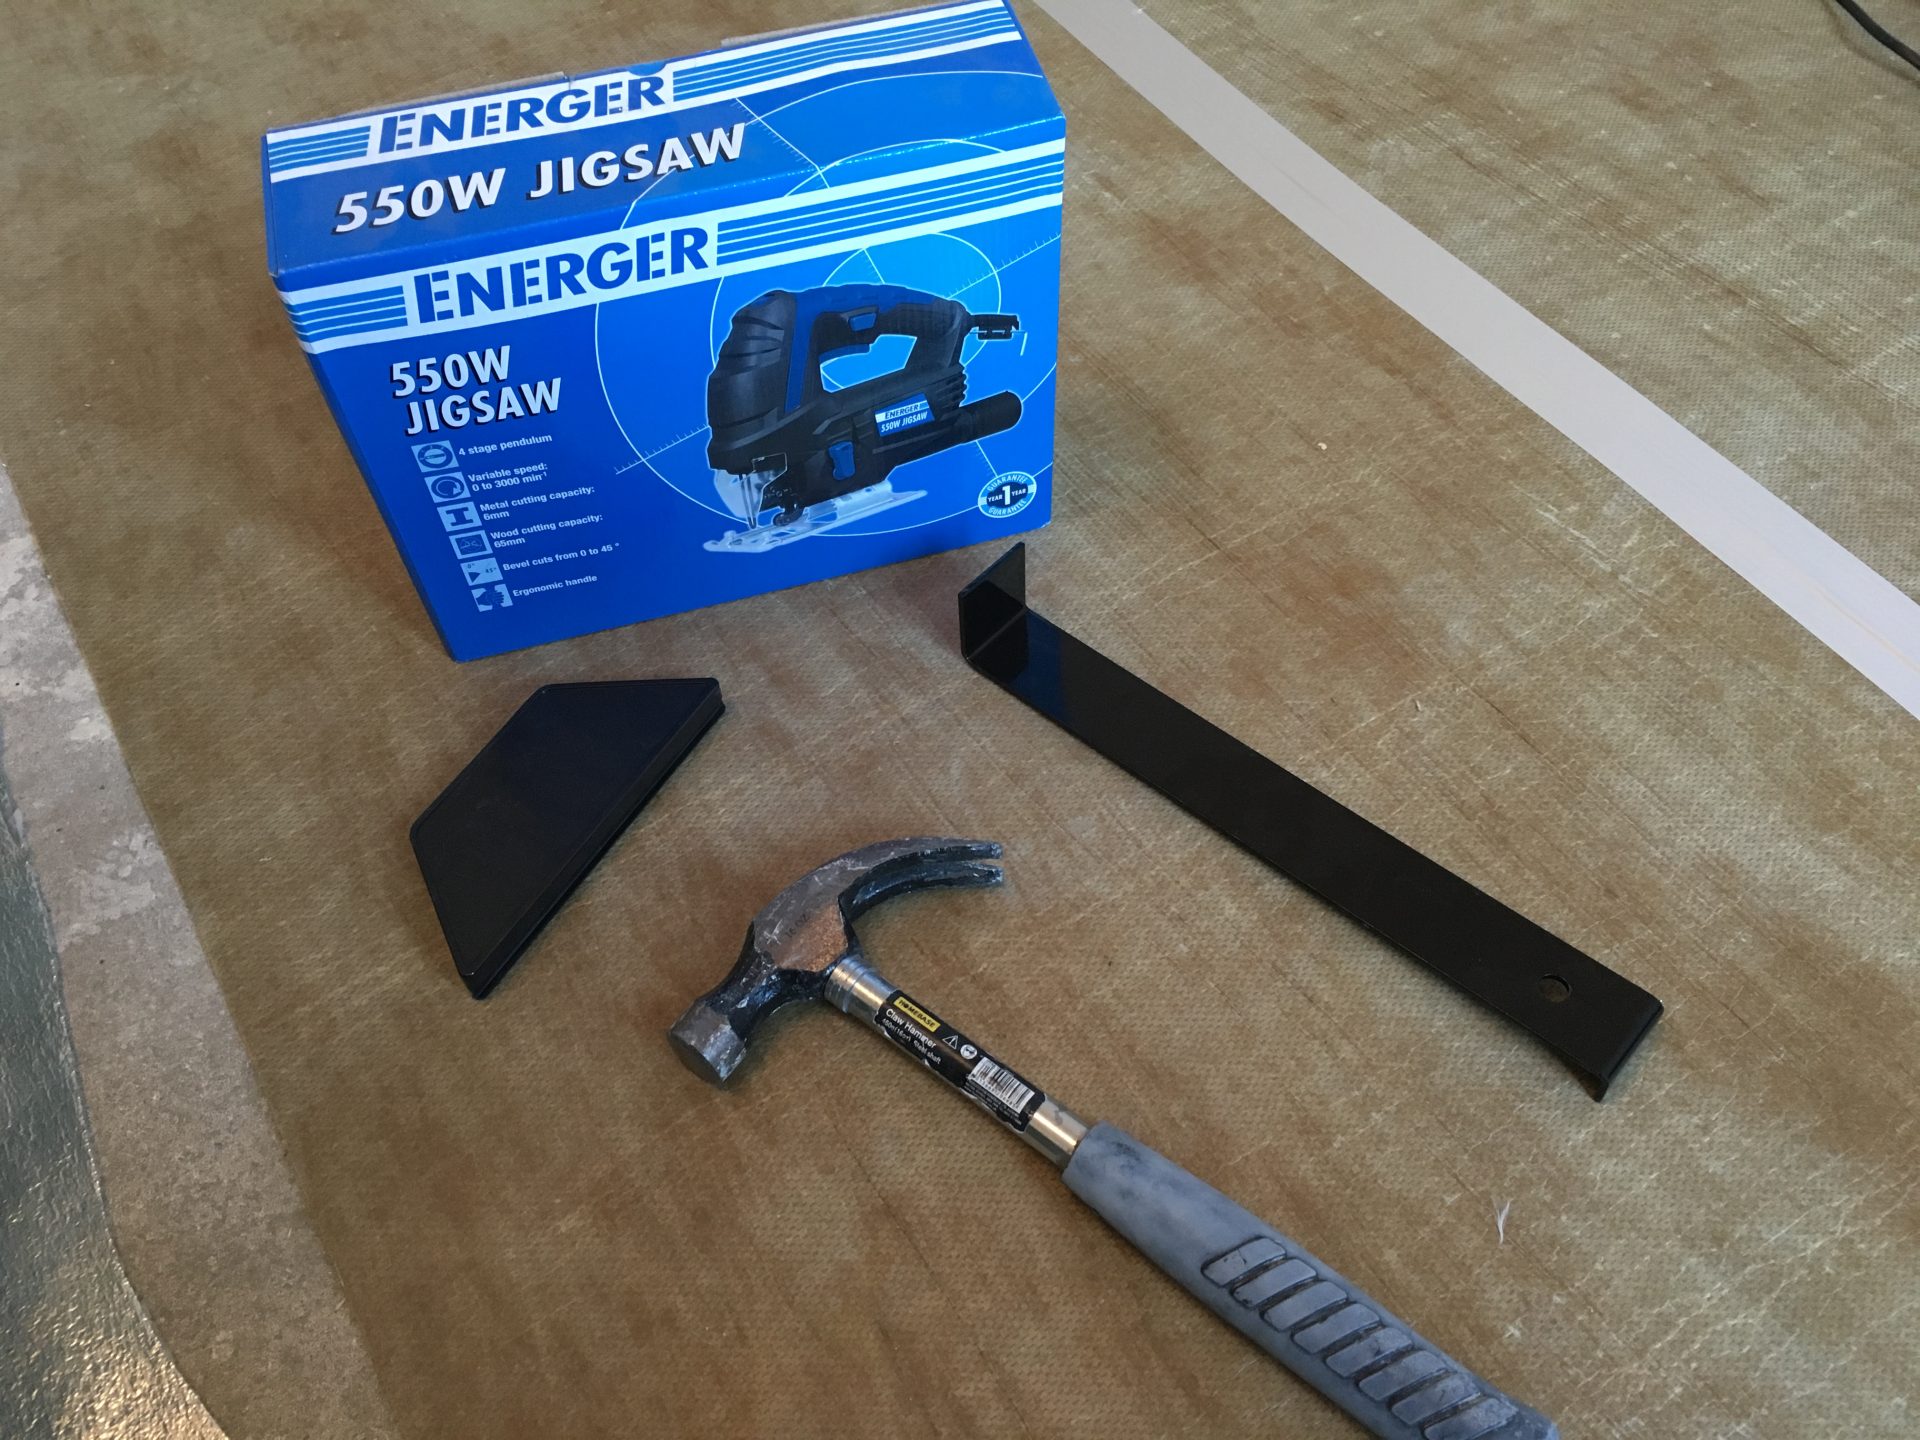
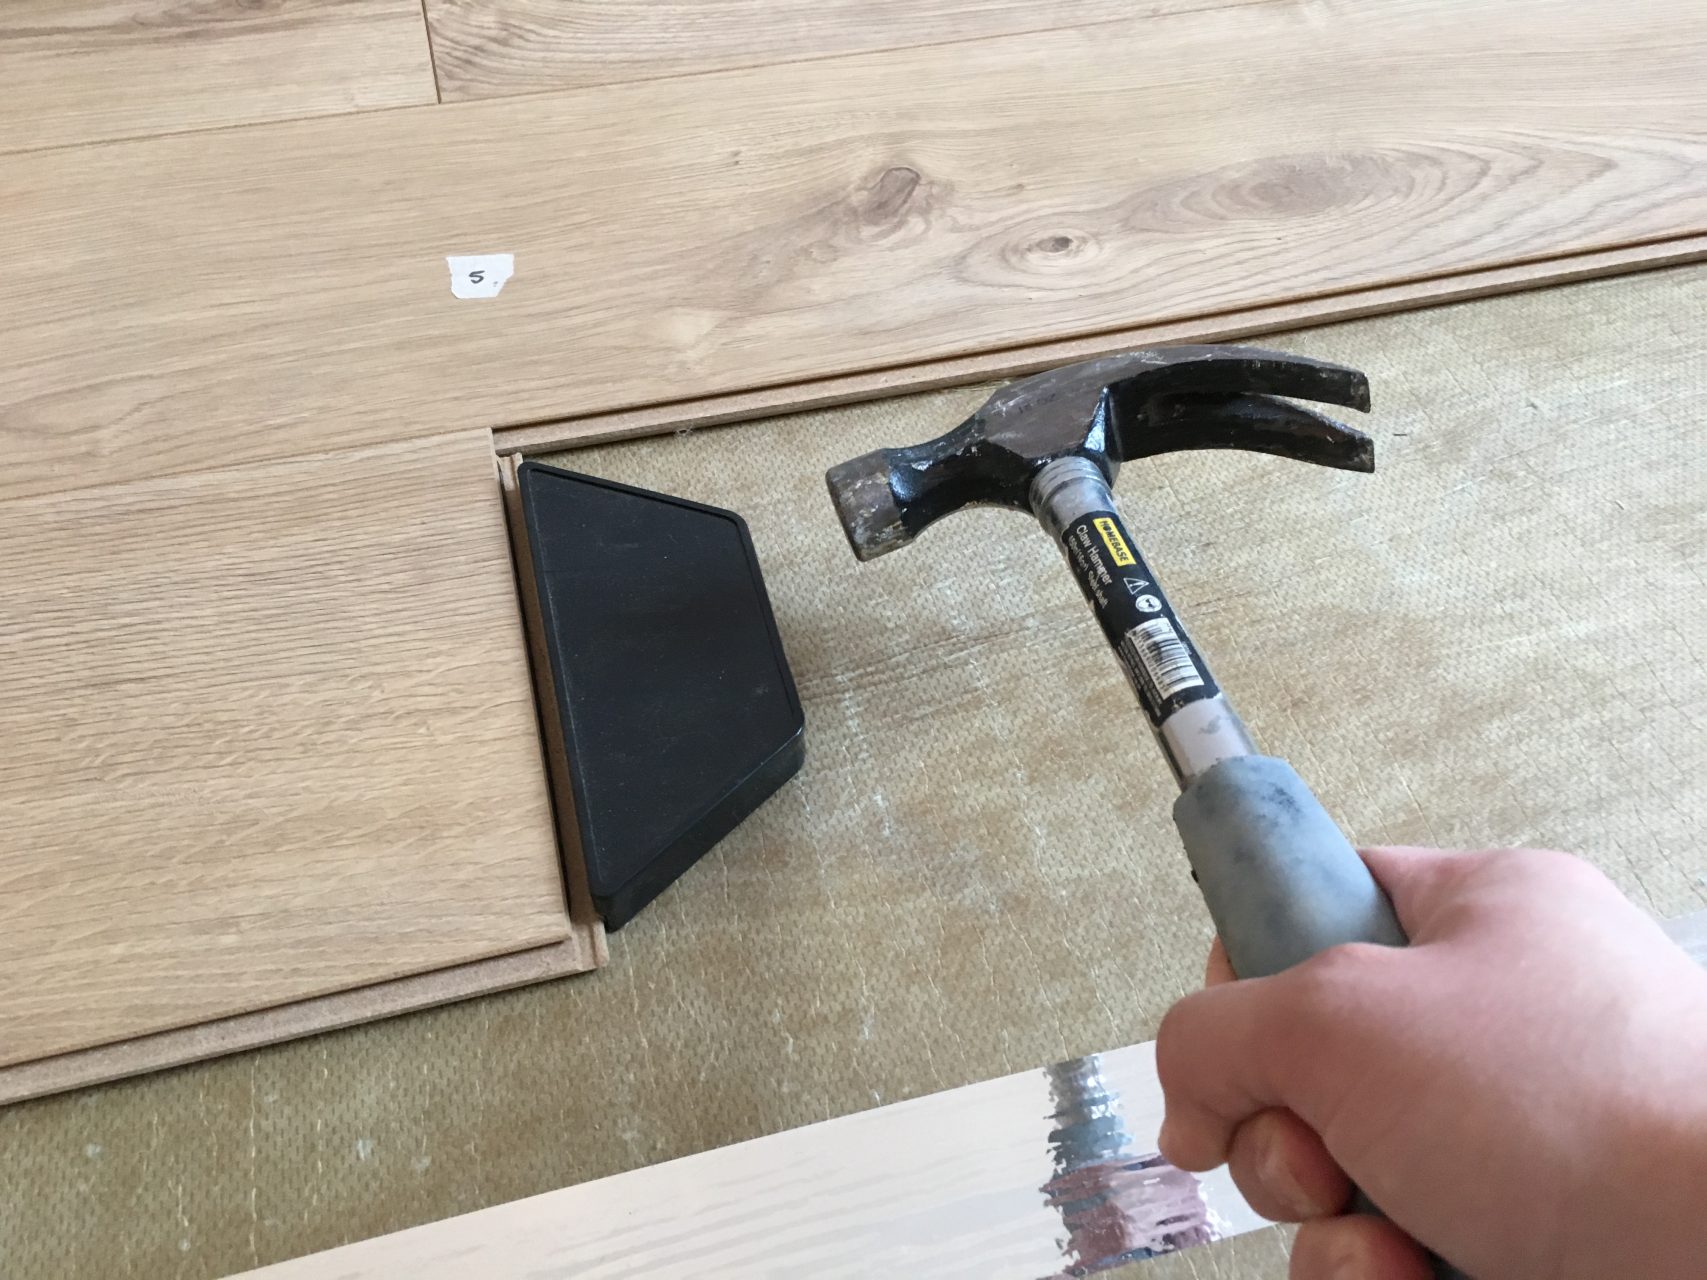
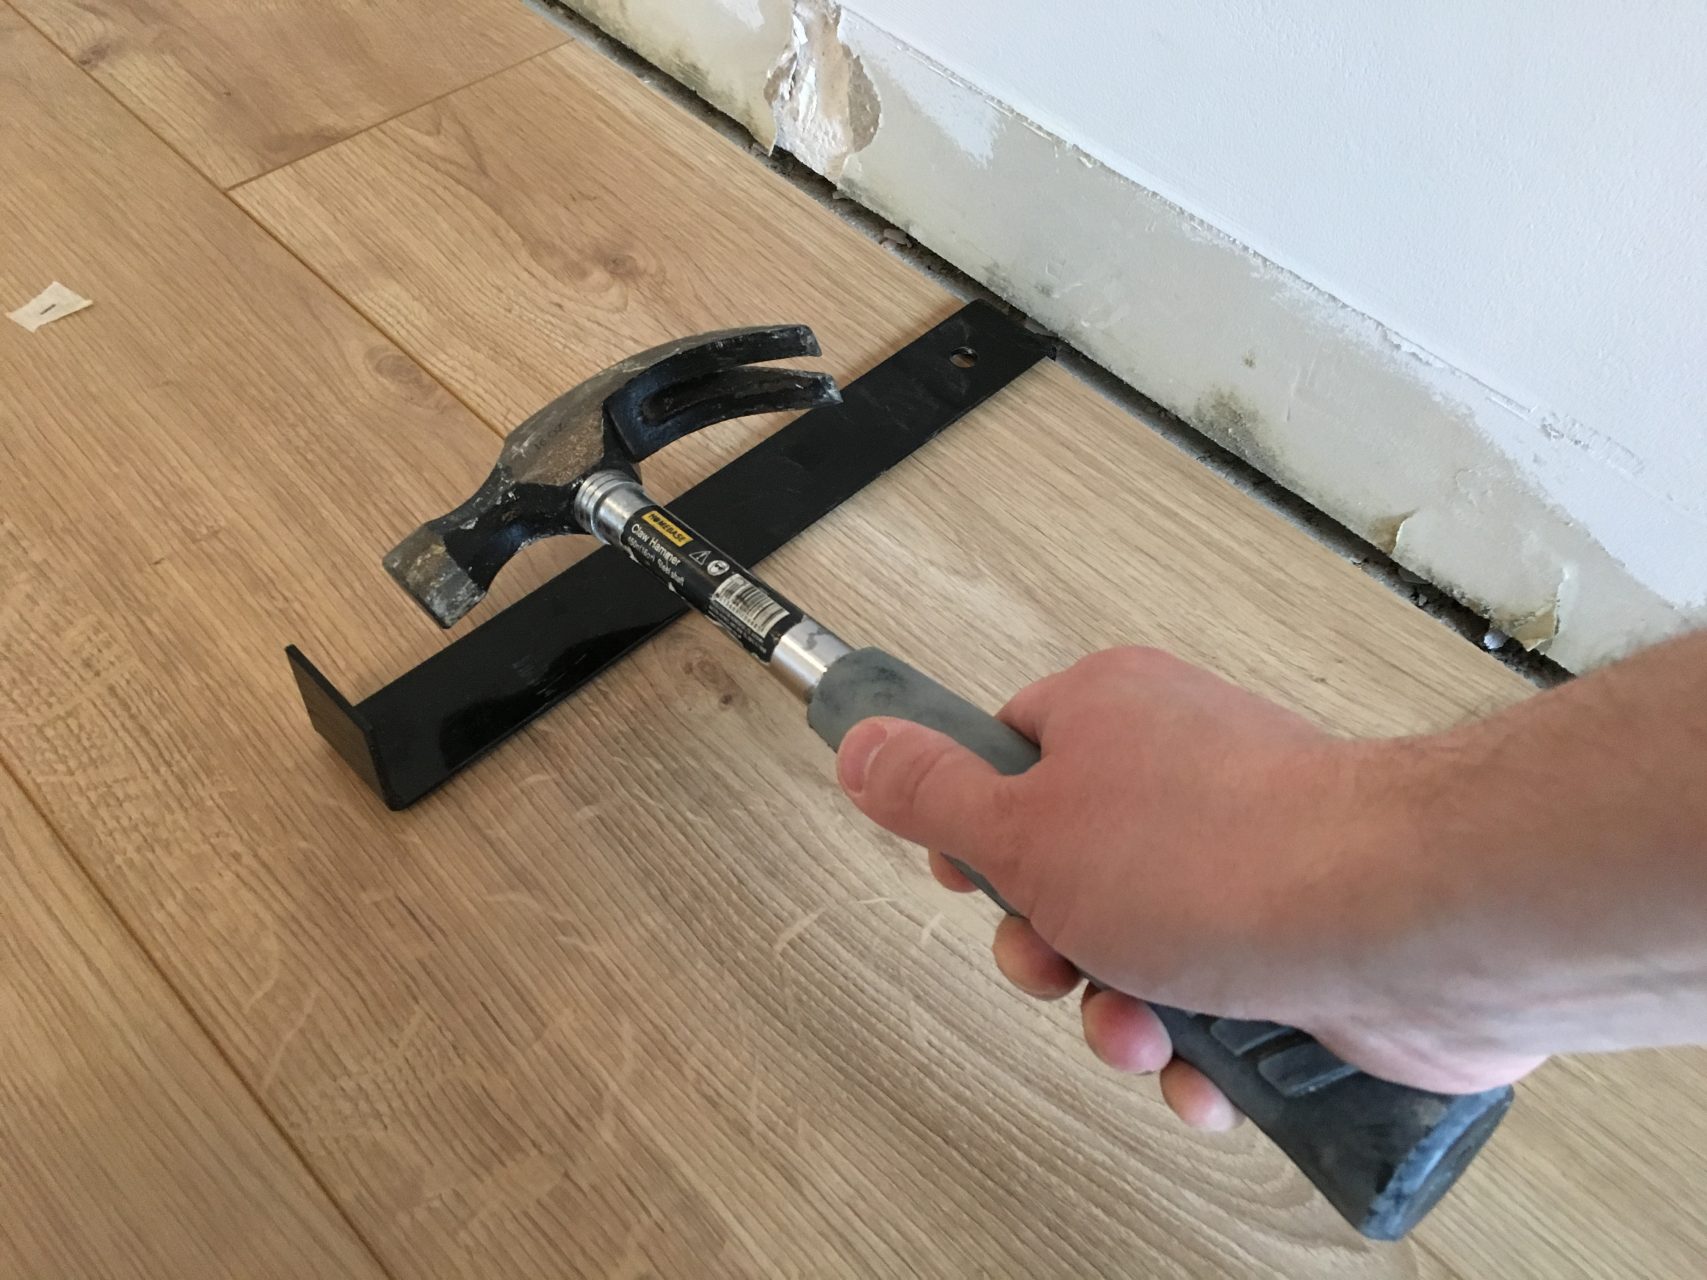
To cut the boards to size along the walls and on each end of the room I bought myself a budget Energiser jigsaw from Screwfix for £20 along with some extra blades – not exactly high quality! I then borrowed a bench, some tools and 2 g-clamps from my old man to get the job done. Additionally I bought a laminate fitting set containing spacers, a knocking black and pull bar.
Cutting the boards with the jigsaw did save a huge amount of time however it had a real tendency to splinter the laminate with the top layer of plastic breaking off, separating from the board underneath.
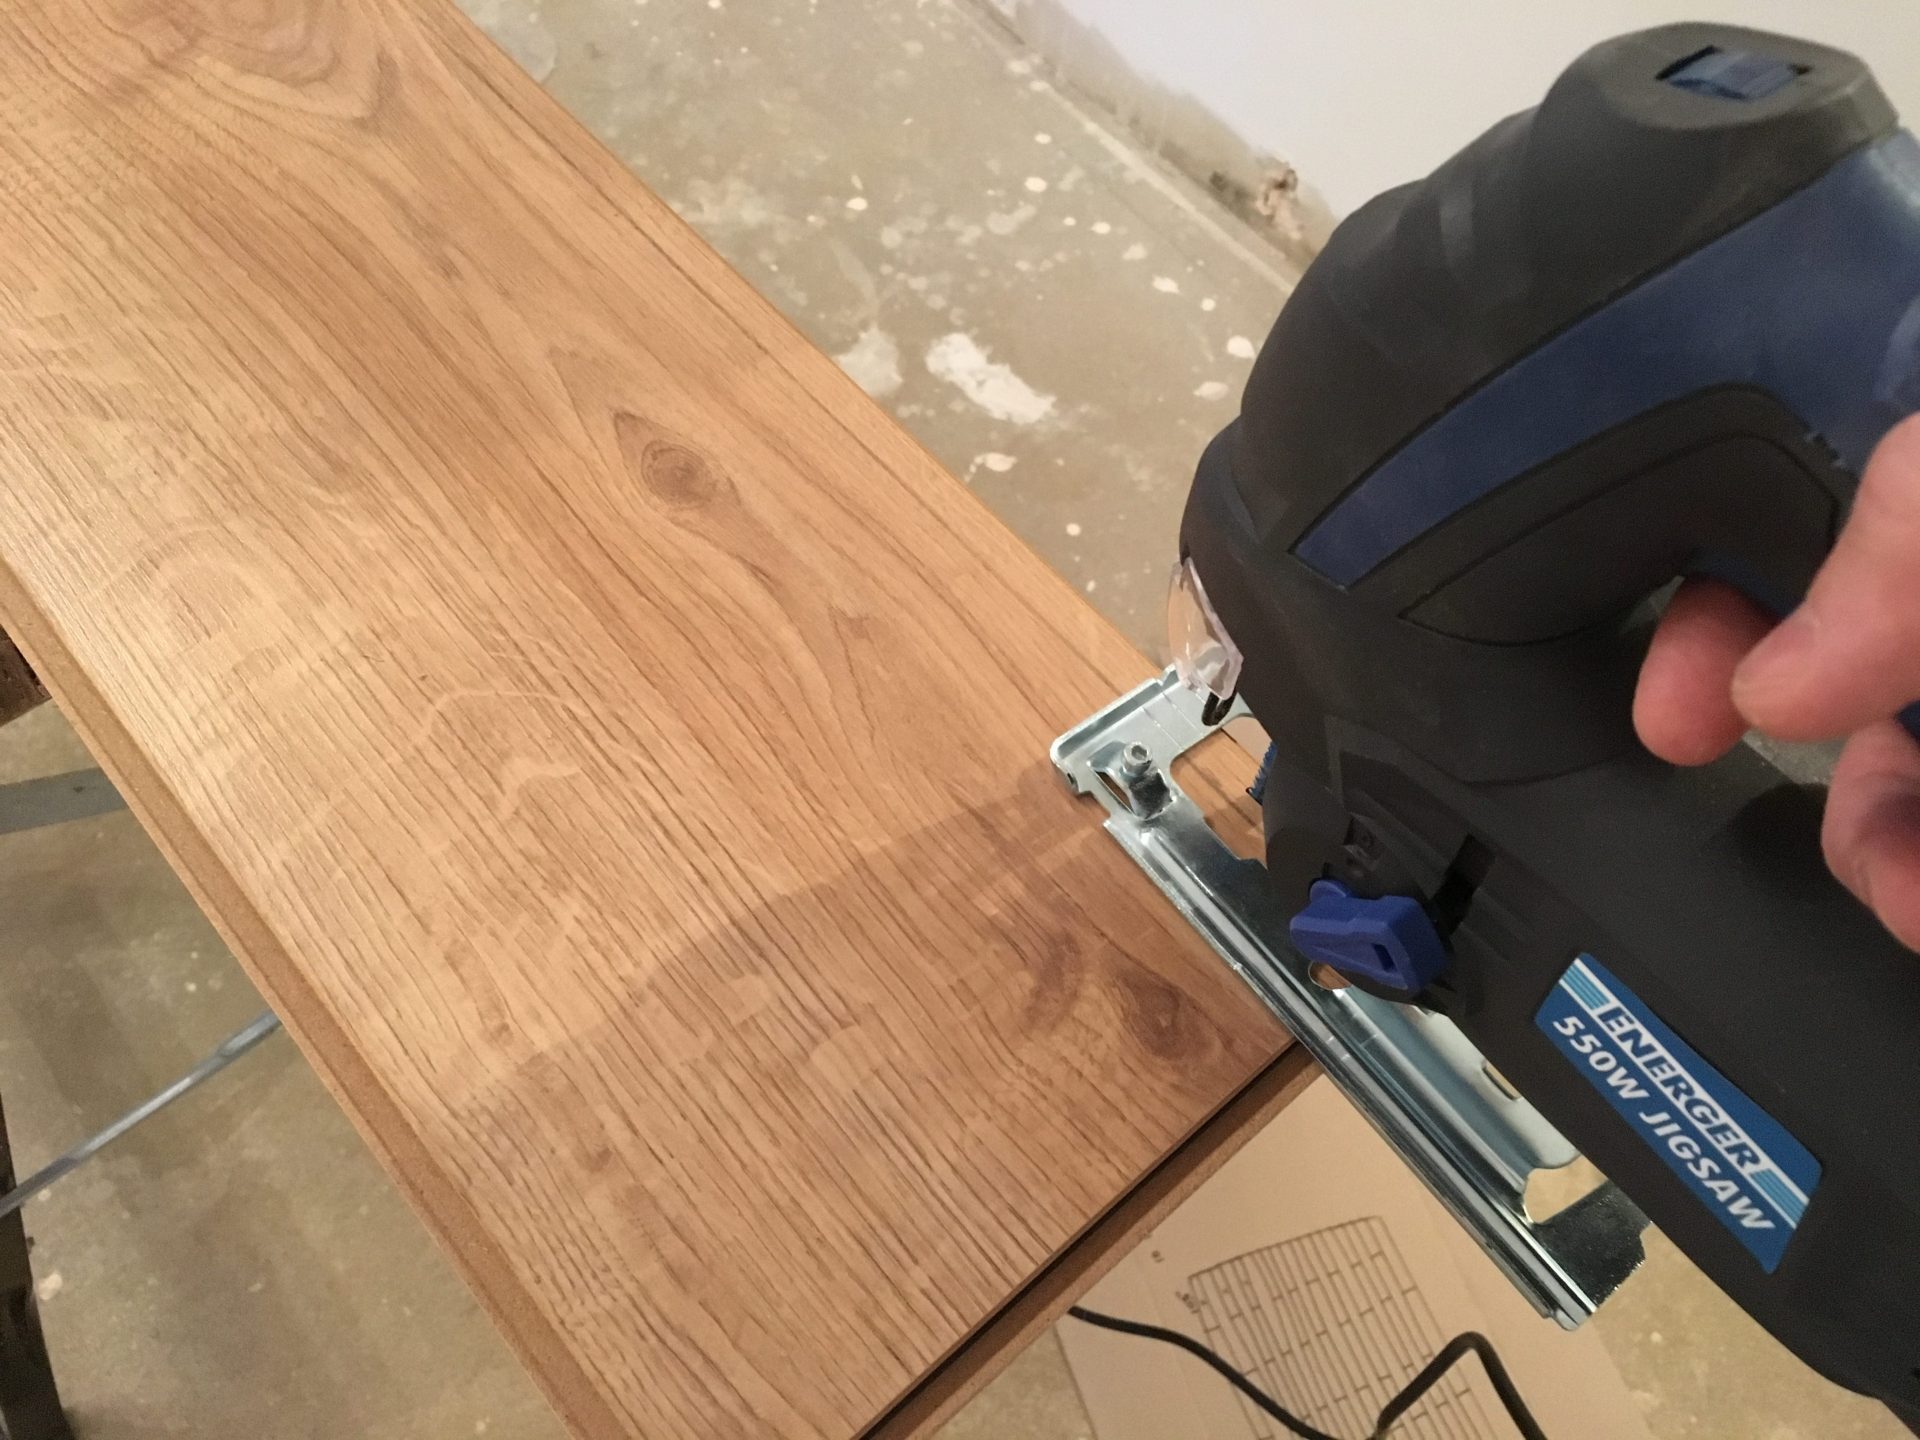
As I was laying directly under skirting boards these messy edges really didn’t bother me but it’s worth bearing in mind if you’re considering doing the same – it won’t give you a straight edge. Where a straight edge was required I cut the boards by hand using a laminate saw which gave a perfect finish.
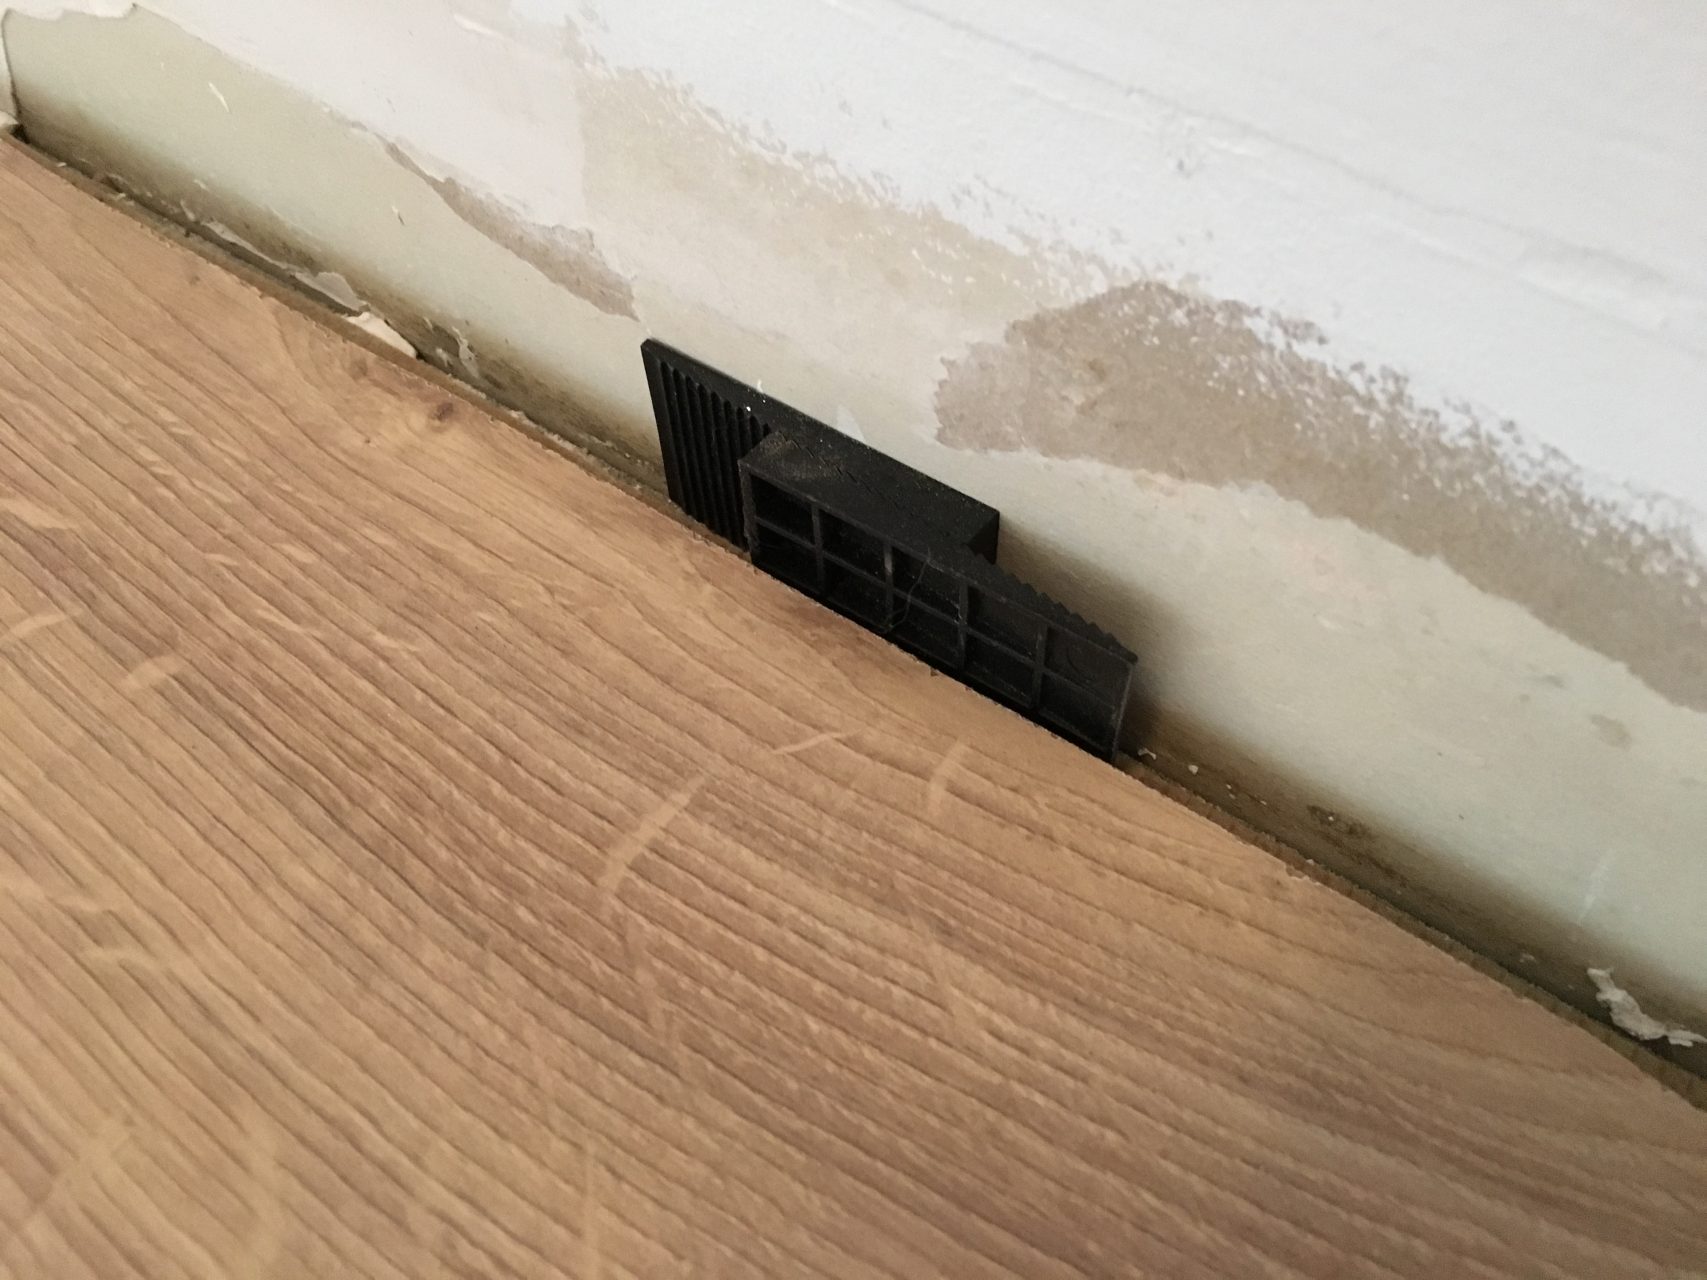
I packed the spacers around the edges of the floor to allow for expansion and then used the pull bar to ensure the joints were tight.
From here it was then simply a case of moving across the room laying each board and cutting them to the right size.
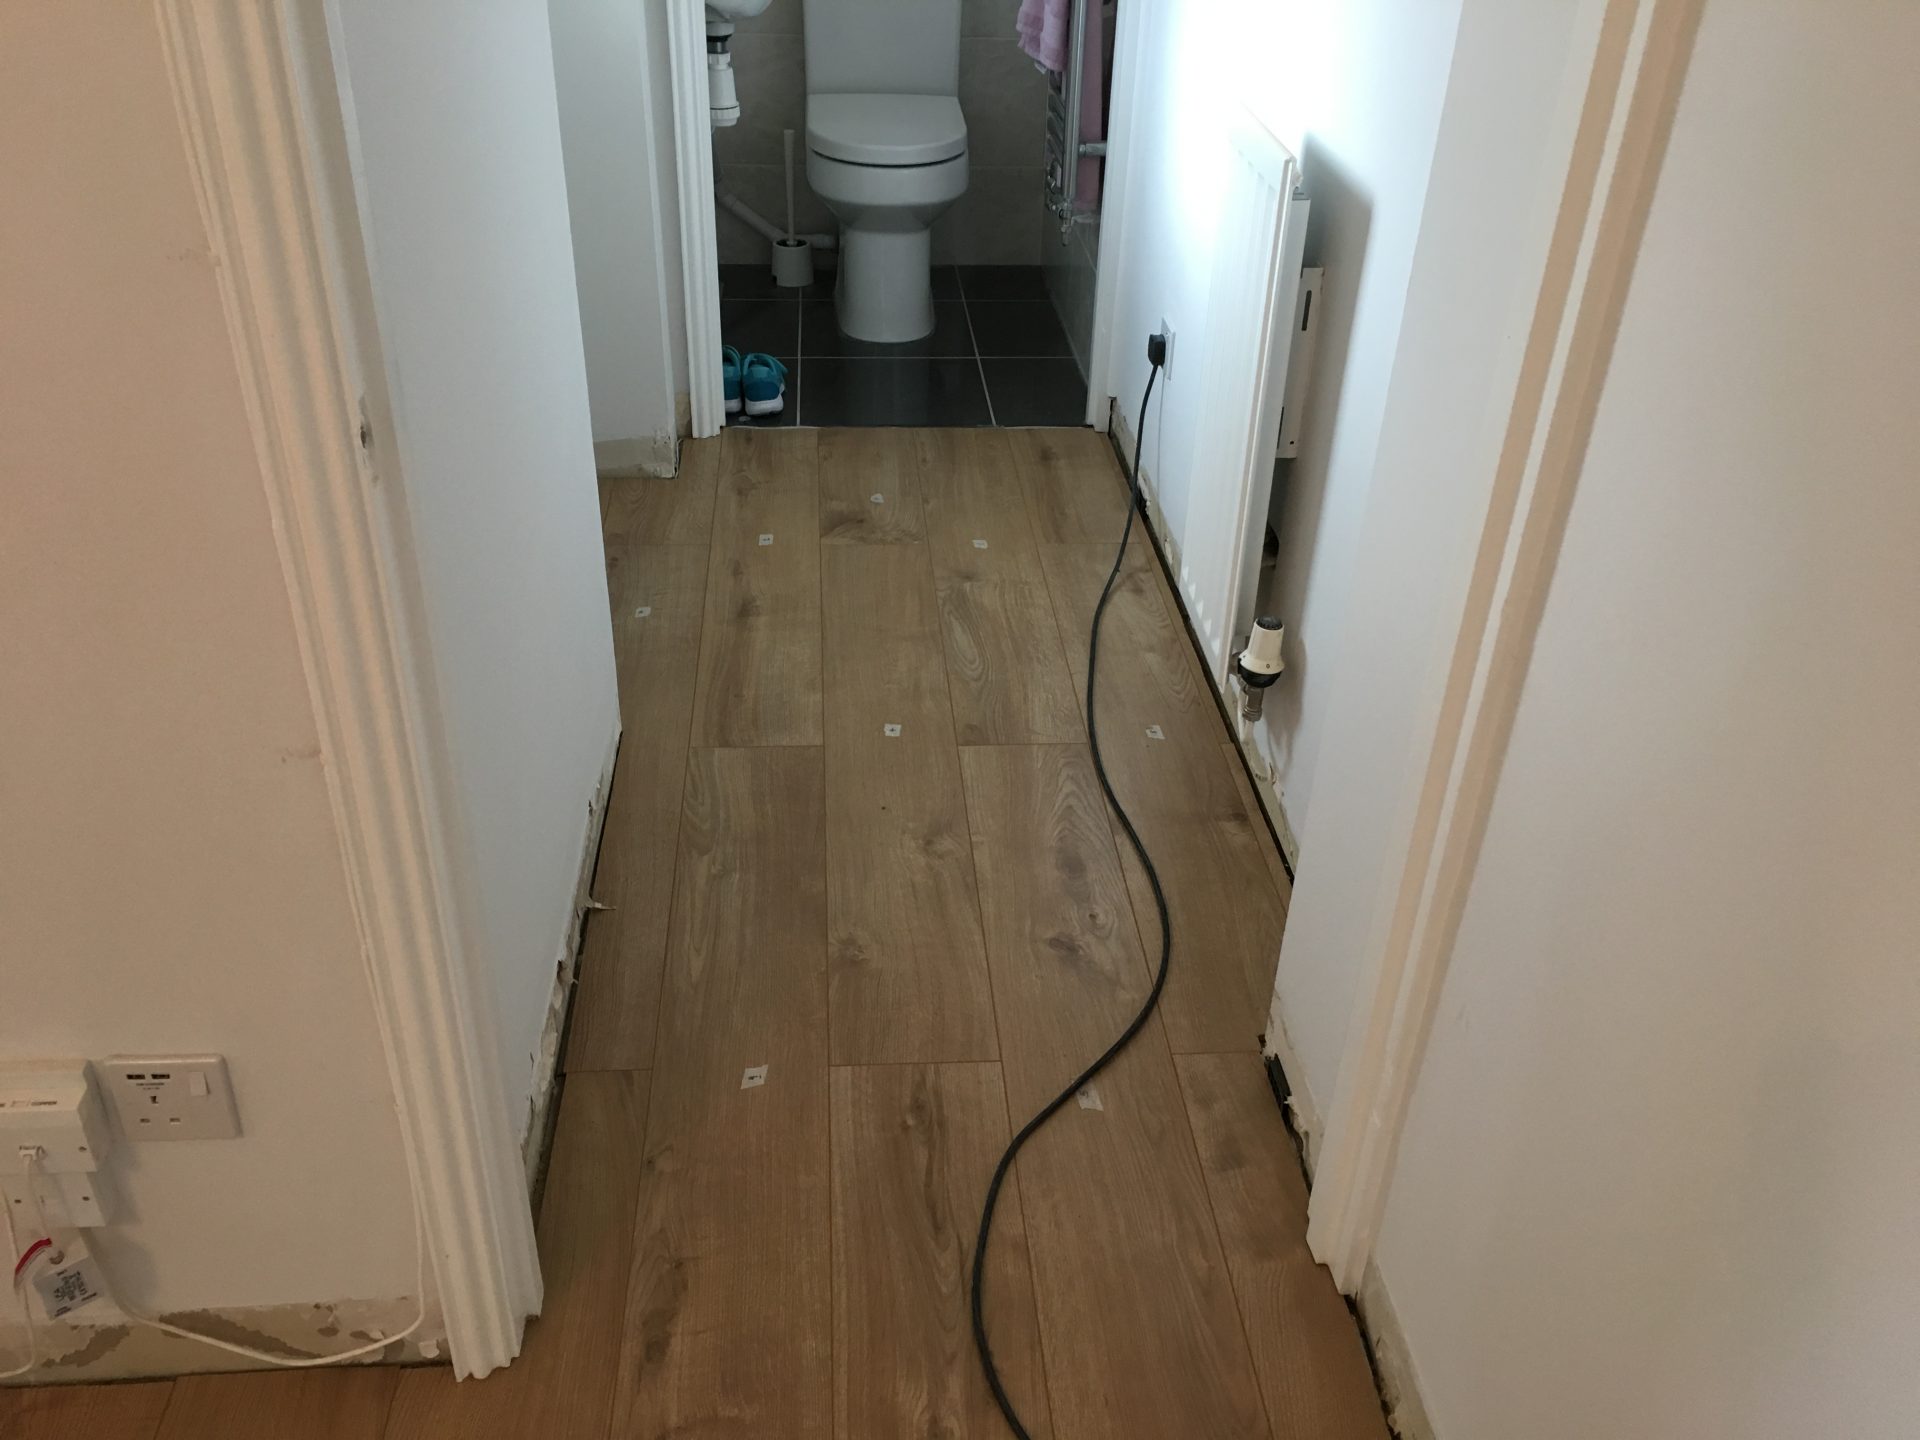
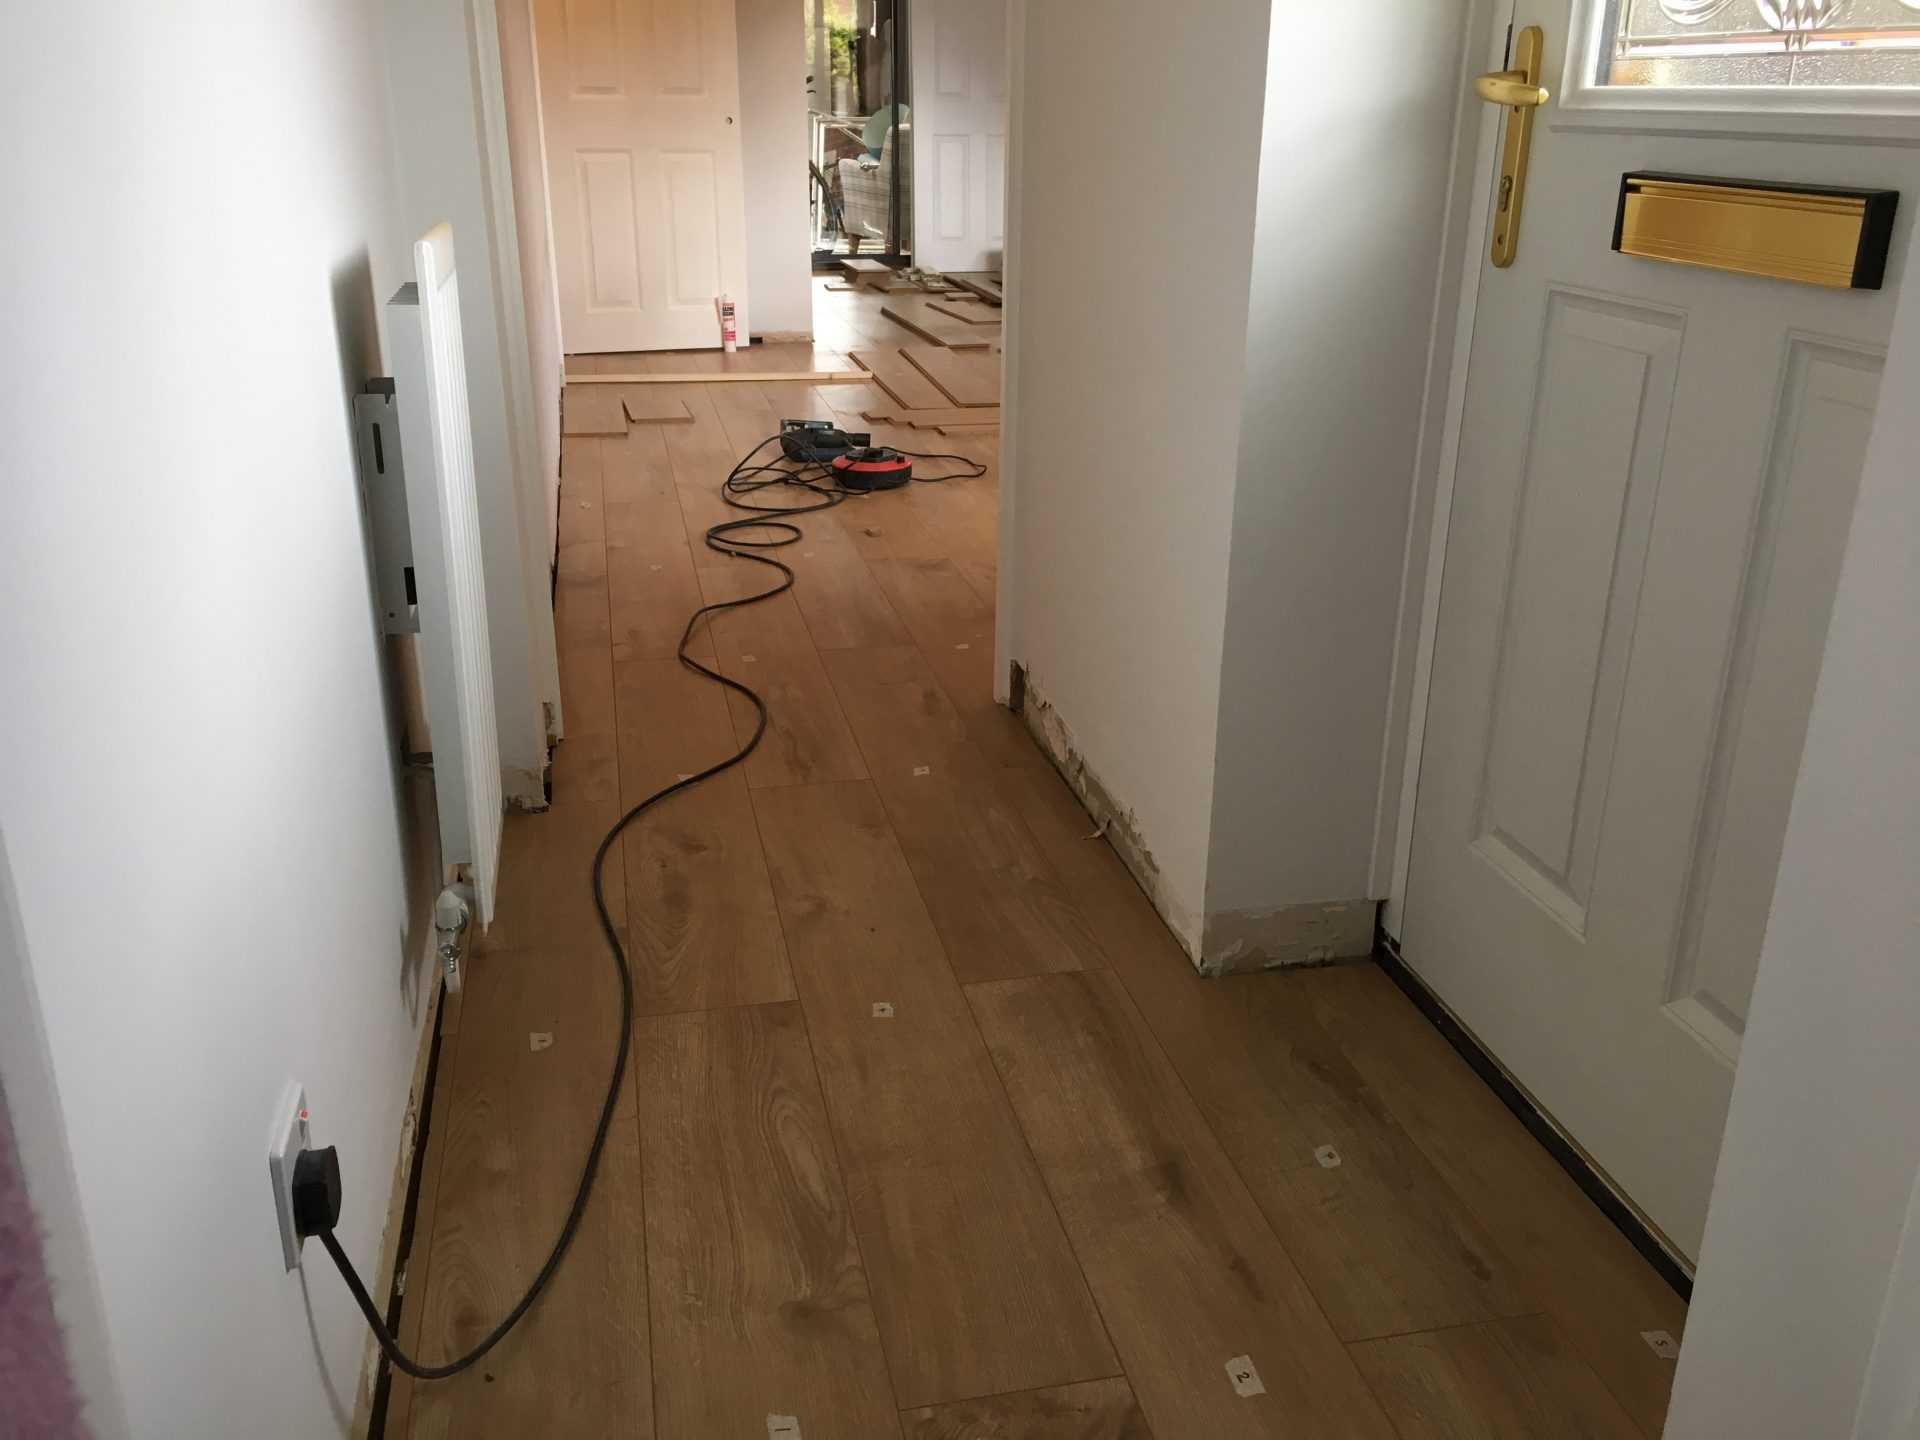
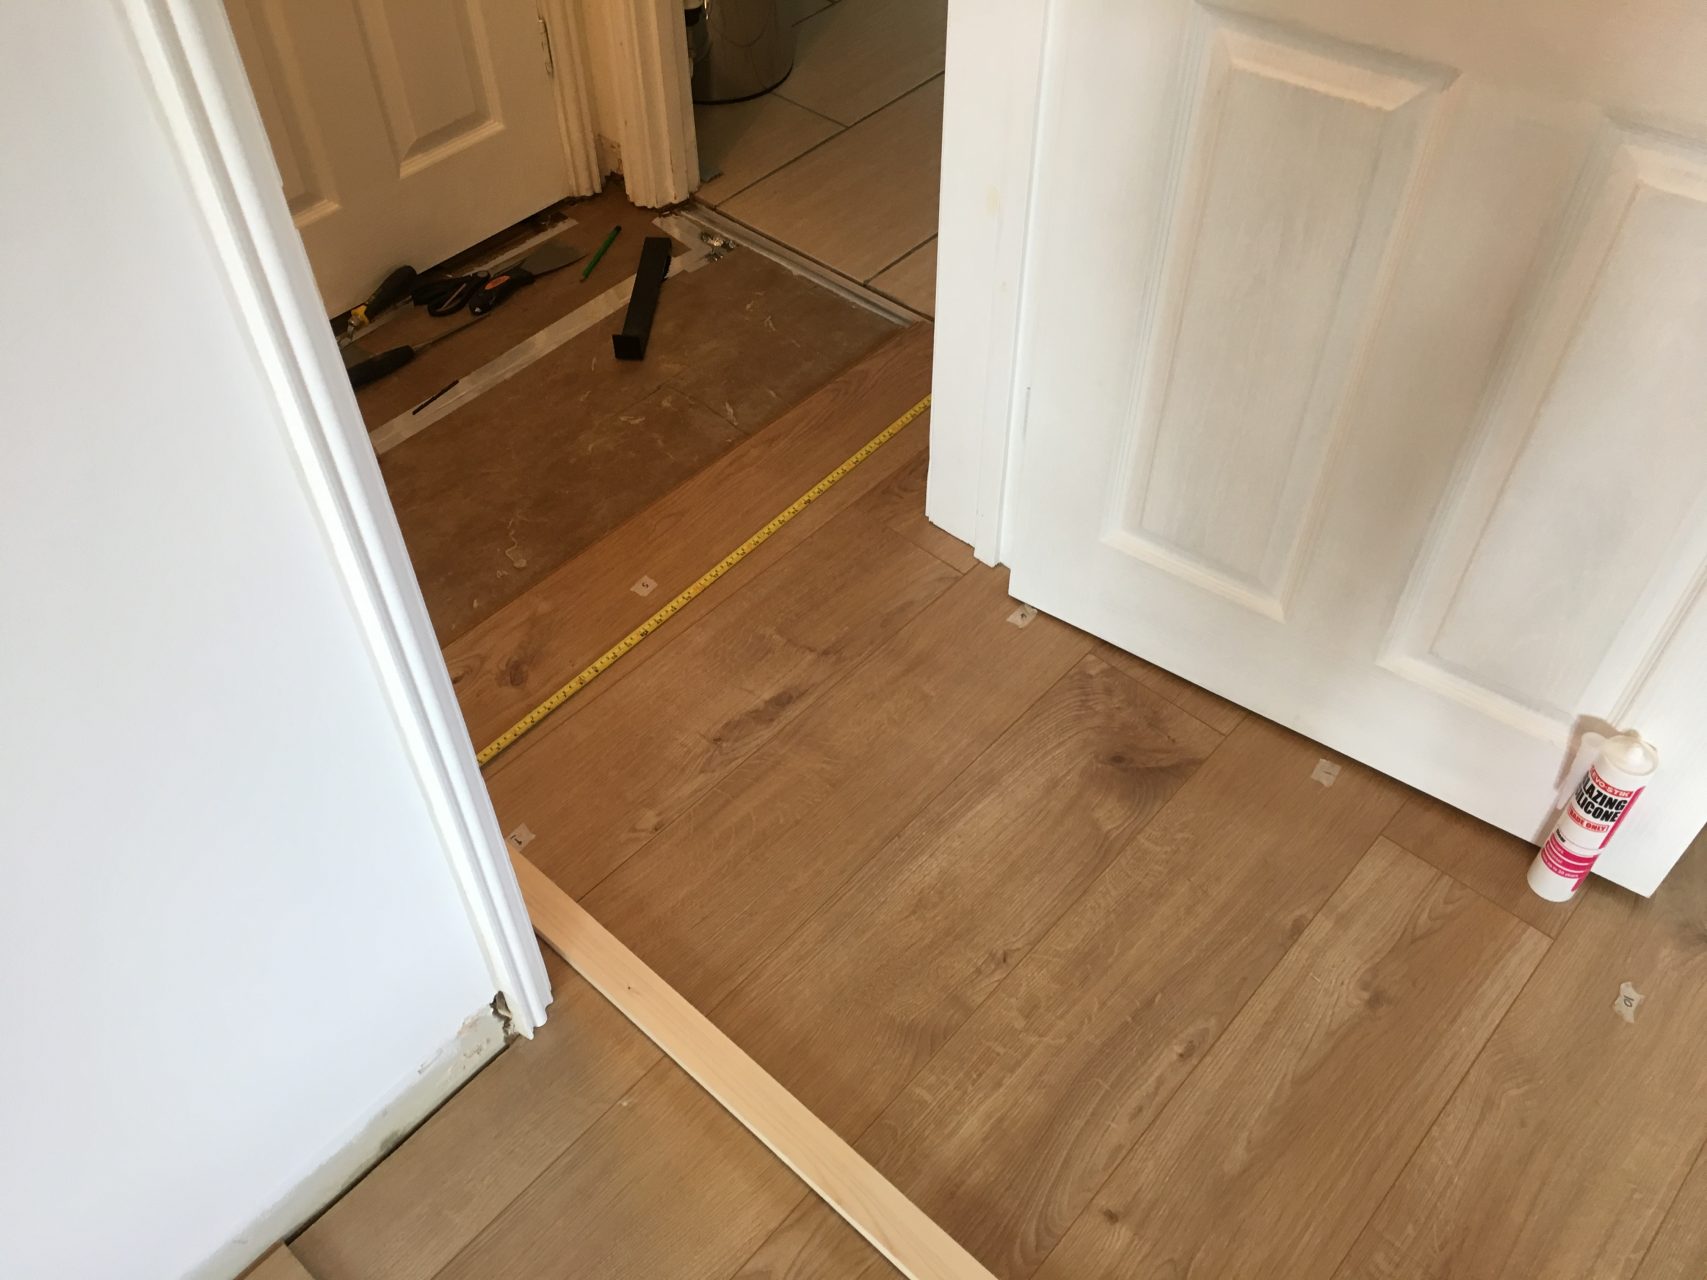
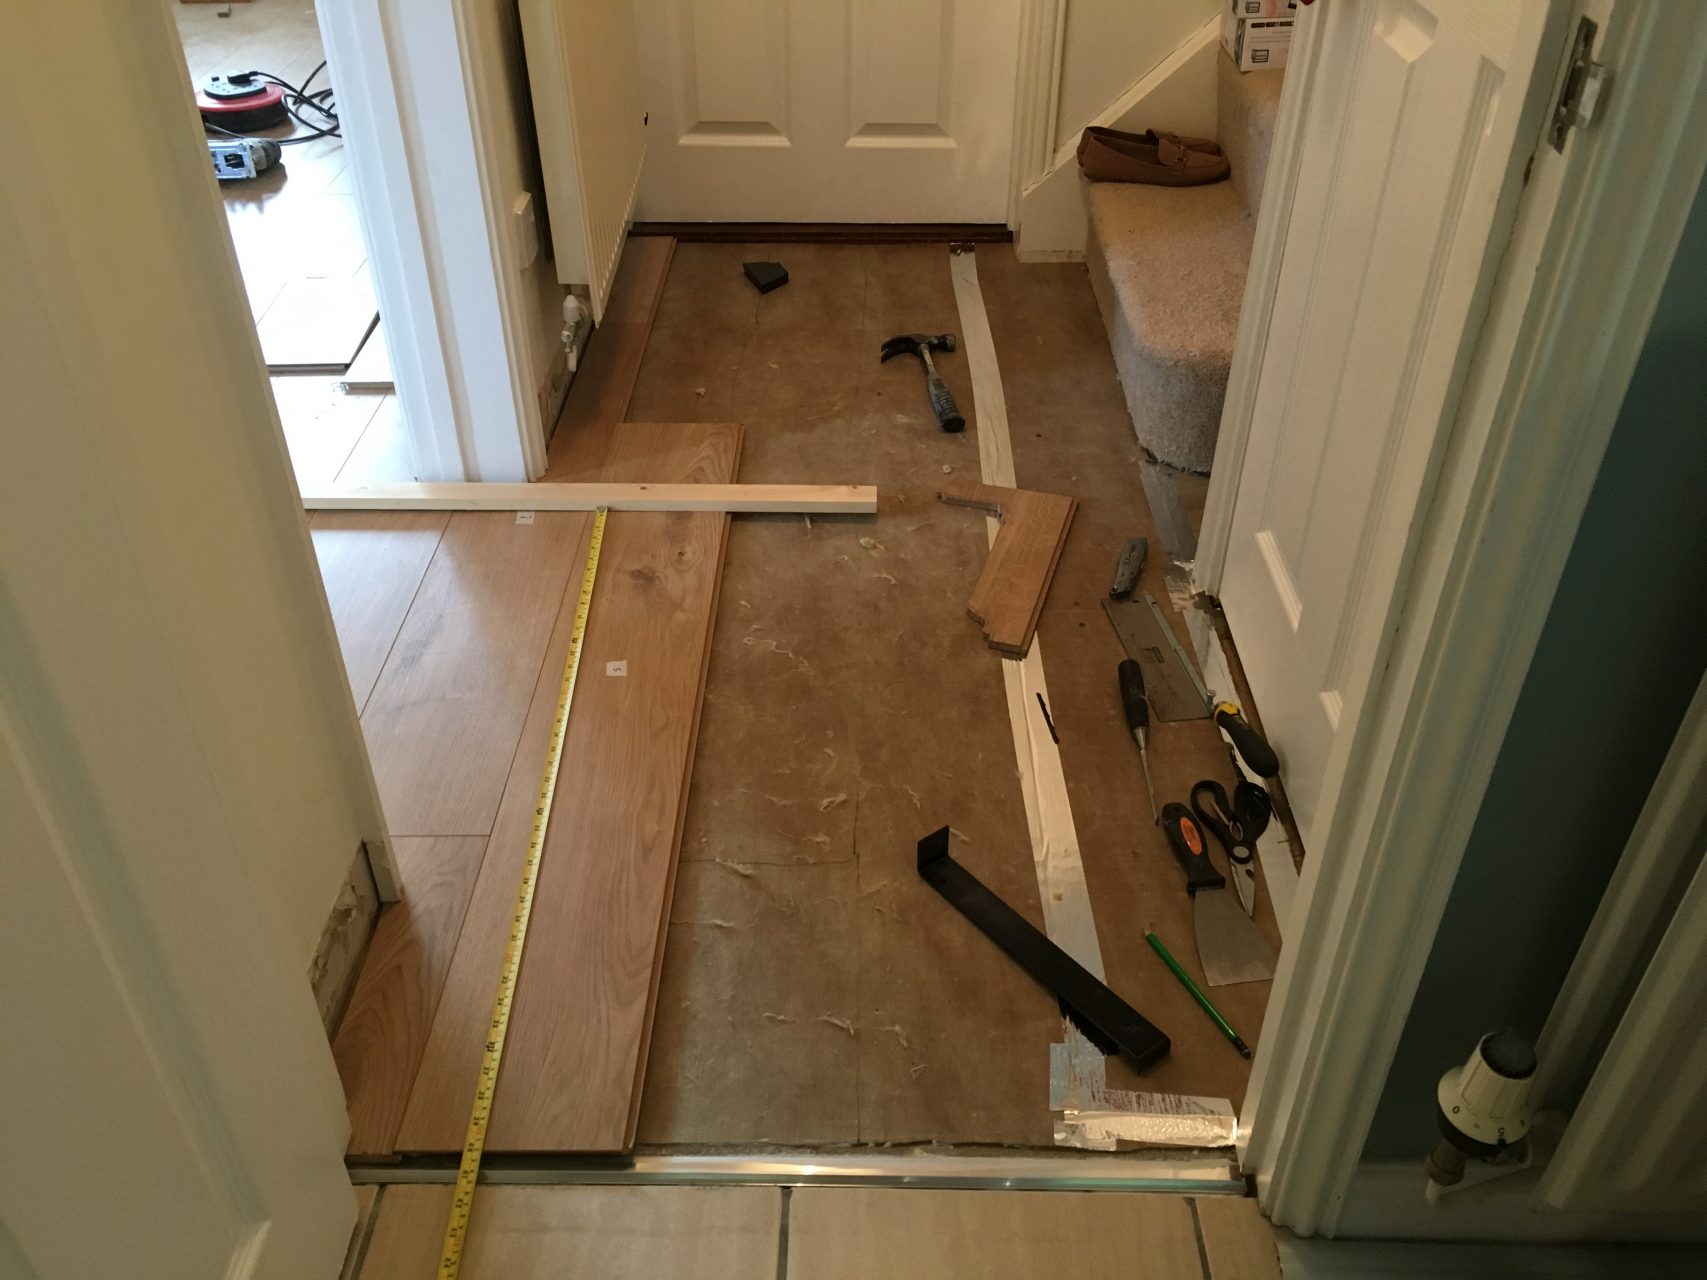
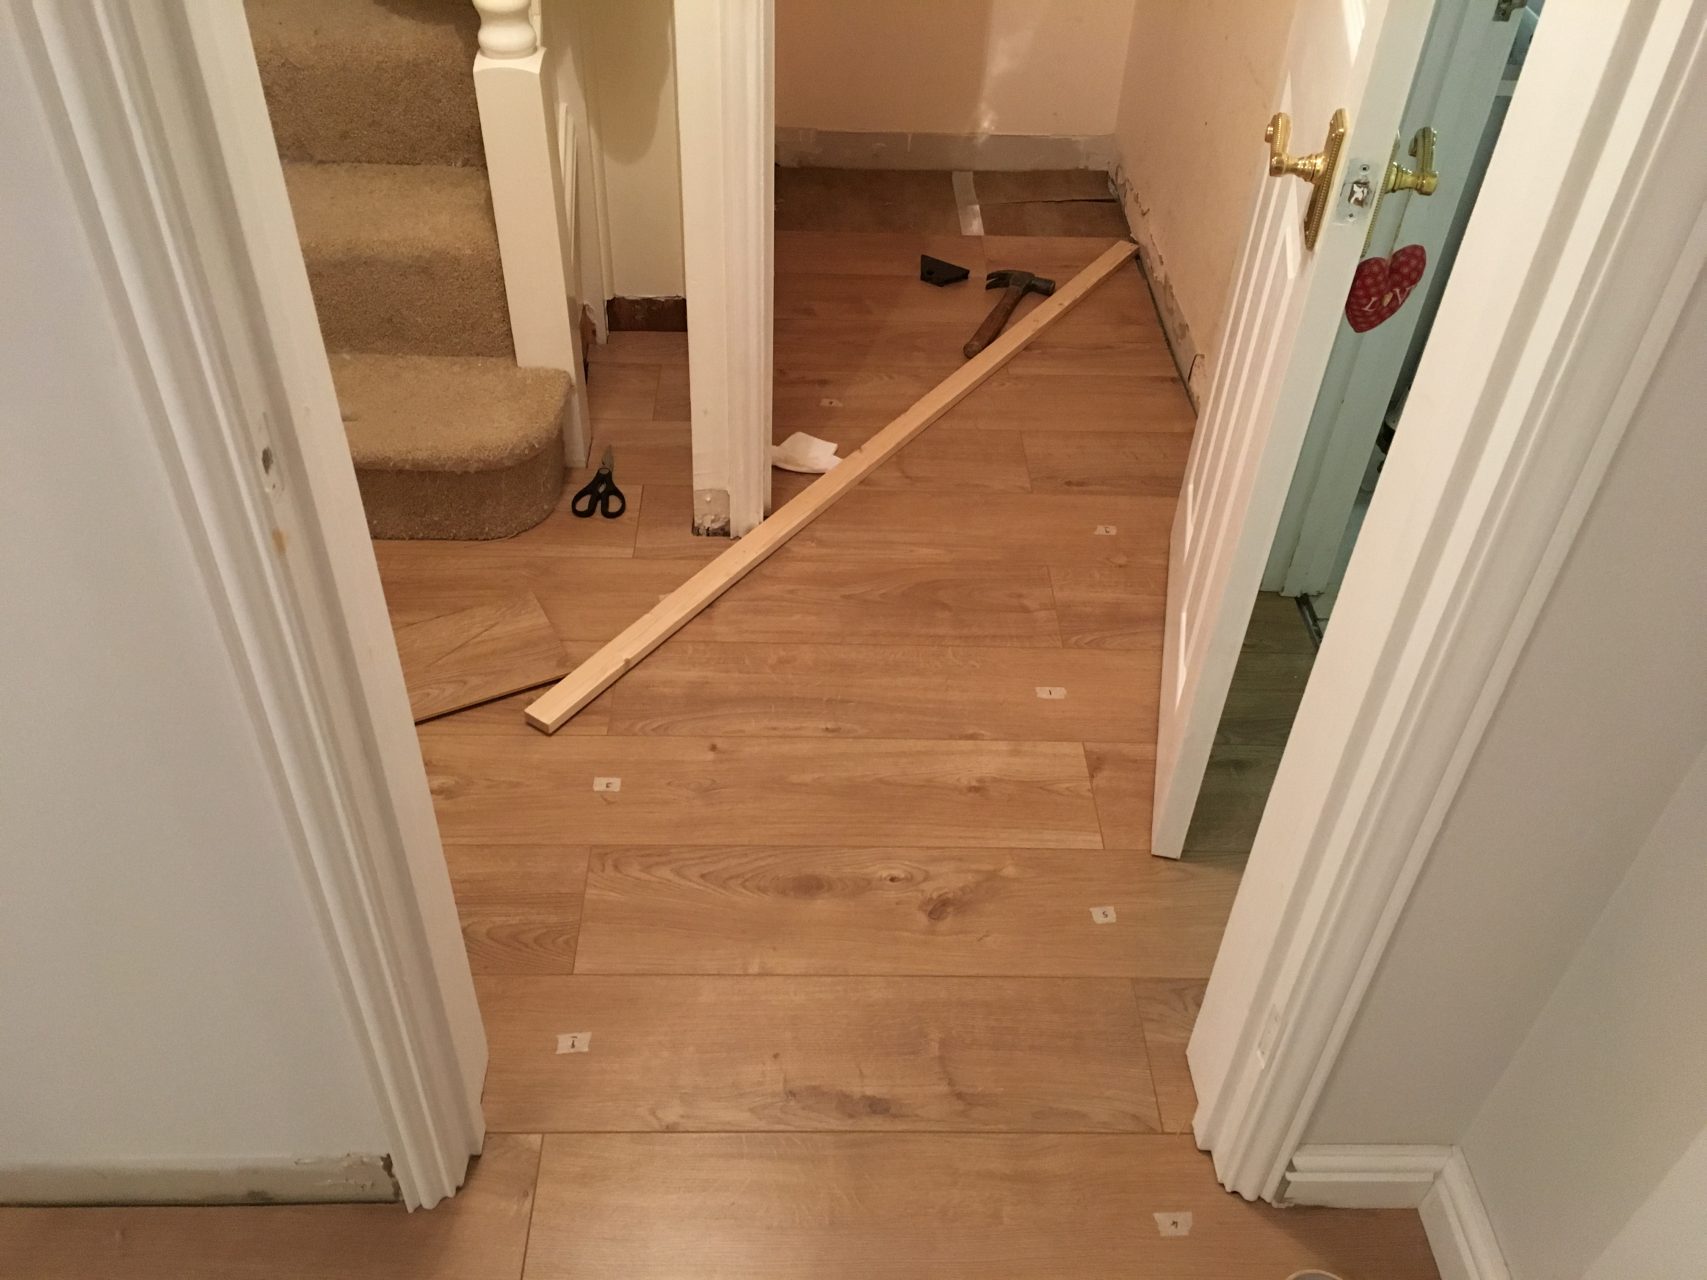
With the floor I decided to run it through to my front door lobby and also sideways into my stair lobby and understairs cupboard. This proved particularly difficult trying to get snap together flooring through door stops…
4hrs to get one piece of laminate laid around a door frame, something tells me I should have paid someone to do this work! #diy #maleblogger
— Nick (@TheLifeofMan) 20 May 2017
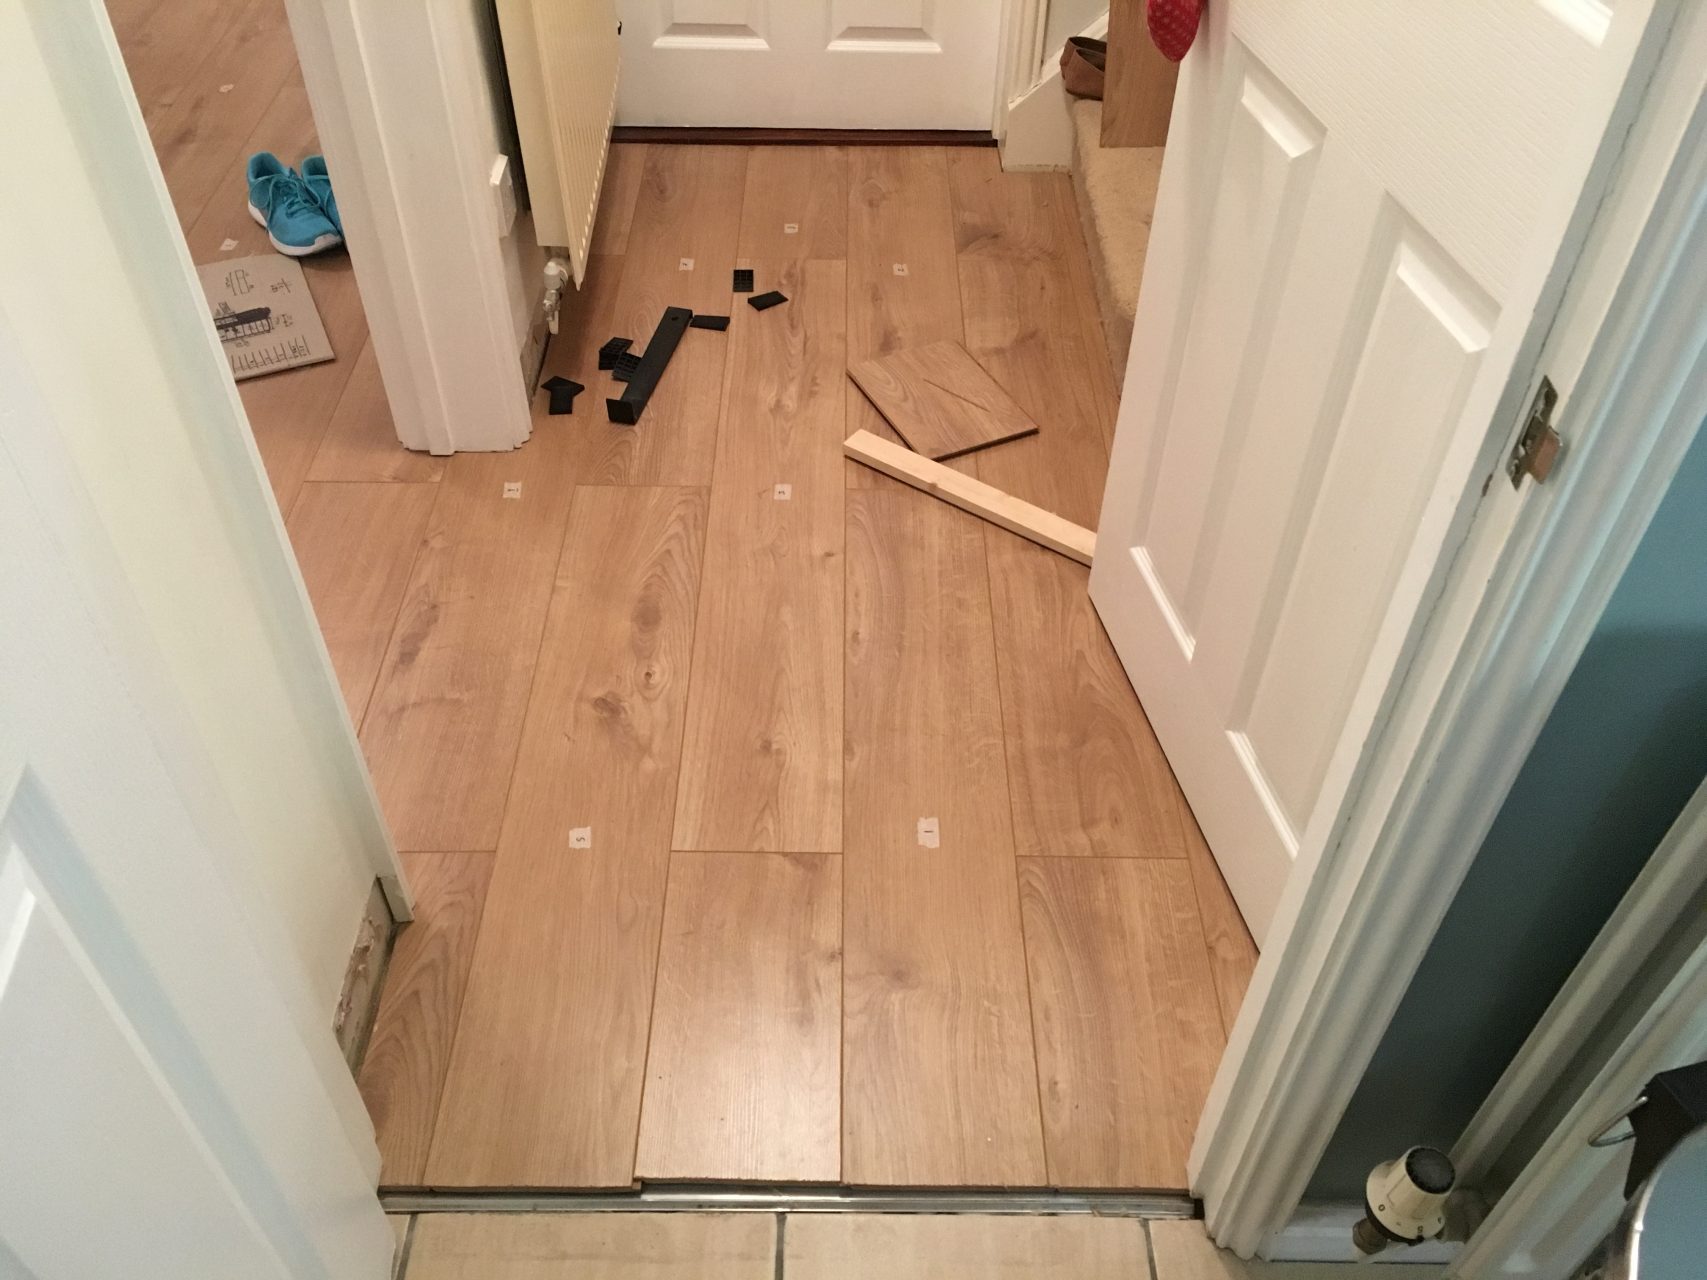
However some time and a lot of perseverance later I achieved a good finish.
Front door lobby
Stair lobby
Step 8: Reattach skirting boards
To get the skirtings back on I avoided hammering any nails into them and simply settled for a generous helping of No More Nails on the backs which I then held firmly in place with wooden braces until the adhesive went off.
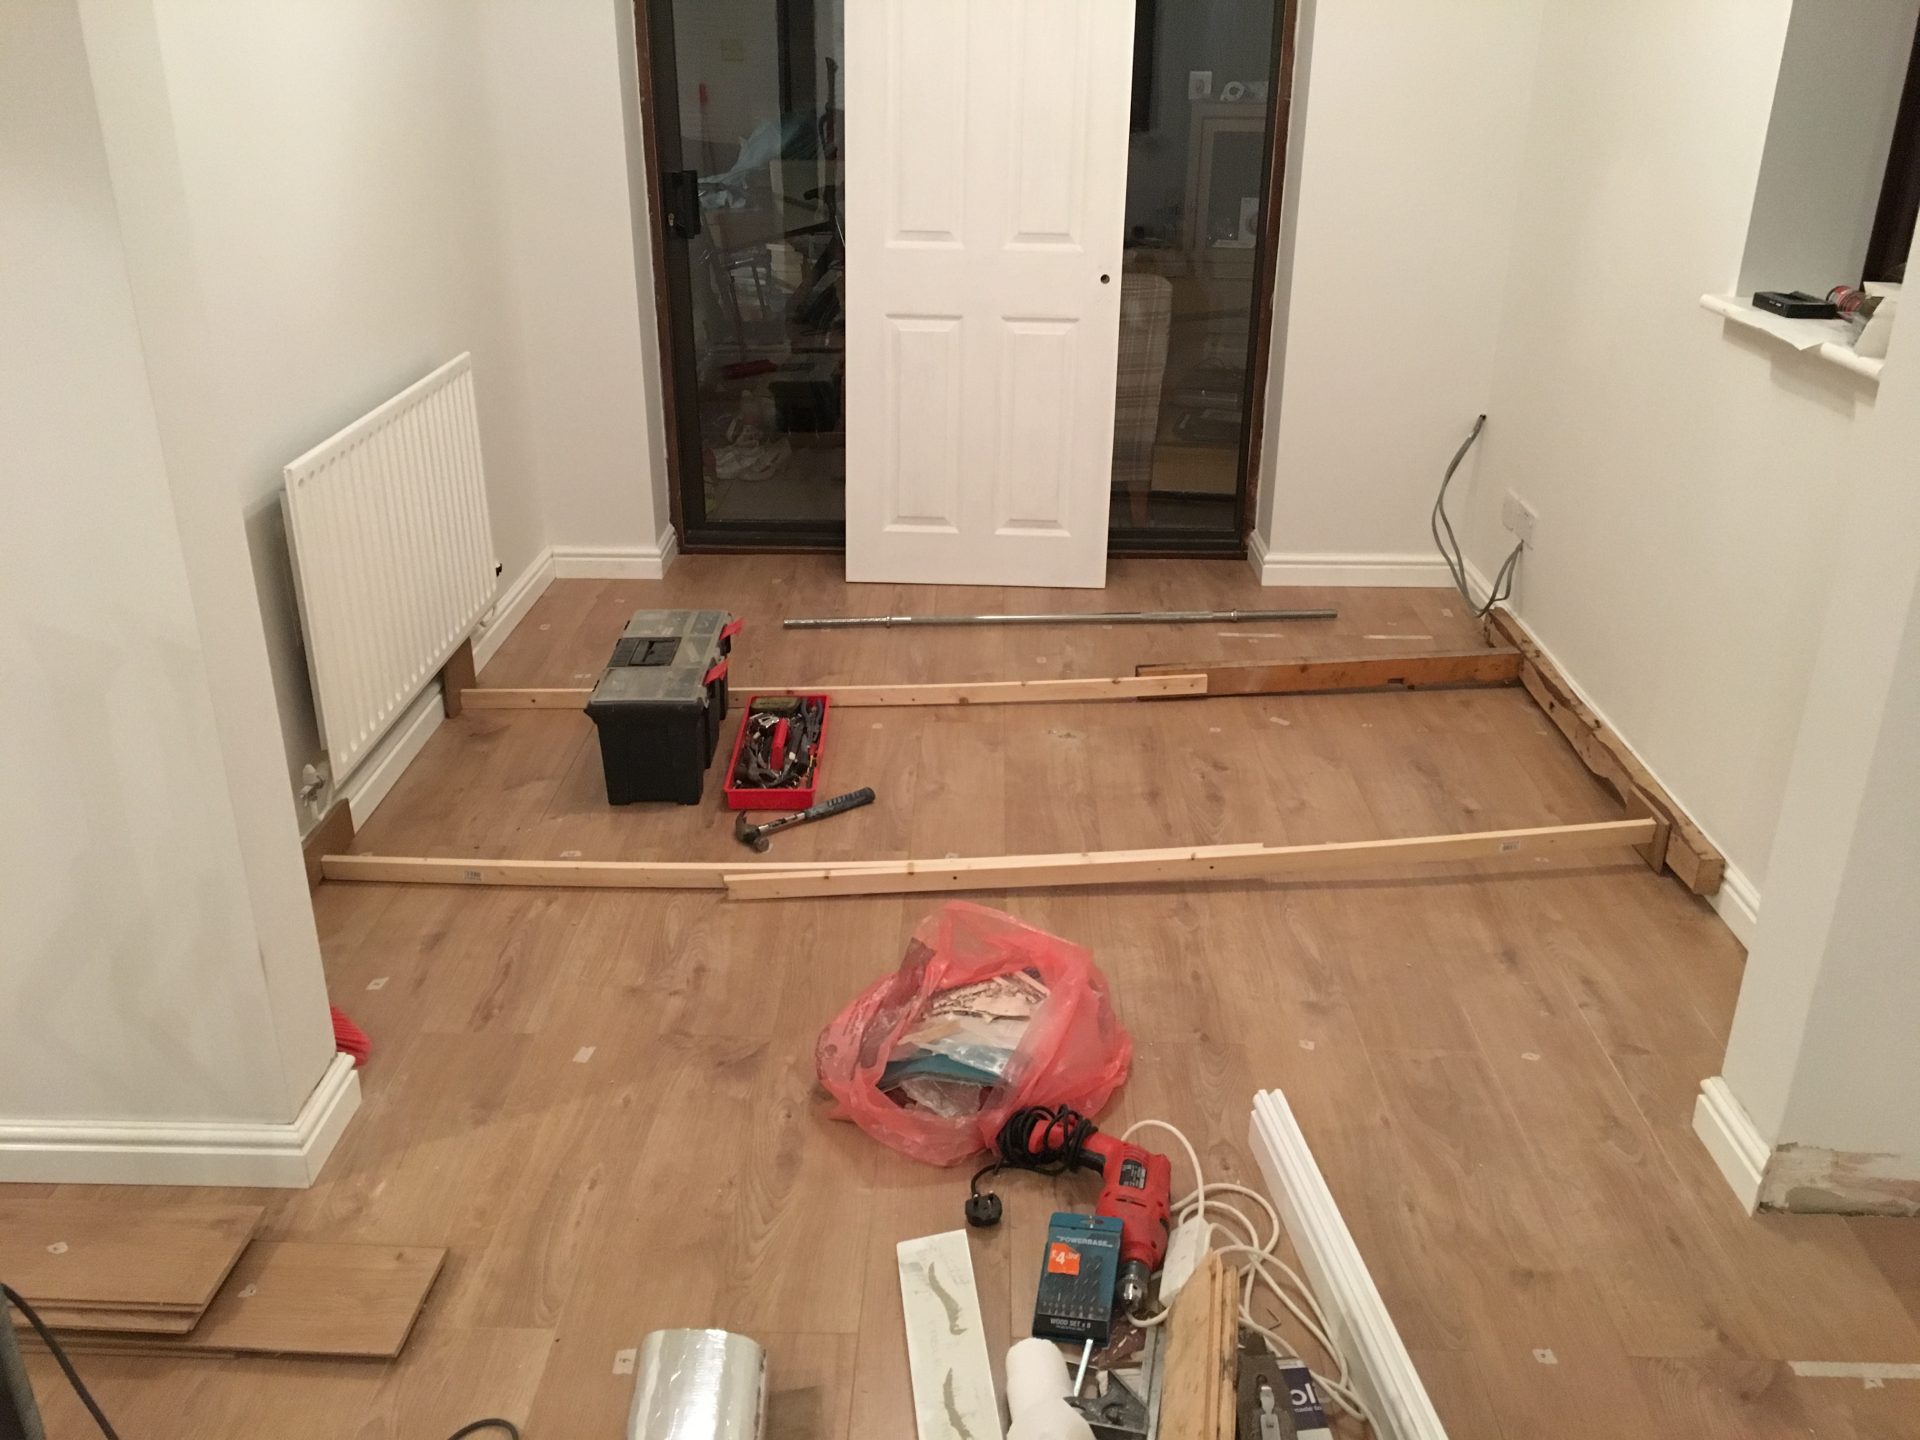
Something that you should note if laying under skirting boards is that after you’ve laid your floor your skirting boards will be sitting about 2 inches higher on the walls – make sure any door frames have been cut to allow the skirting to be relocated that little bit higher.
Step 9: Finish the edges
With everything laid the hard work was done! To achieve that smooth to the wall look I picked myself up some white builders caulk from Homebase and using a caulking gun ran a bead around the top edge of all skirting boards and also the corner joints.
As this stuff is silicone based, it’s messy. It literally sticks to everything. To smooth things down I’ve found smoothing tools to create too much mess so instead I opted for a simple trick – using a wet finger, simply drag it along the beaded edges with gentle pressure. The water avoids the silicone sticking to your finger and you have complete control over where to work it into.
Now this is a bit of an optional step however there are far too many times where spiders, ants and other bugs emerge from underneath skirting boards. To keep them out and also add an additional layer of making the room air tight I ran a clear silicone bead along all of the bottom edges, again using a wet finger to smooth it out. With it being silicone it’s flexible so as the floor moves with expansion from heat/moisture the silicone joint can freely move with it whist maintaining the seal. My only word of warning – this stuff stinks!
As the silicone is so messy I opted not to take any photos of this stage to avoid getting it all over my camera/phone!
Step 10: Admire the new floor!
With the flooring laid, I immediately vacuumed it and gave it a wash down to remove all of the dust and debris. Working full time and with busy weekend plans I ended up laying the flooring in the evenings after work which meant it took quite a while, especially with electric saws and late night noise.
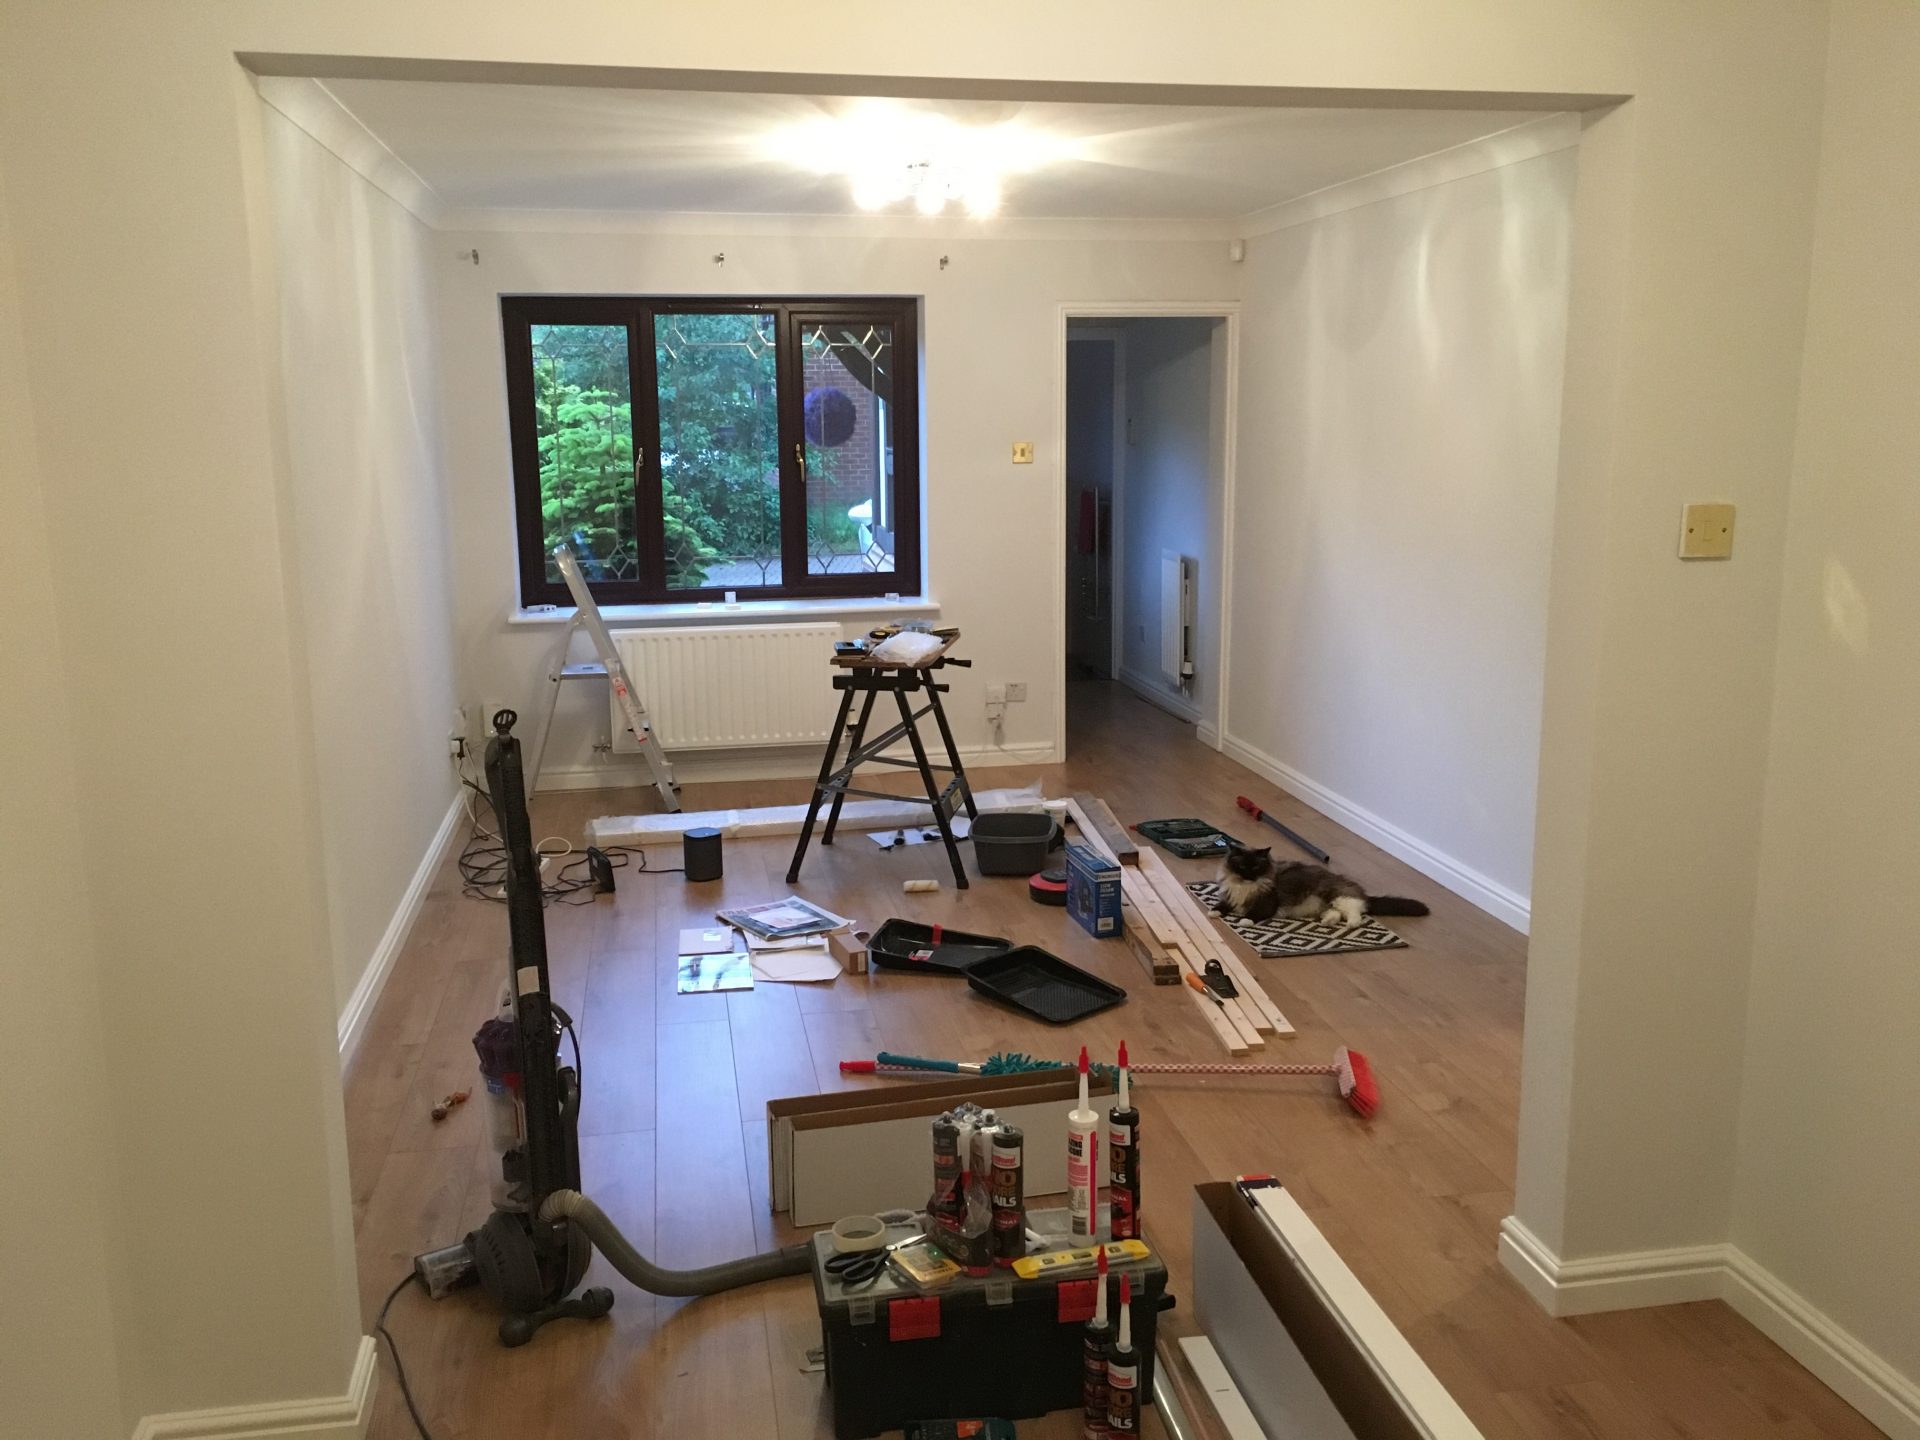
I also laid the floor as part of wider renovations, replacing the ceiling, painting the walls, smashing out an archway and completely refurbishing the skirting boards. This meant the project took over 2 months to complete – I know, ridiculous!
The finished product however is something that I am extremely proud of:
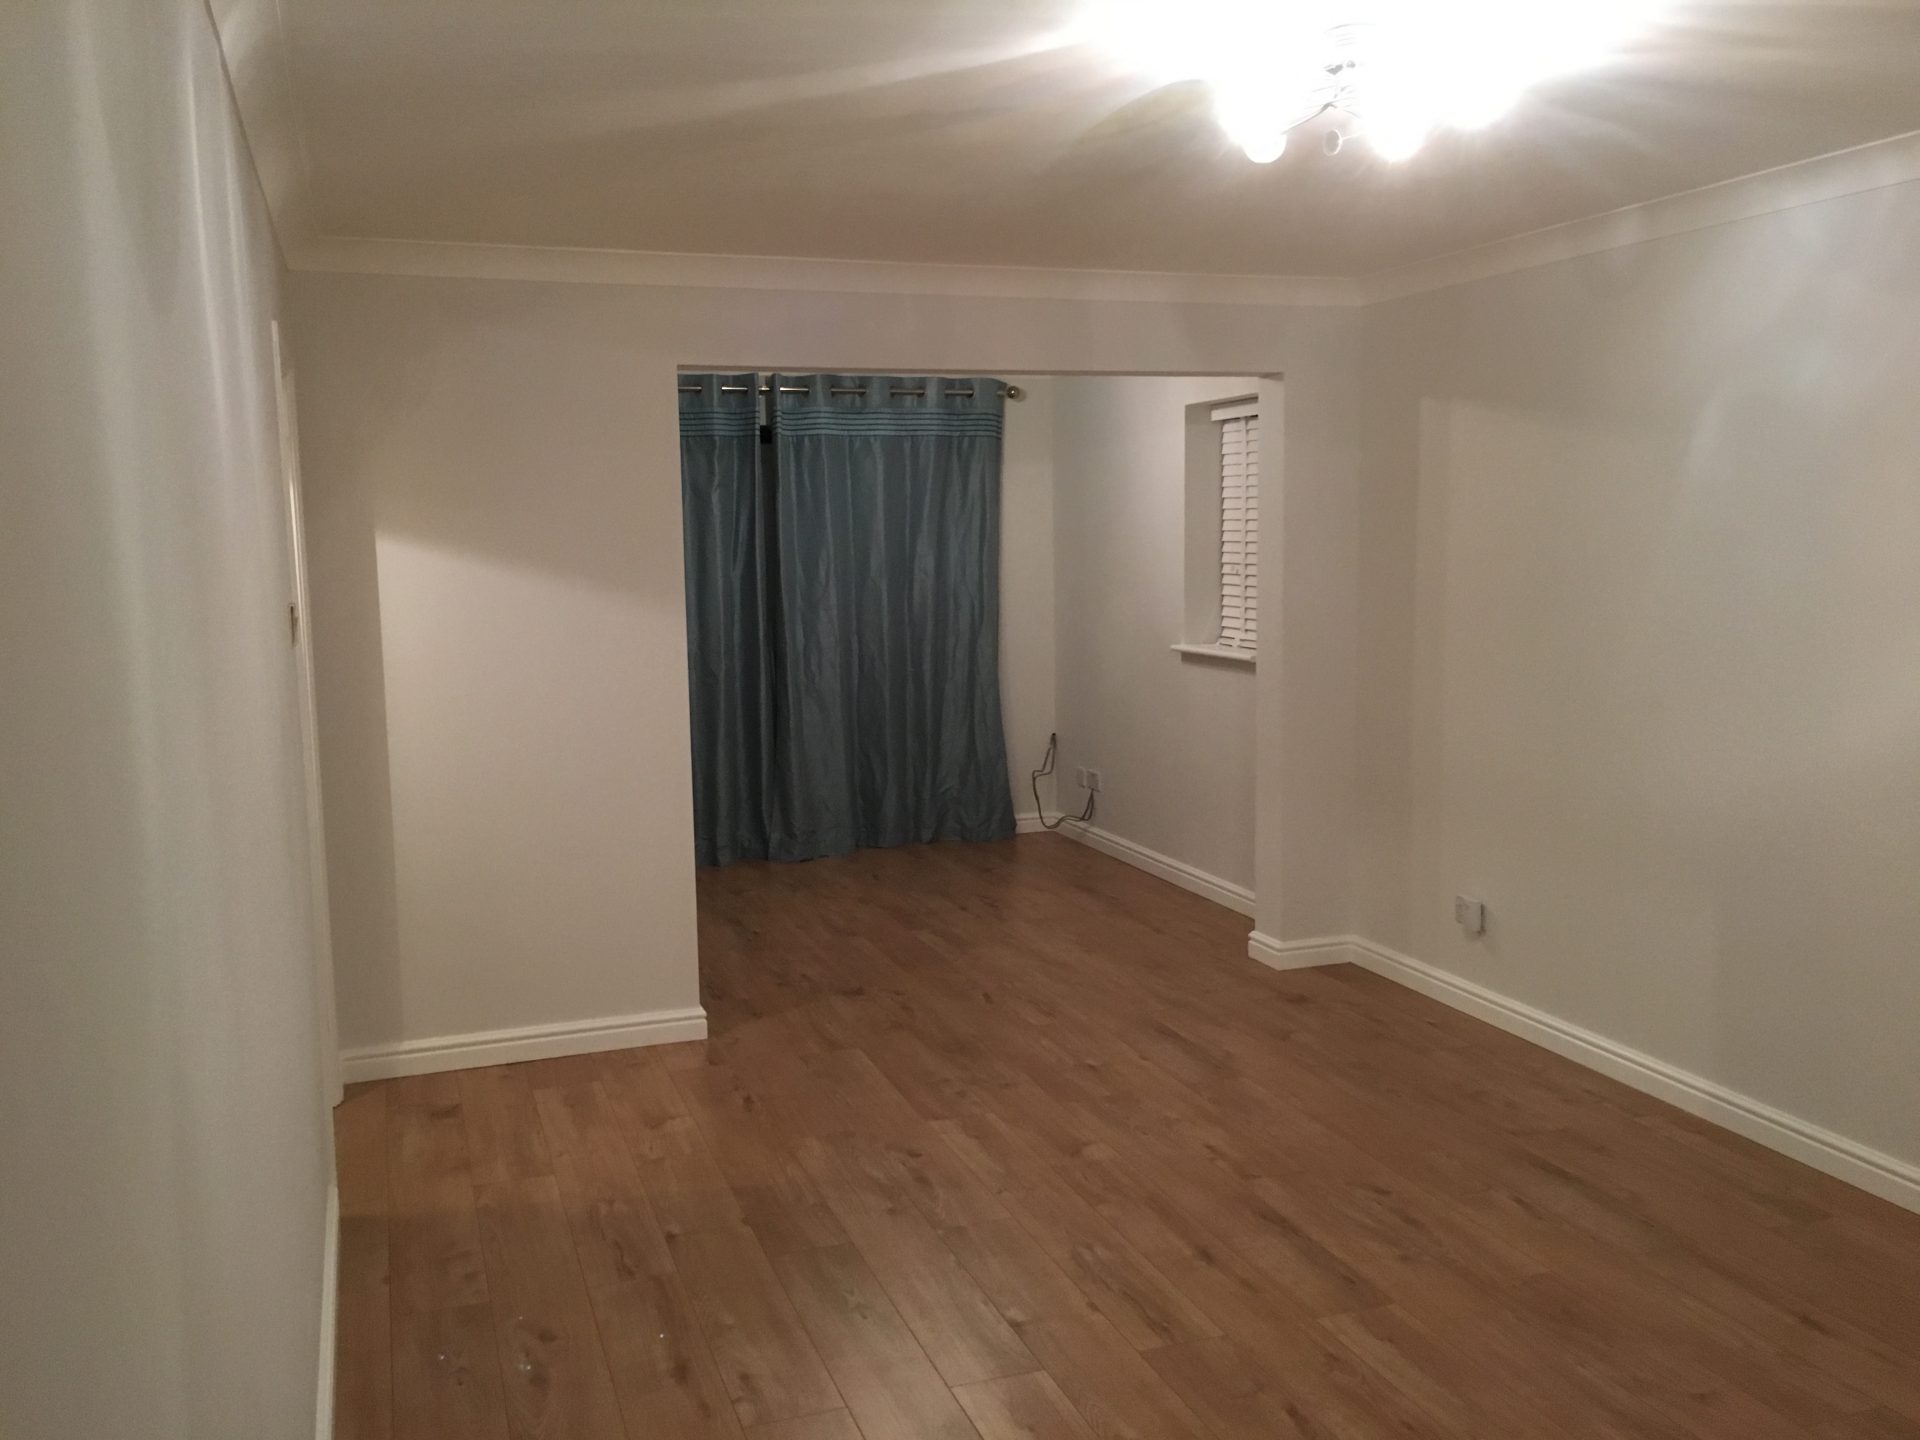
This is even more apparent when viewed with a before and after shot.
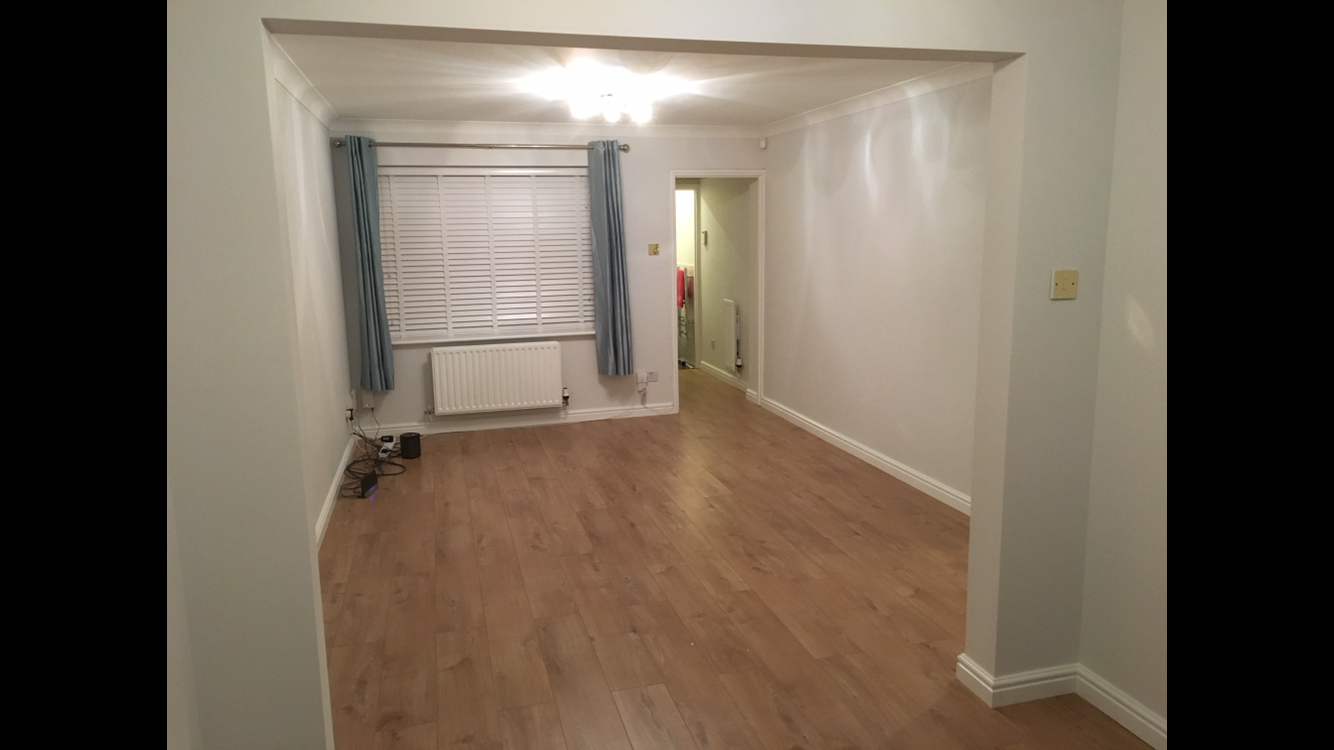
The Venezia Oak flooring from Wickes can be bought here, currently for £14.79 per pack (£9.99 per sq/m). The overall quality is good and the flooring feels solid and certainly not like it’s going to come apart with wear and tear.
I’m really happy with the finished product and really happy that I tackled this DIY job myself – a great sense of achievement!

great project and write up. The only thing I am worried about is that you went straight through the door frame with the laminate. Although it looks nicer, they say you should use a door bar purely because that allows you to leave a gap in the laminate where one room joins another. This is to give it more room to expand. Hopefully, you won’t have any laminate rising up and getting wonky, but if you do, that could be one reason….
Yeah I made the decision to run the flooring throughout the entire downstairs in one continuous run as it looks so much better than having door bars everywhere. To get around the expansion issues I undercut all of the doorframes right through and with the skirting boards off cut out the bottom of the plasterboard so every edge has at least 2 inches to expand into. Having just been through a hot summer the floor did expand but had no issues with it at all.
Hi Nick, I am thinking to put Wickes Venezia Oak laminate flooring in my house. I came across your article on this product. 2 years on, how this flooring is holding up in your house? Please would you still recommend it? Thanks
Hi Raj,
It’s great, still looks good and all of the joints are holding up well with no snapper bits or raised edges, really impressed so would definitely recommend 👍
Nick
Thanks very much Nick, really helpful review.
We have finalized this laminate flooring for part of our house renovation project.
Keep up the good work. Best luck. Cheers
Hi Nick, what a great post!
I’m thinking of laying the same laminate in my house, through out a kitchen-diner and through out the lounge. I was wondering if you’ve noticed whether this floor has held well up to spills and whether it stains easily? The product description says it’s suitable for kitchens, but then also lists that it is NOT water resistant. Thanks
Hi James, so I had the laminate throughout the entire ground floor of the house except the kitchen. It had wet/muddy shoes, baby puke, flung baby food and plenty of drinks dropped on it! It never experienced a single stain or scuff with the surface holding up really well. The only issue we had was that we once cleaned the floor with a mop and the joints swelled slightly in one corner of the room. It does advise to avoid getting it soaked as its engineered flooring and the wood will swell so completely our fault with that but from everyday use and spills quickly mopped up we didn’t have any issues at all so would recommend it.